Table of Contents
- Overview
- Approach
- Use Case Ideas
- Beyond The Basics
- User Guide
- Developer Guide
- Database Collection
- GitHub Organization
- Deployment
- Acceptance Testing
- Community Feedback
- Project Board
- Team
- DataBase Collection
Overview
The Goal of this project is to create an app that would enable students and faculty of The University of Hawaii at Manoa campus to easily search for places to eat, based on their cravings for the day, for example, if the user want to grab a coffee in the morning the user can search within the app and the app would show all the available coffee shops within the campus, or if the user wants to have a healthy meal replacement smoothie for lunch, the user would be able to search for that as well, and lastly, if the user wants to have pizza for dinner they would be able to locate a place that serves pizza for dinner. The app would also empower the user to find out what specific days a favorite dish of theirs is being served at a specific restaurant of their choosing. The app would also enable the user to do the following within the app:
- Allow the user to log in using their UH credentials
- Show specific menu items available at the current time and show the locations of those places.
- Show general menus available throughout the day on any specific day.
- Be able to check what forms of payment the location accepts(i.e. Apple pay, UH dining credits, AMEX.)
Approach
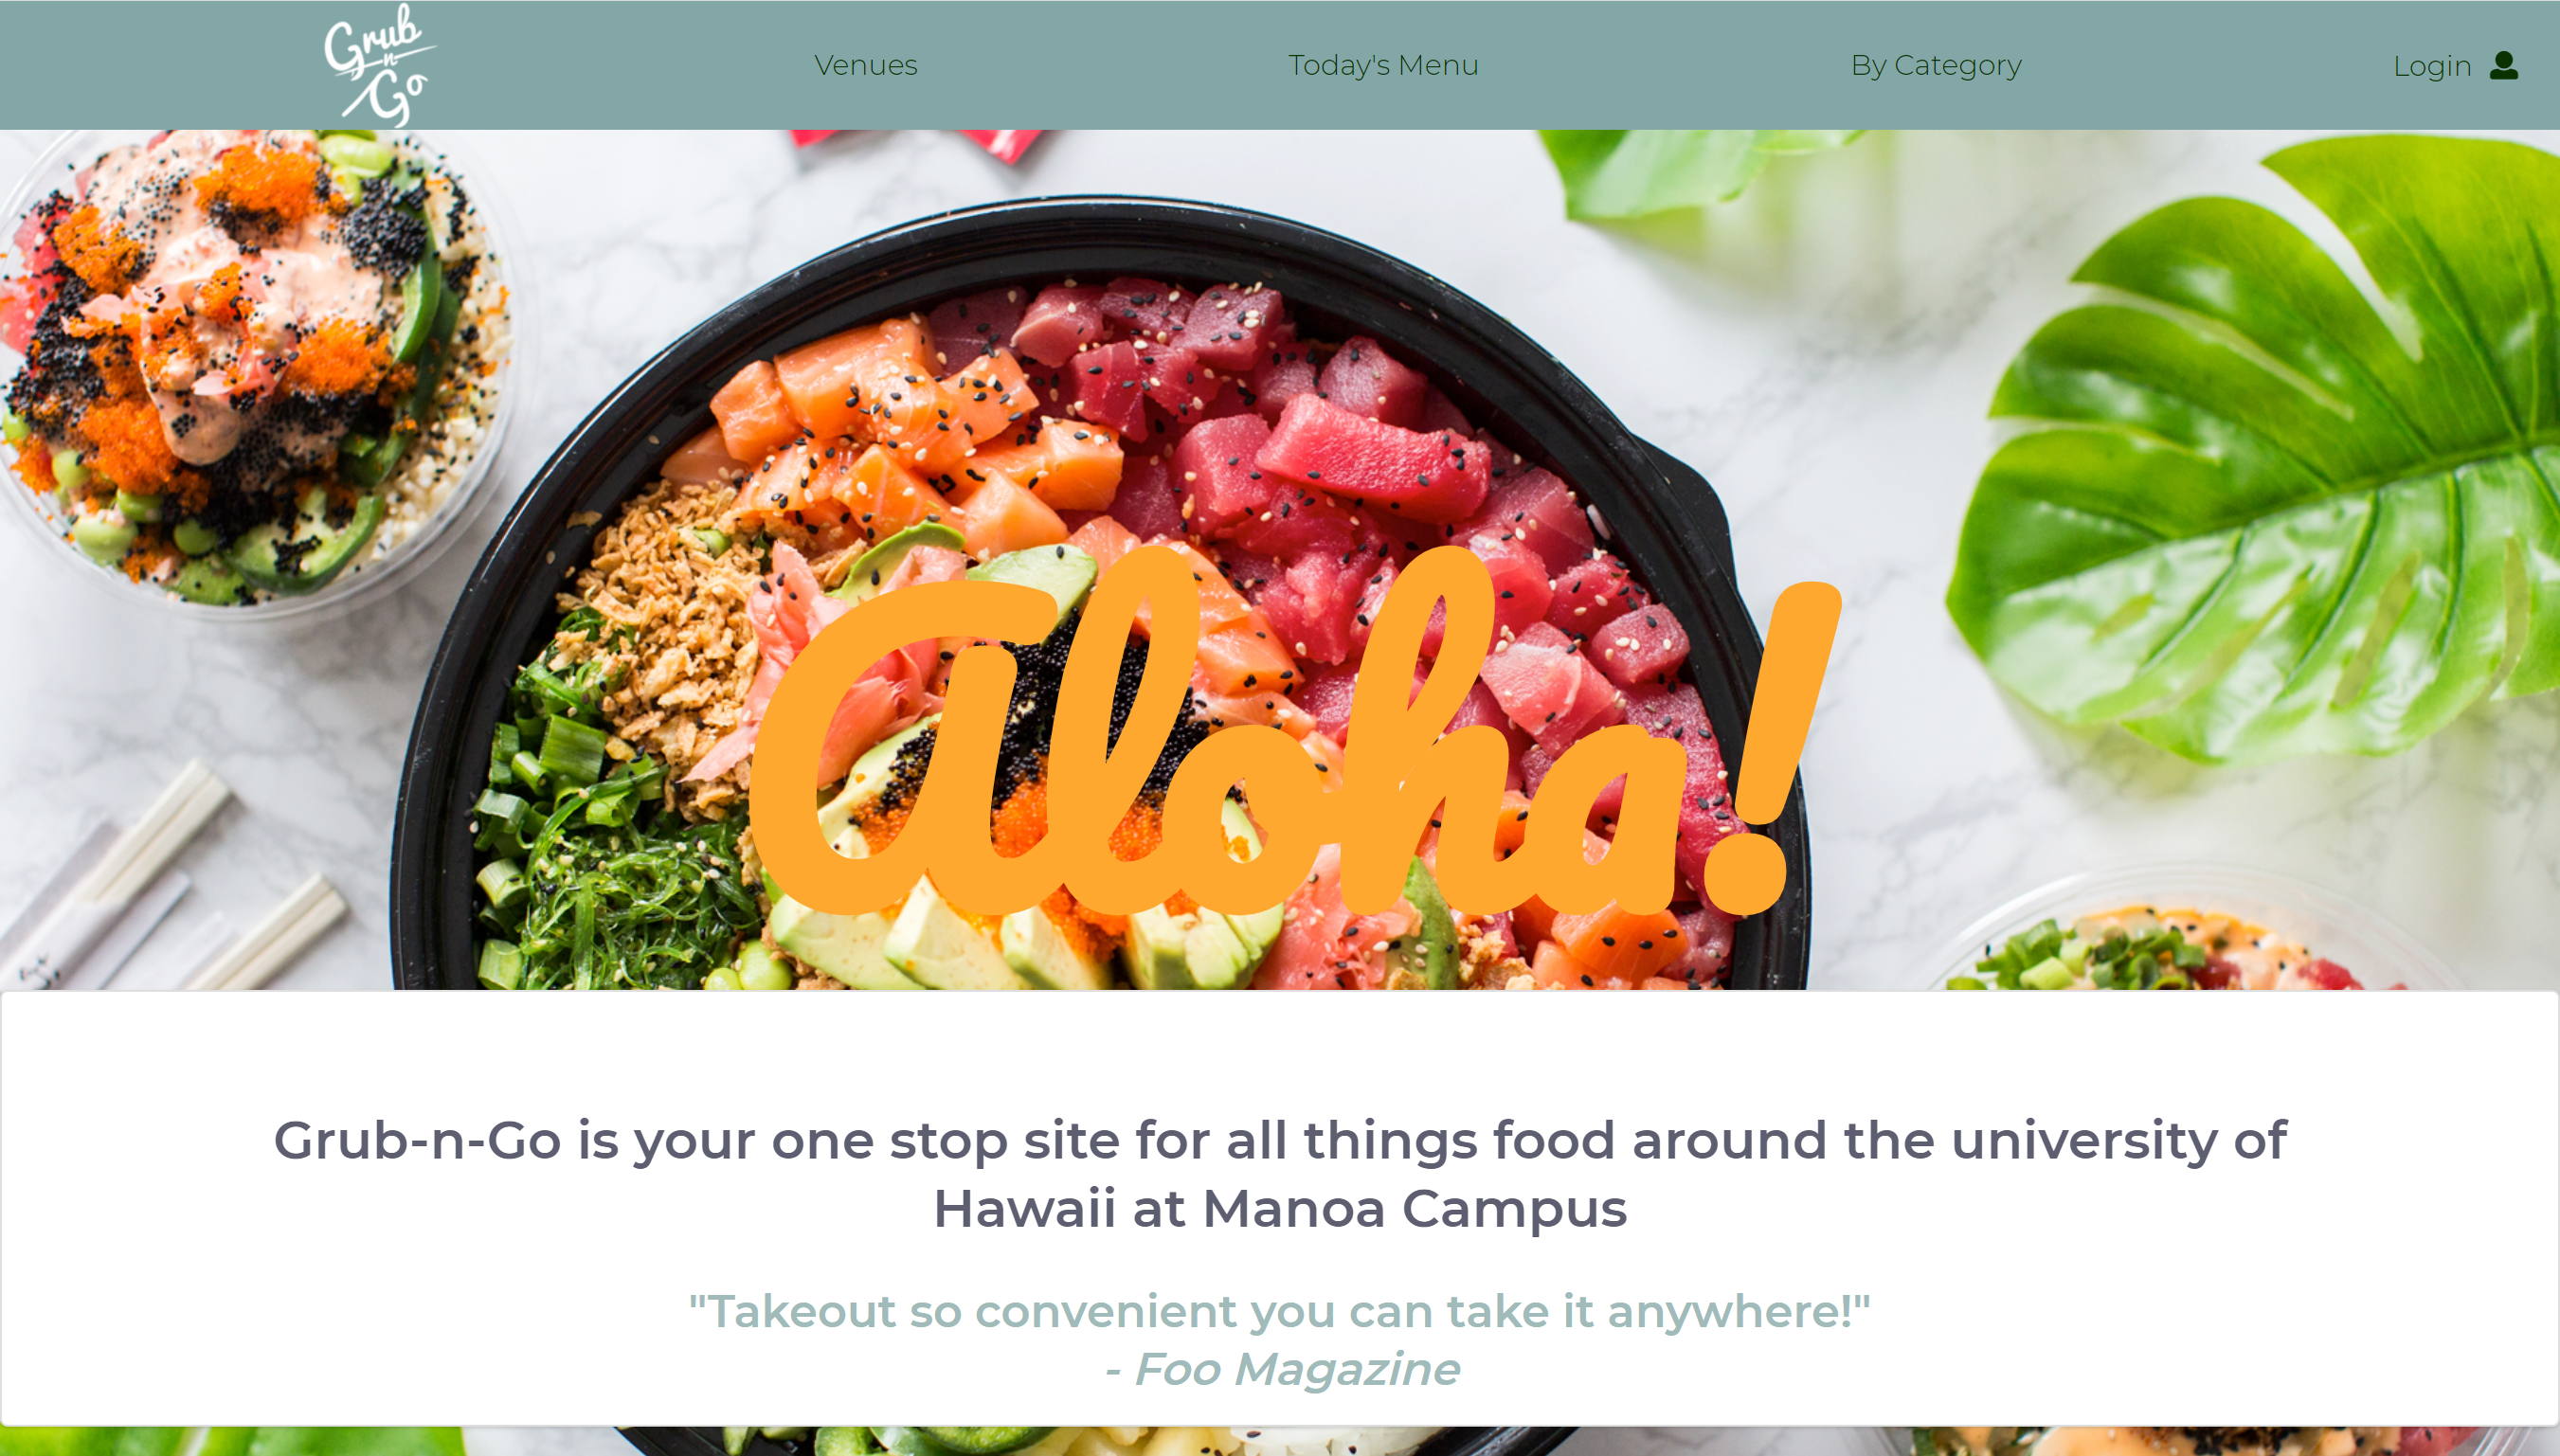
The app should be able to provide a landing page in which an image would show a potential highlight of a specific restaurant for the day. The app would also provide a navigation bar at the top of the landing page in where it would show the organizations logo at the top left of the screen and the center screen would provide the navigation around the website and lastly on the far top right of the screen would show social media links and login information and/or option. The Navigation bar would display links to restaurants, food trucks, and other food options around the campus. In the end the app layout would have all the following information:
- Landing Page (Restaurant Highlight)
- User Home Page / Profile
- Vendor Home Page / Profile
- Admin Home Page
- Add Vendor Page
- Link to Vendors HomePage Via Navigation Bar
- Food Availability
- Food Searches
The app would then also contain a footer menu in which it would display a contact us, about us, and so forth.
Use Case Ideas
Whether or not the following bullet points list all pages or not, the completed use case should show an end-to-end scenario of using the system.
- New user goes to landing page, logs in, gets home page, sets up profile.
- New vendor goes to landing page, logs in, gets home page, sets up profile.
- Admin goes to landing page, logs in, gets home page, edits site.
- User goes to landing page, logs in, looks for food to buy.
- Vendor, goes to landing page, logs in, edits online store.
- User is notified of daily menu changes and food items that matches their preferences.
Beyond The Basics
After implementing the basic functionality, here are ideas for more advanced features:
- Notify students via email, twitter, SMS when particular food choices are available.
- Automated updating of menu items from vendors. For example, they agree to post their daily specials via twitter, and your application retrieves their twitter feed and uses that data to update their page.
- Allow students to rate menu items.
- Integrated map functionality; note that some food trucks change their location over the course of a week.
- Provide feed of tweets from vendors (some vendors might use Twitter to advertise daily specials and locations.)
User Guide
Landing Page
The user is greeted with a landing page as can be seen below. From the landing page the user is able to browse through all the available food venues within the University Of Hawaii at Manoa campus, they are able to view the menus available specific to the day the user is viewing the website and ommitting the display of all other food venues that are currently closed or are off campus, they are able to view types of food in the 'By Category' section, which allows the user to see the different categories of food the campus has to offer and which vendors have it available. Lastly, the user is able to login to their user profile or create a profile if they are not a current user.
Venues Page
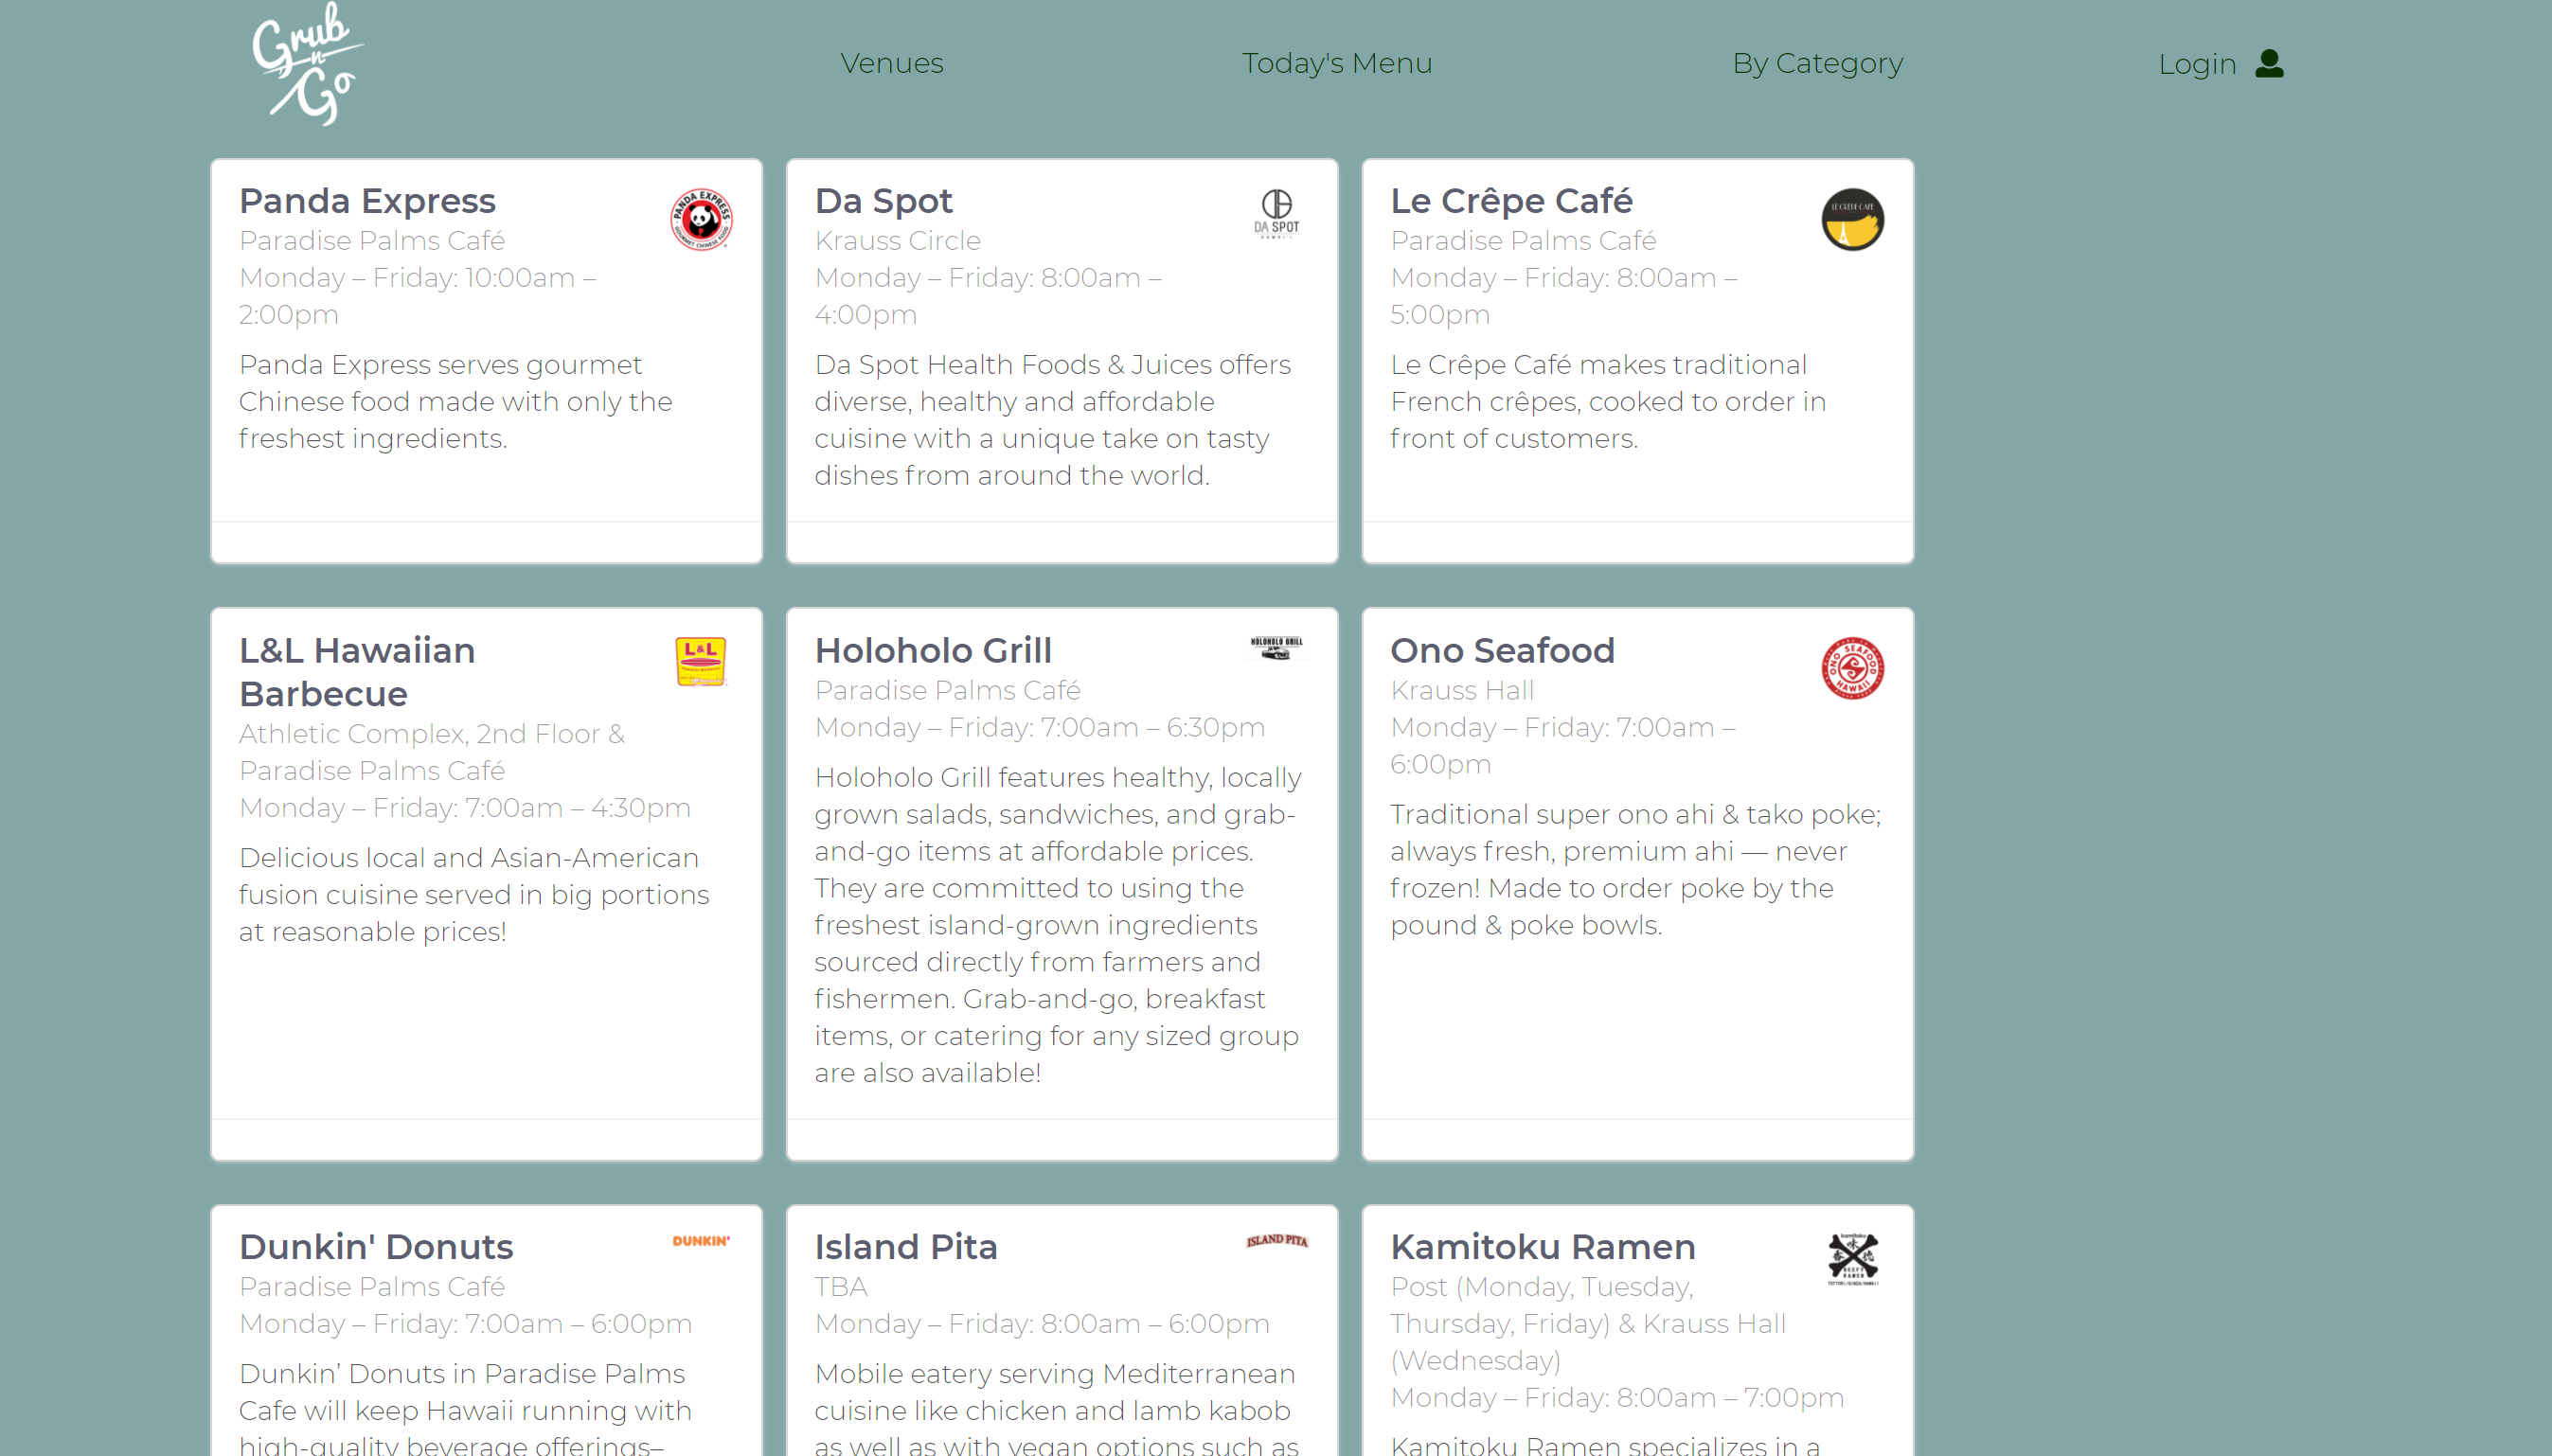
Within the venues page the user is able to view all the available food venues within the campus. each card displays the food venues name, their location, the hours of operation, and a brief description about their venue. An image of the Venues page can be seen below.
Today’s Menu
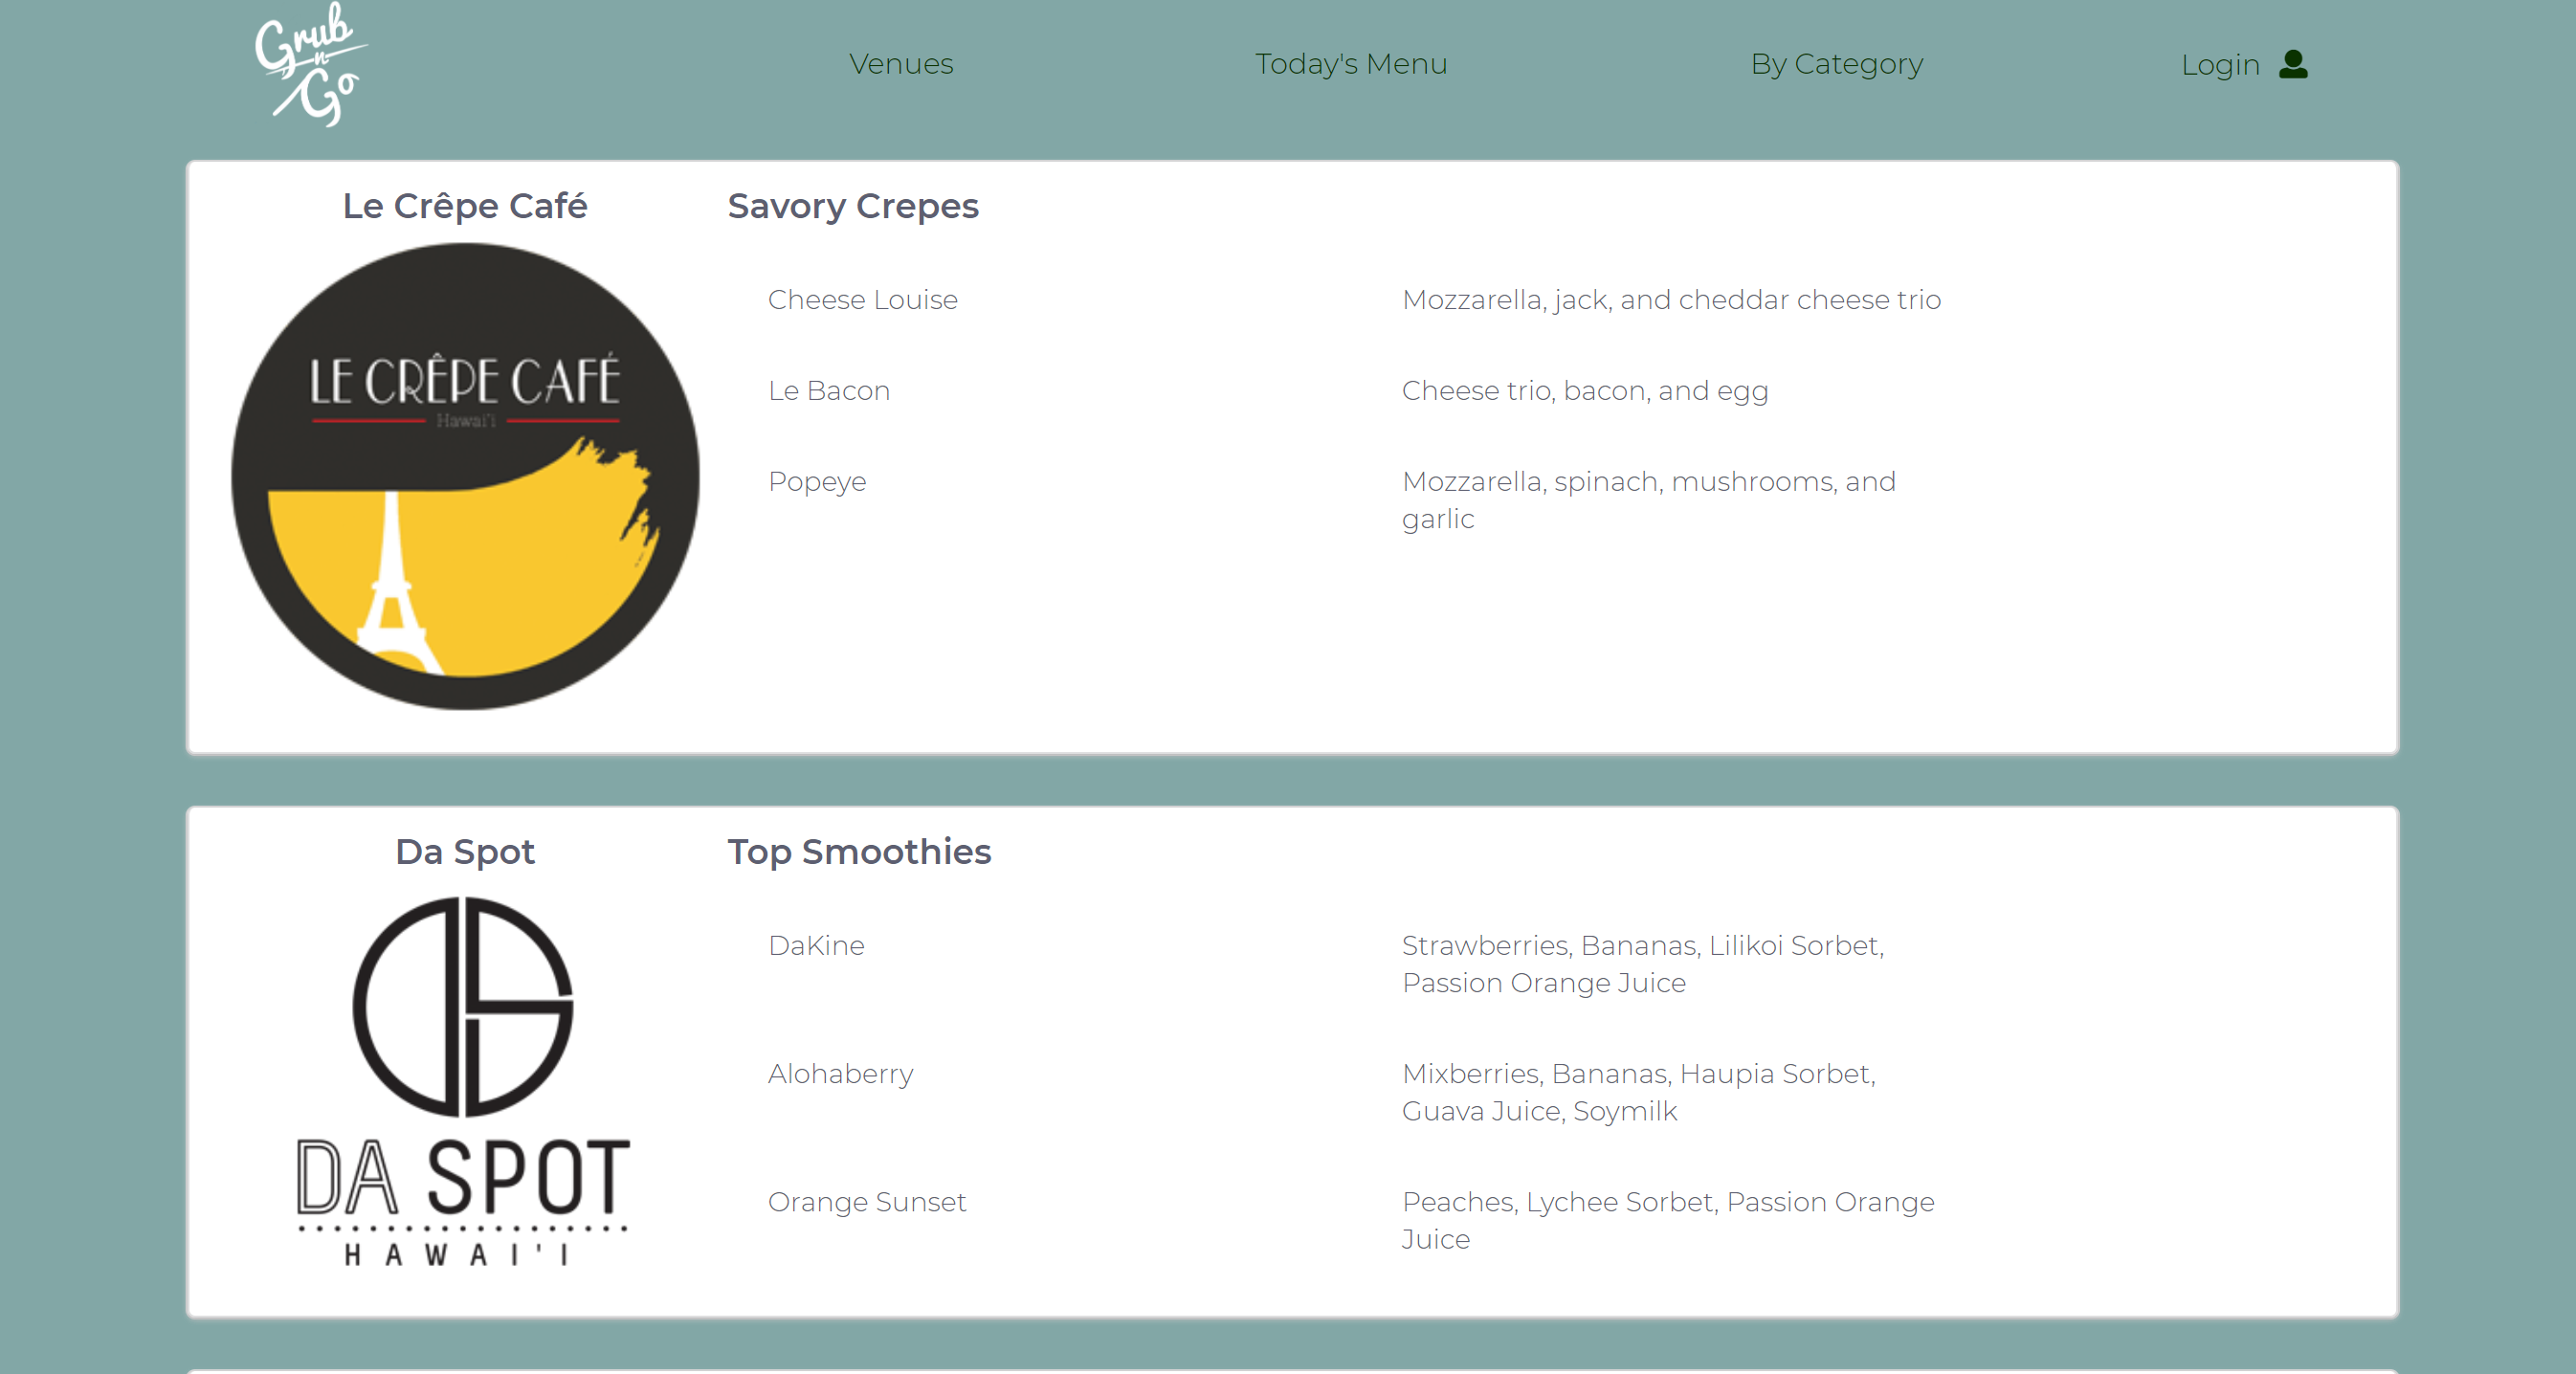
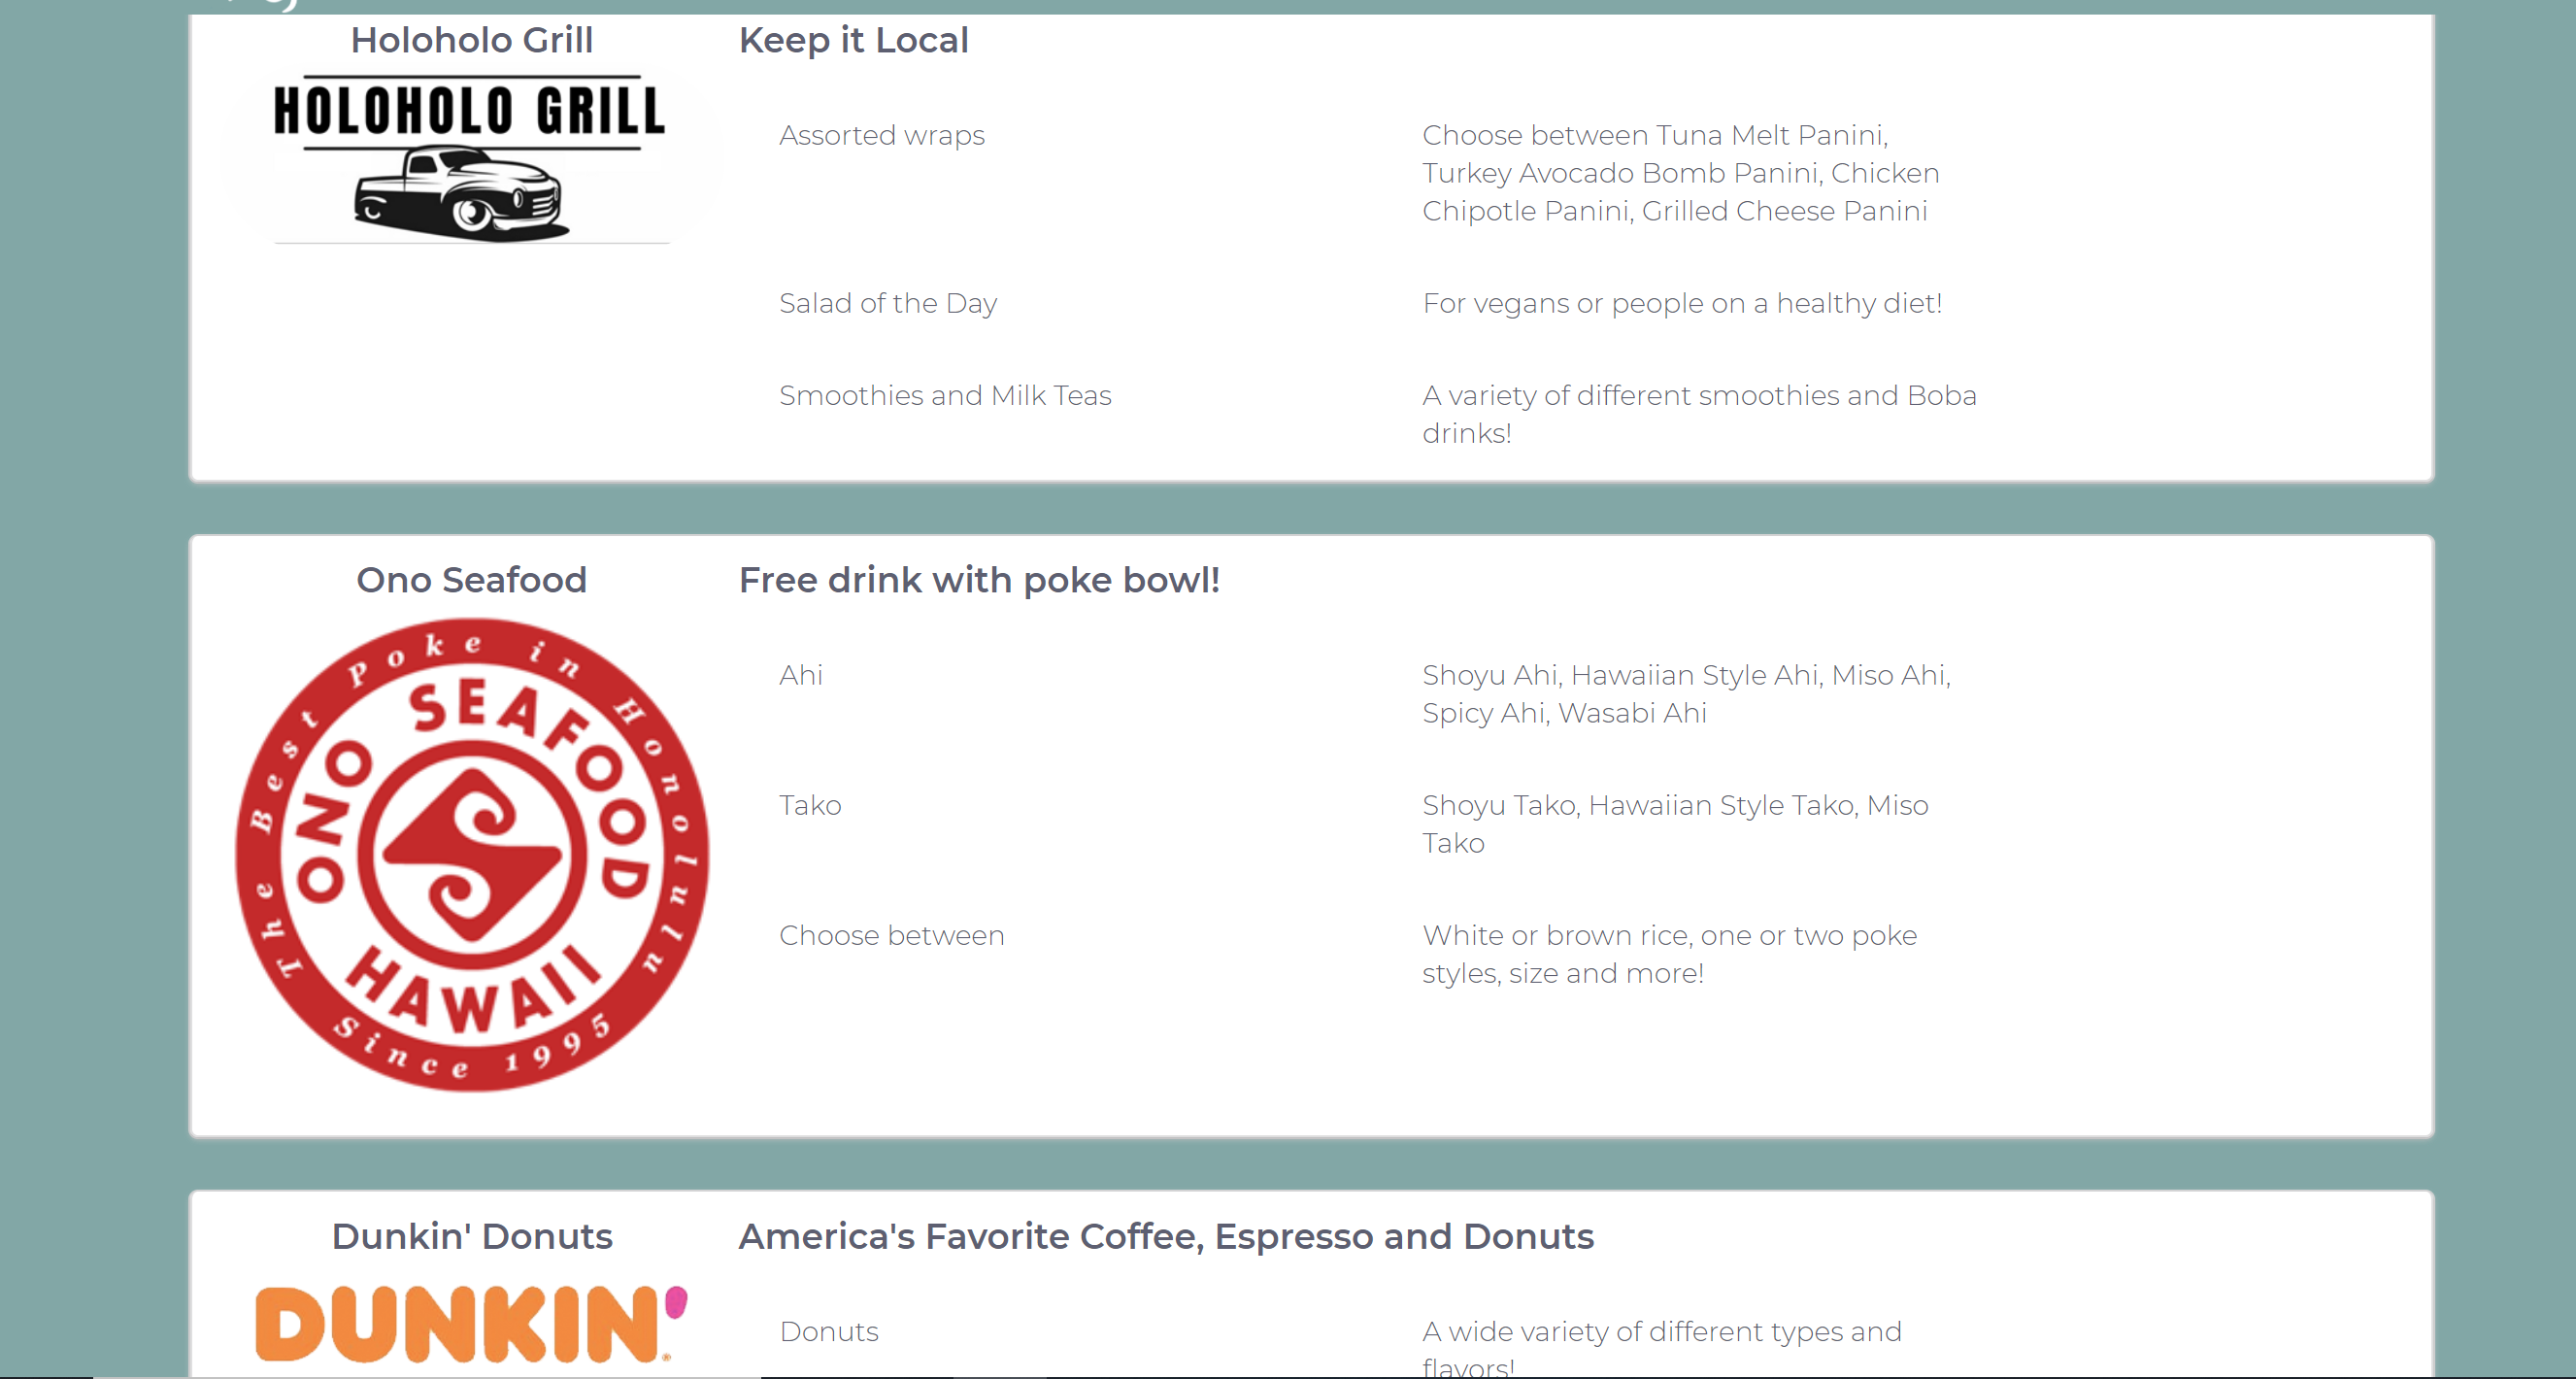
The Today's Menu page will display all available menus of venues available on the campus for that specific day that the user is using the site. The Today's Menu is displayed as such that each venue card will display the venues logo and what is being served for that day with each specific venue allowing the user to scroll through the many choices availabel. A sample image of the layout of the Today's Menu can be seen below.
By Category
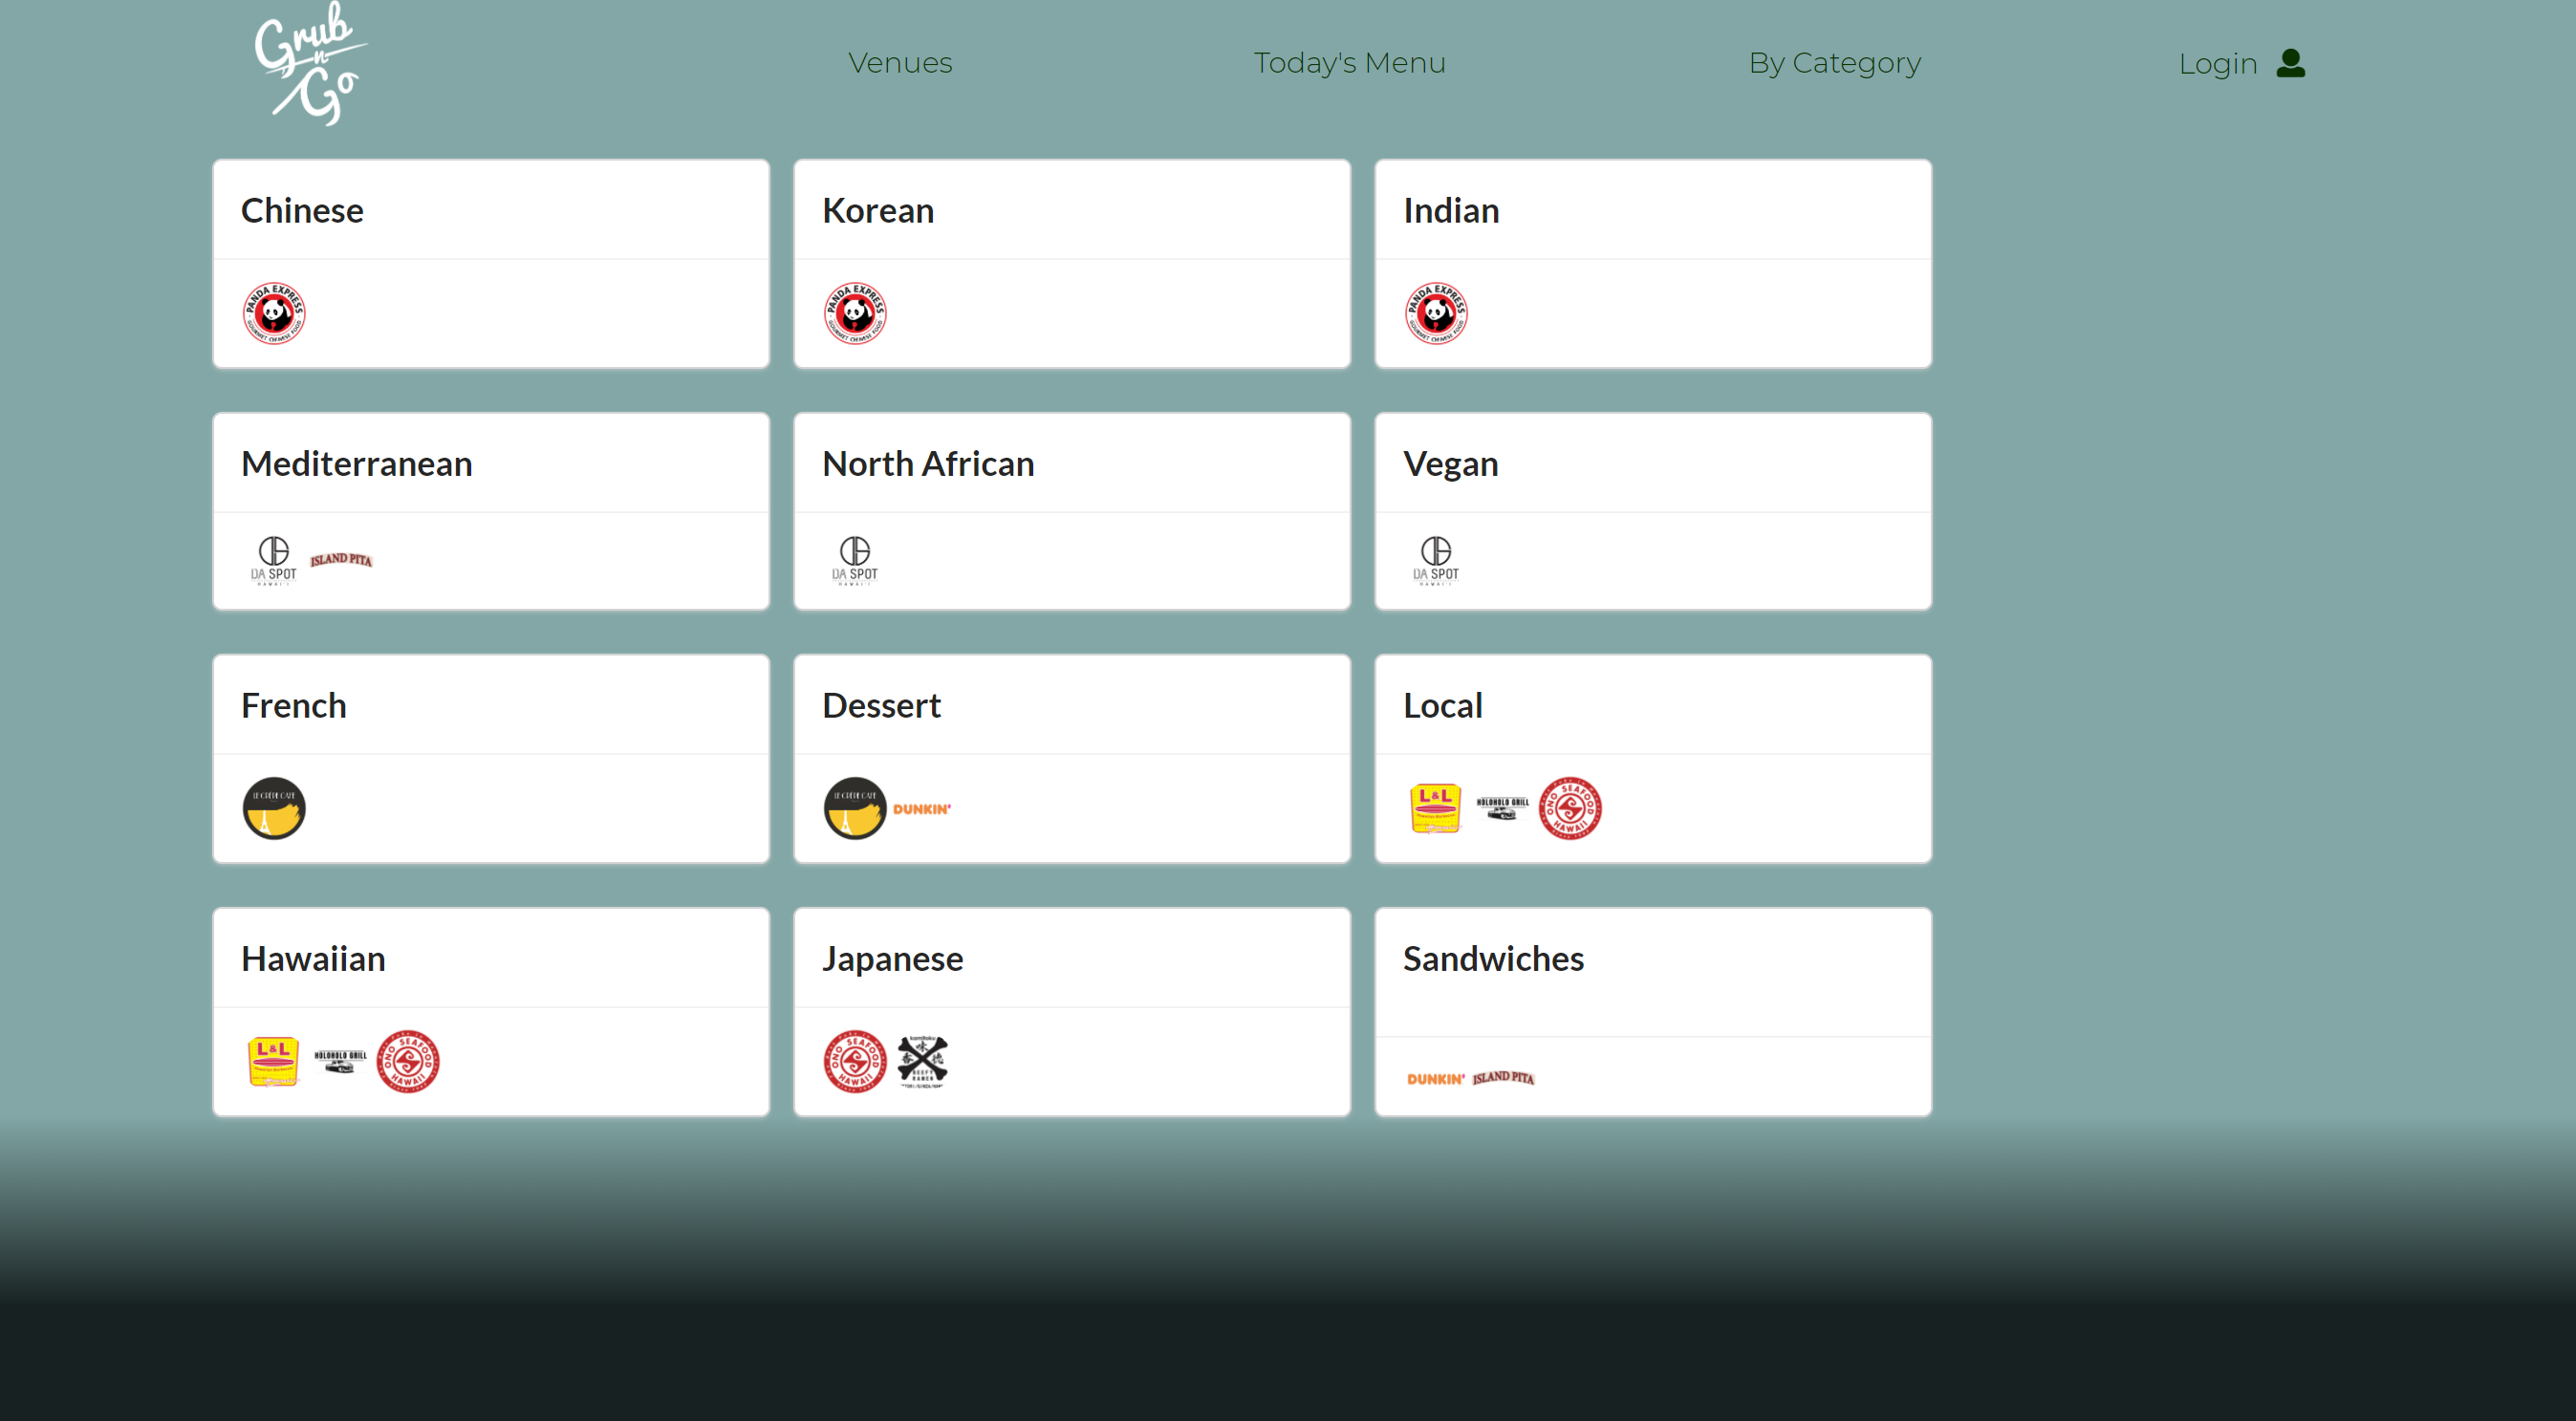
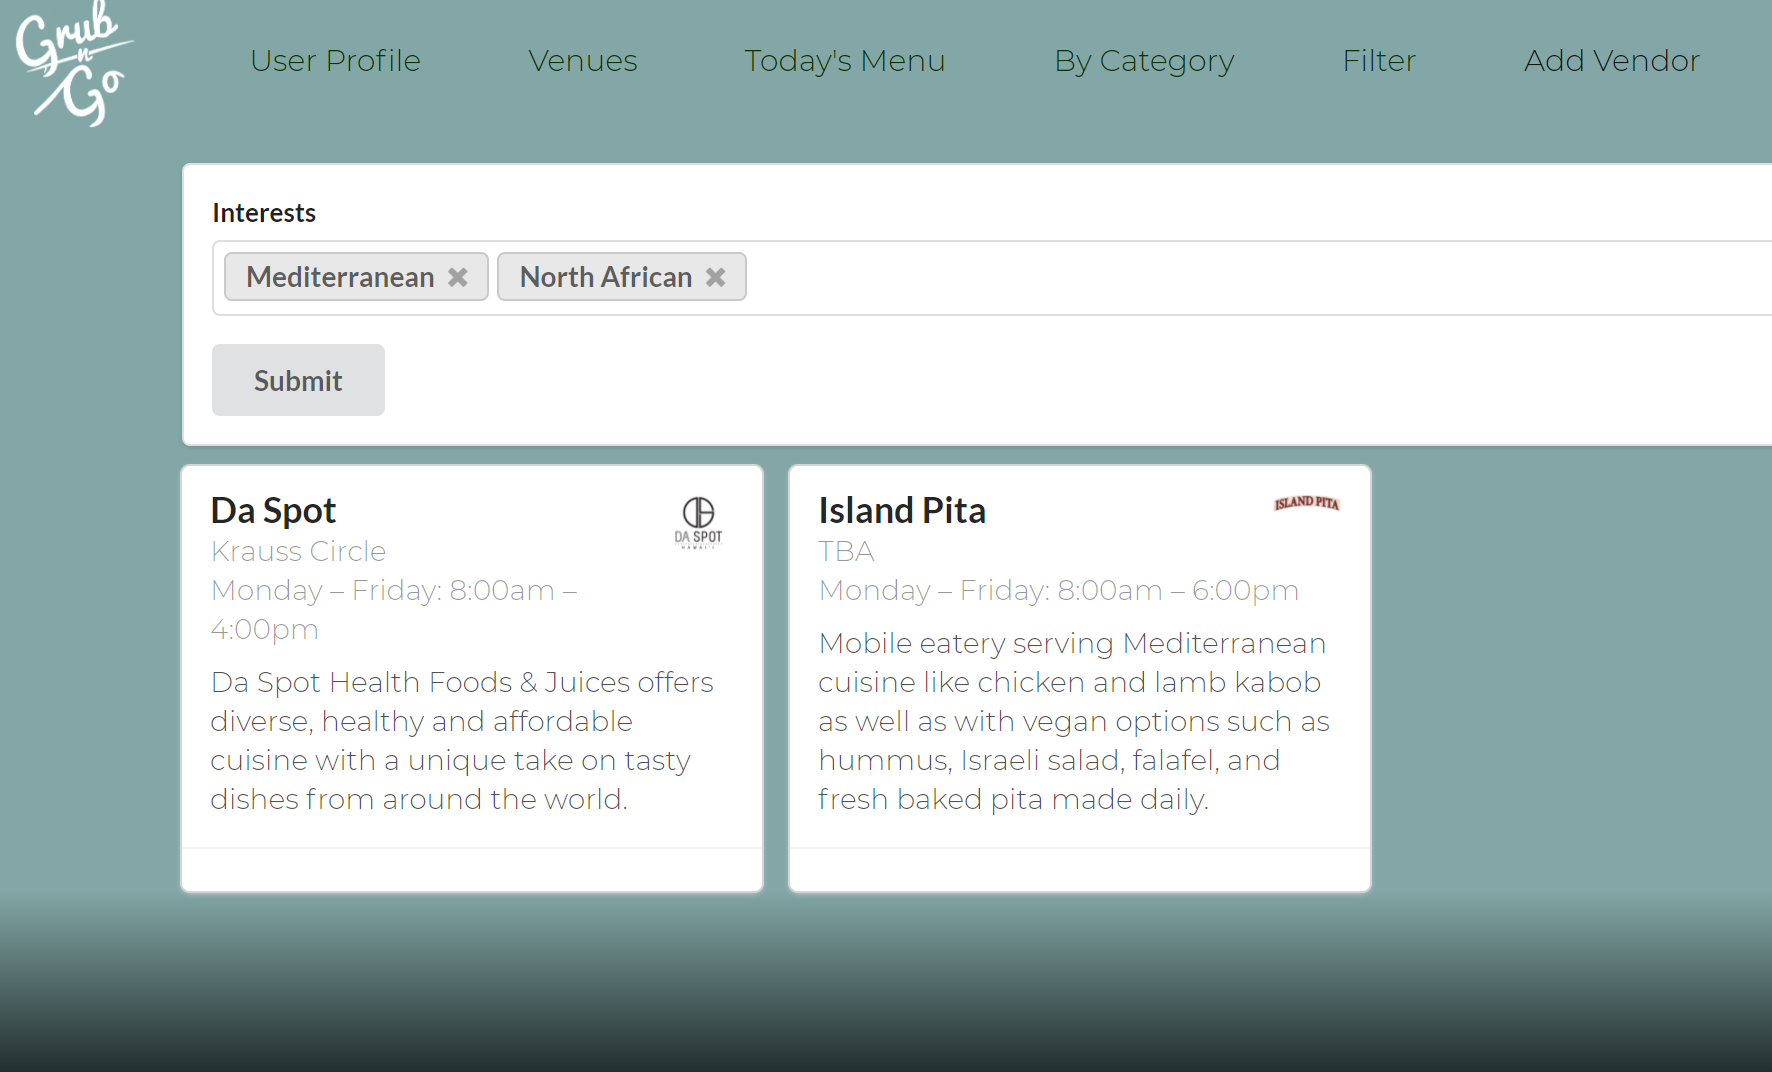
The By Category page allows the user to see vendors and the type of food that they offer. Users will see cards with the categories of foods such as Chinese, Mediterranean, etc., and which vendors falls under each category of food. So if a user wanted some local cuisine, they would see three vendors that offer that type of food (L&L, Holoholo Grill, & Ono Seafood). If they wanted a mix of Mediterranean and North African food, they would see that one vendor offers both types of food (Da Spot).
Filter
The filter page works similarly to the 'By Category' page which allows the user to search for vendors that are offering the type(s) of food they want. The only difference is that the user will get to choose what type of food they're looking for, and when they submit the form, they will see the cards of vendors that offer the type of food the user wants at that current moment.
Login
Login allows the user to either login to their current profile or signup to create a profile. When creating a profile the page will also ask the user their role, for example, if they are a student, admin, or a vendor. With the designation the user will be able to make specific changes depending on their role. If the user selects the role of student, they would only be able to make edit regarding their user profile, If the user selects the role as a vendor the vendor would be given access to edit their vendor page or add their food establishment to the list of venues from the Vendor page. If the user selects admin, they would be granted full access to the site and make any needed changes to the site. The Login and sign-up pages can be seen below, once the user successfully creates a profile the user will be re-directed to a form for the user to fill out.
User Sign-Up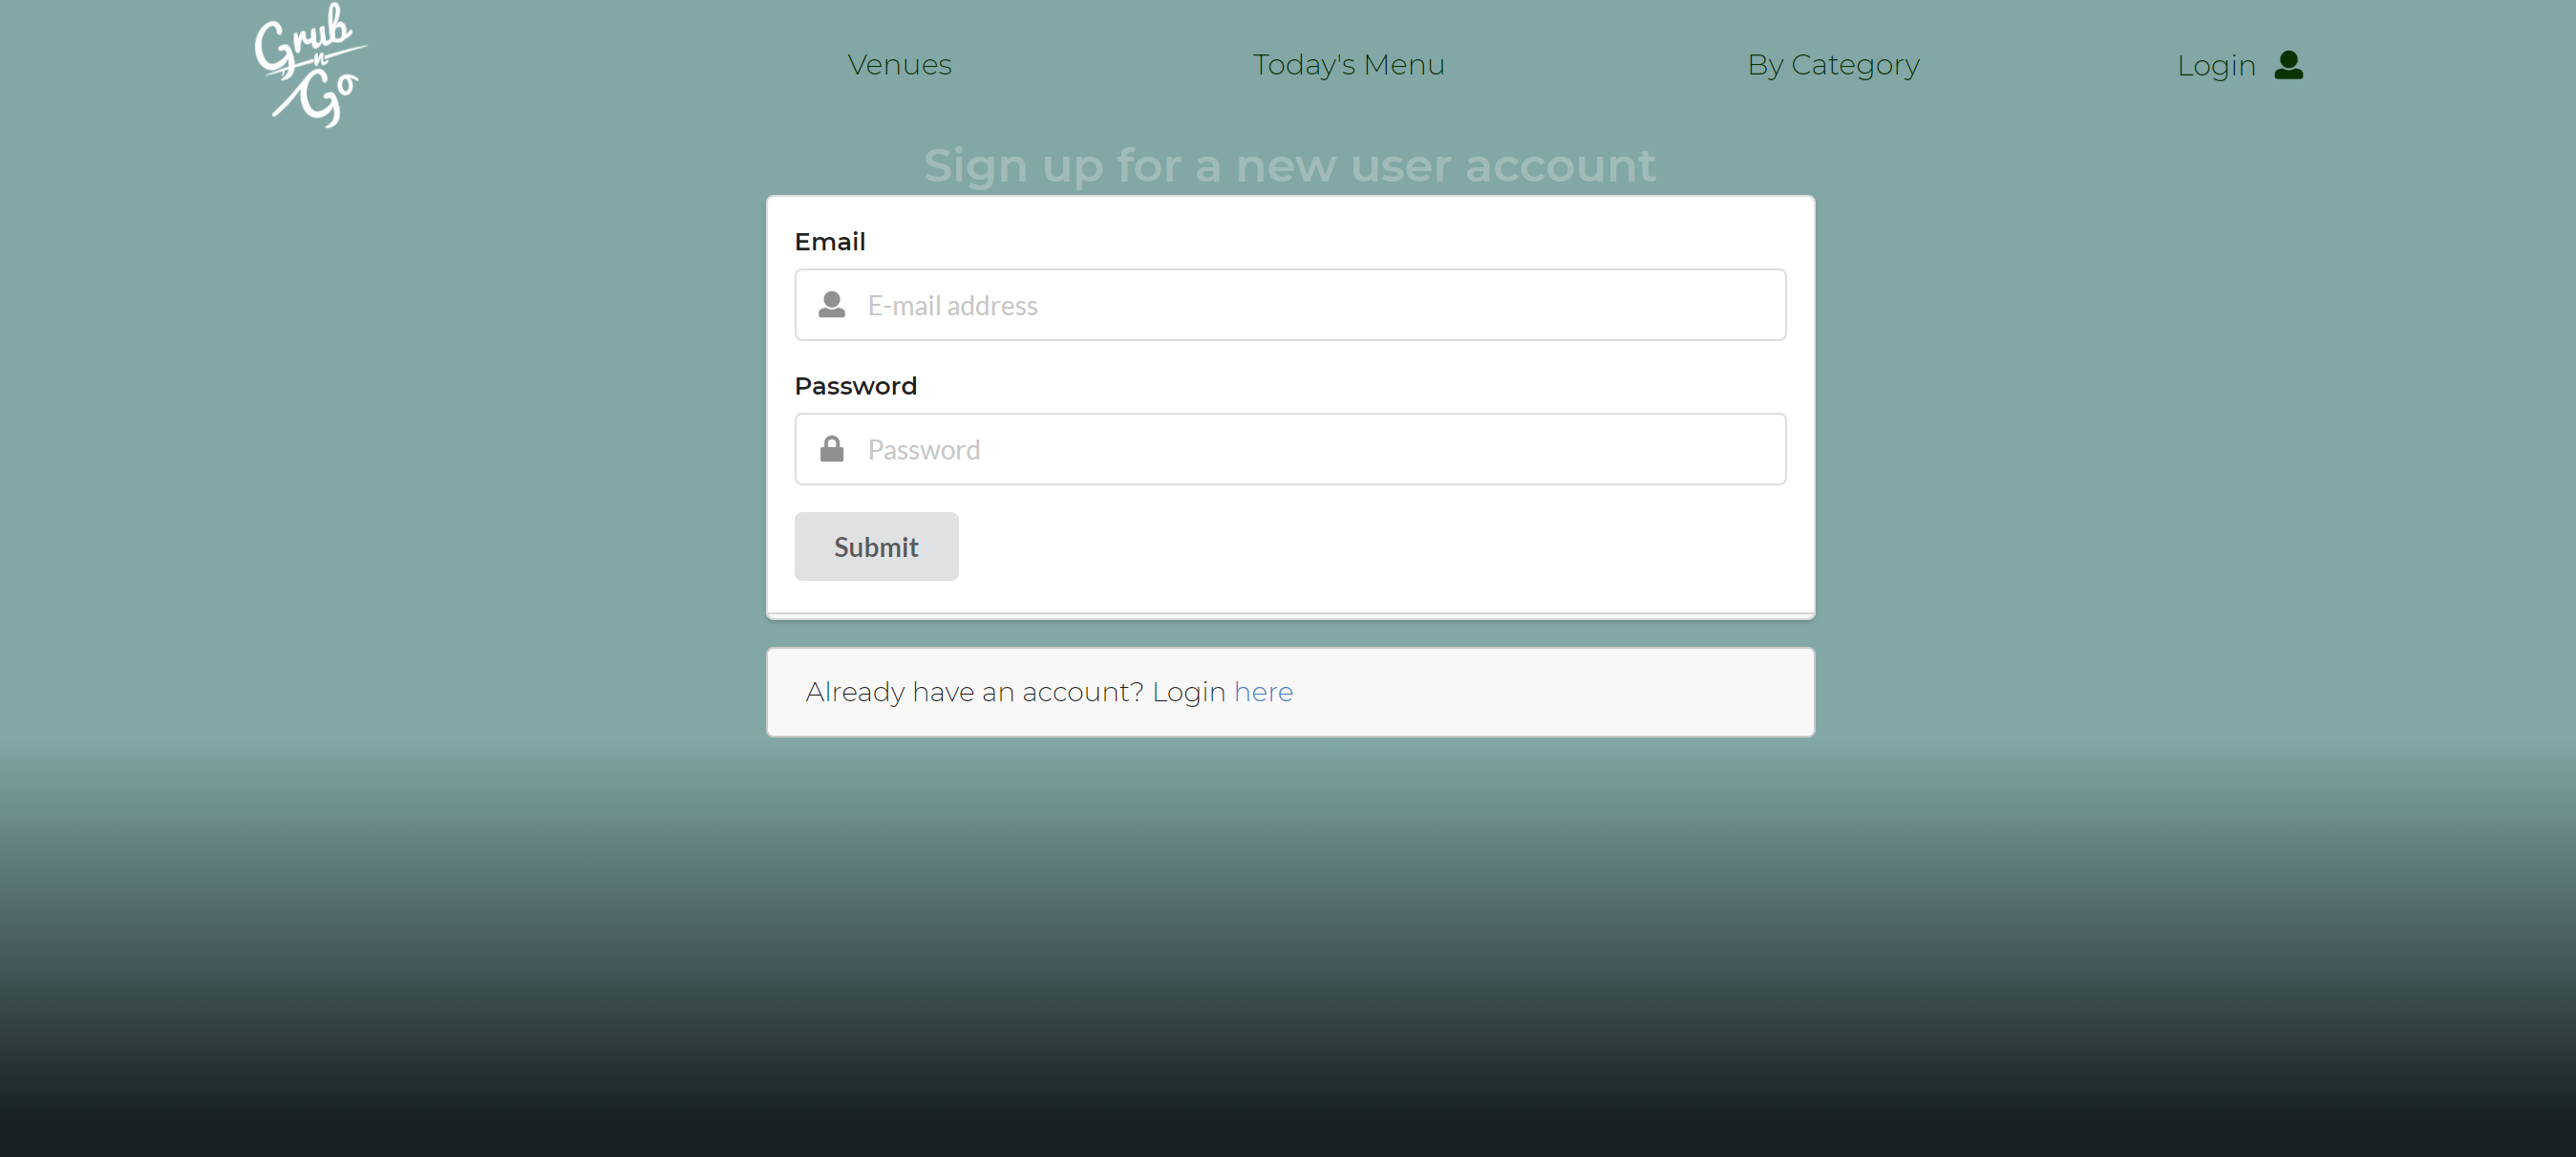 |
Vendor Sign-Up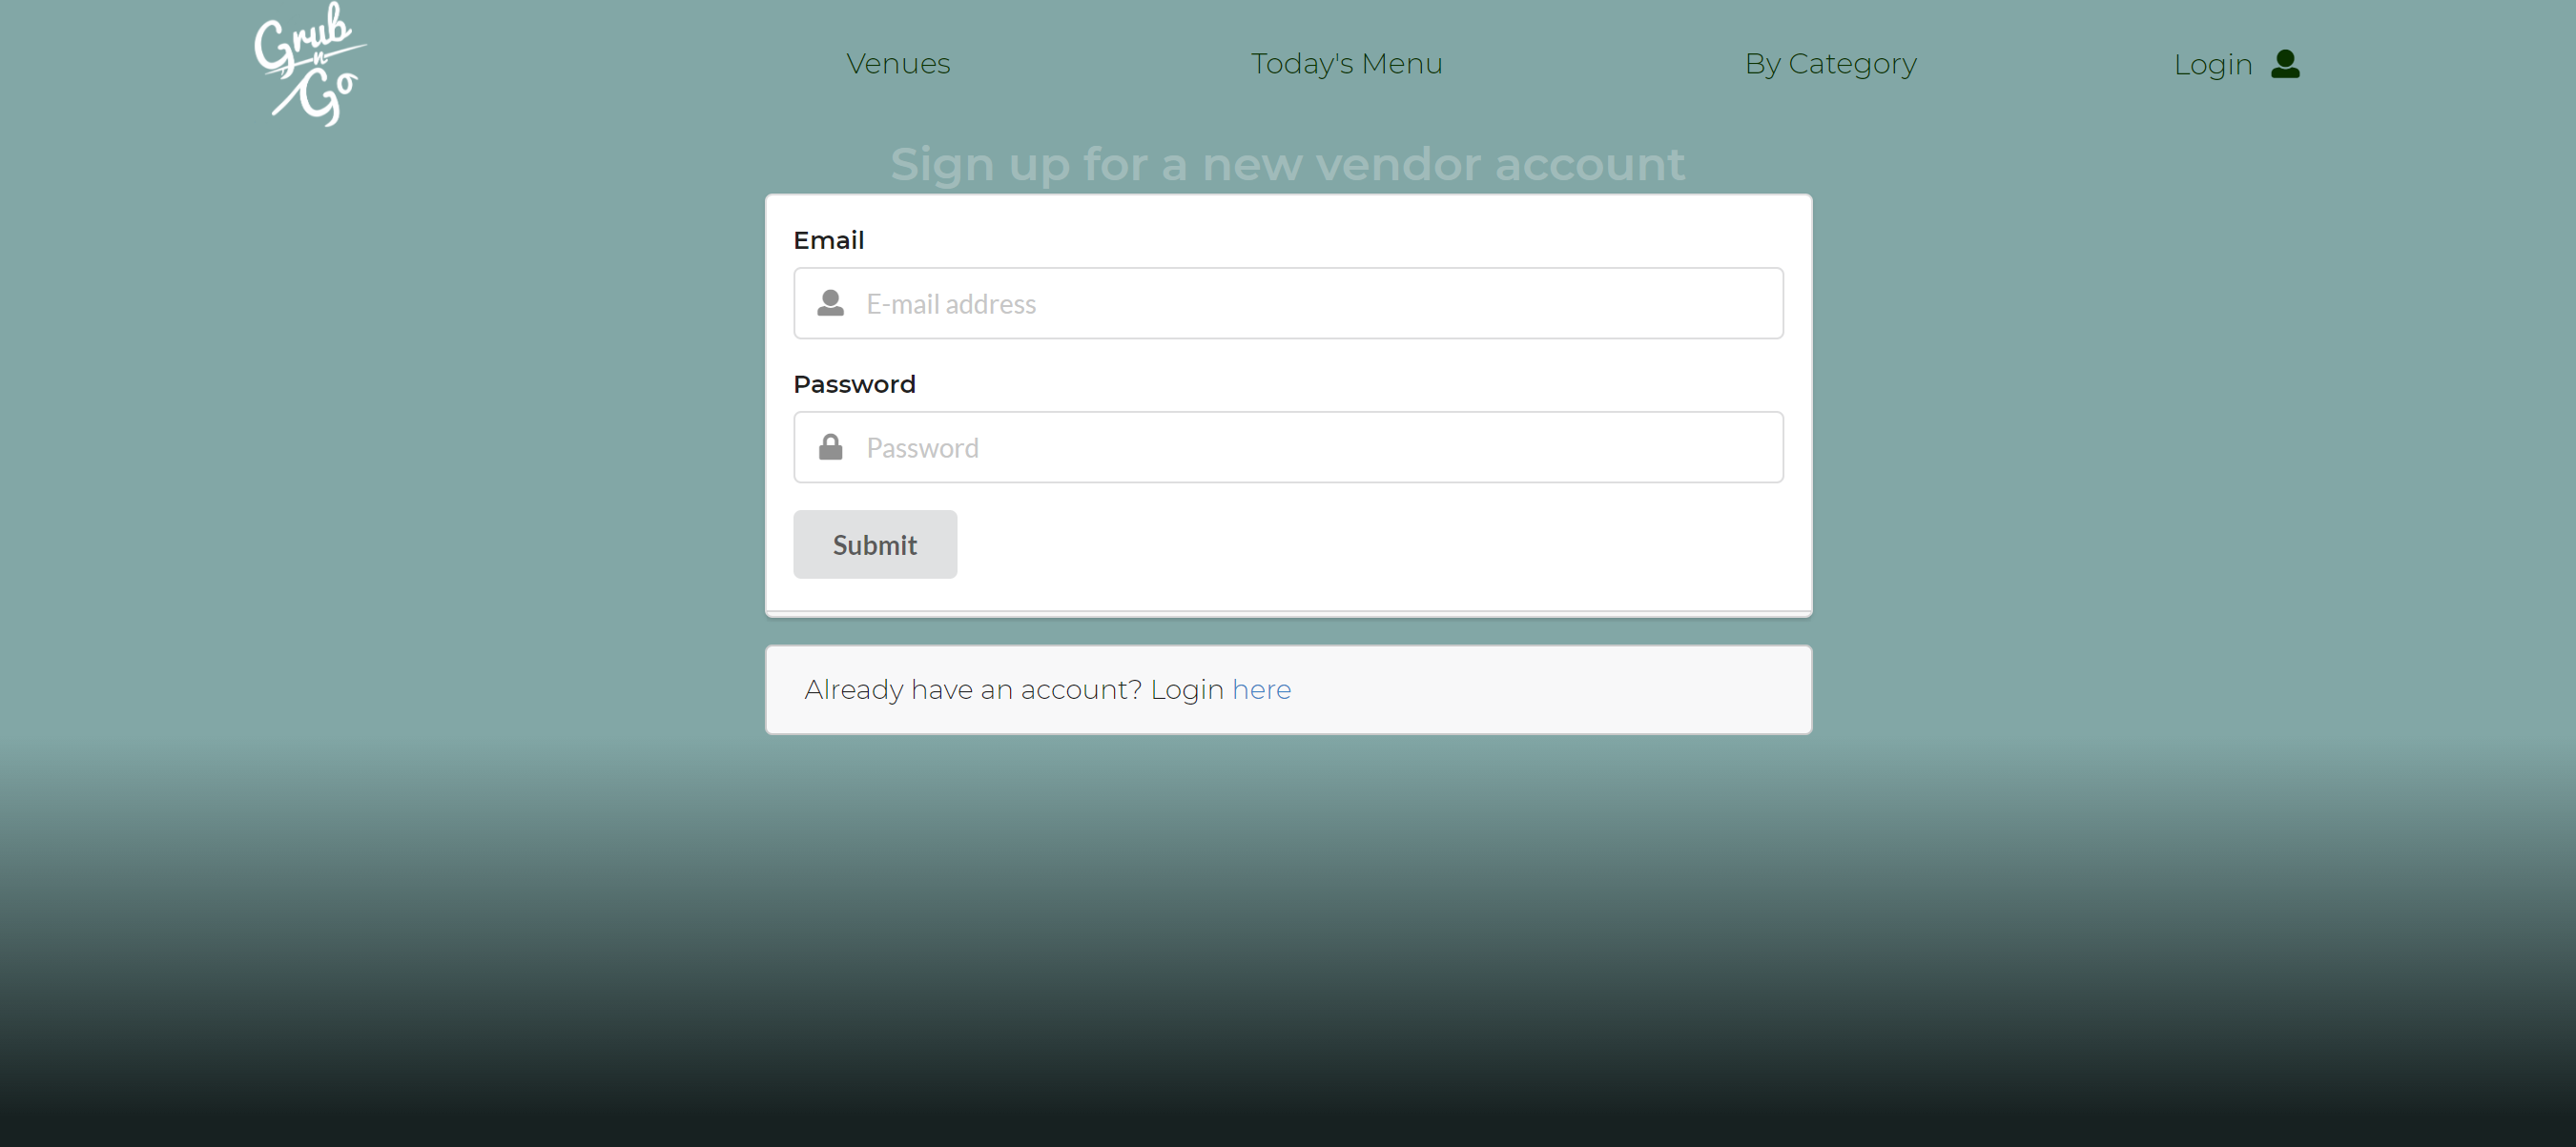 |
User Sign-Up Error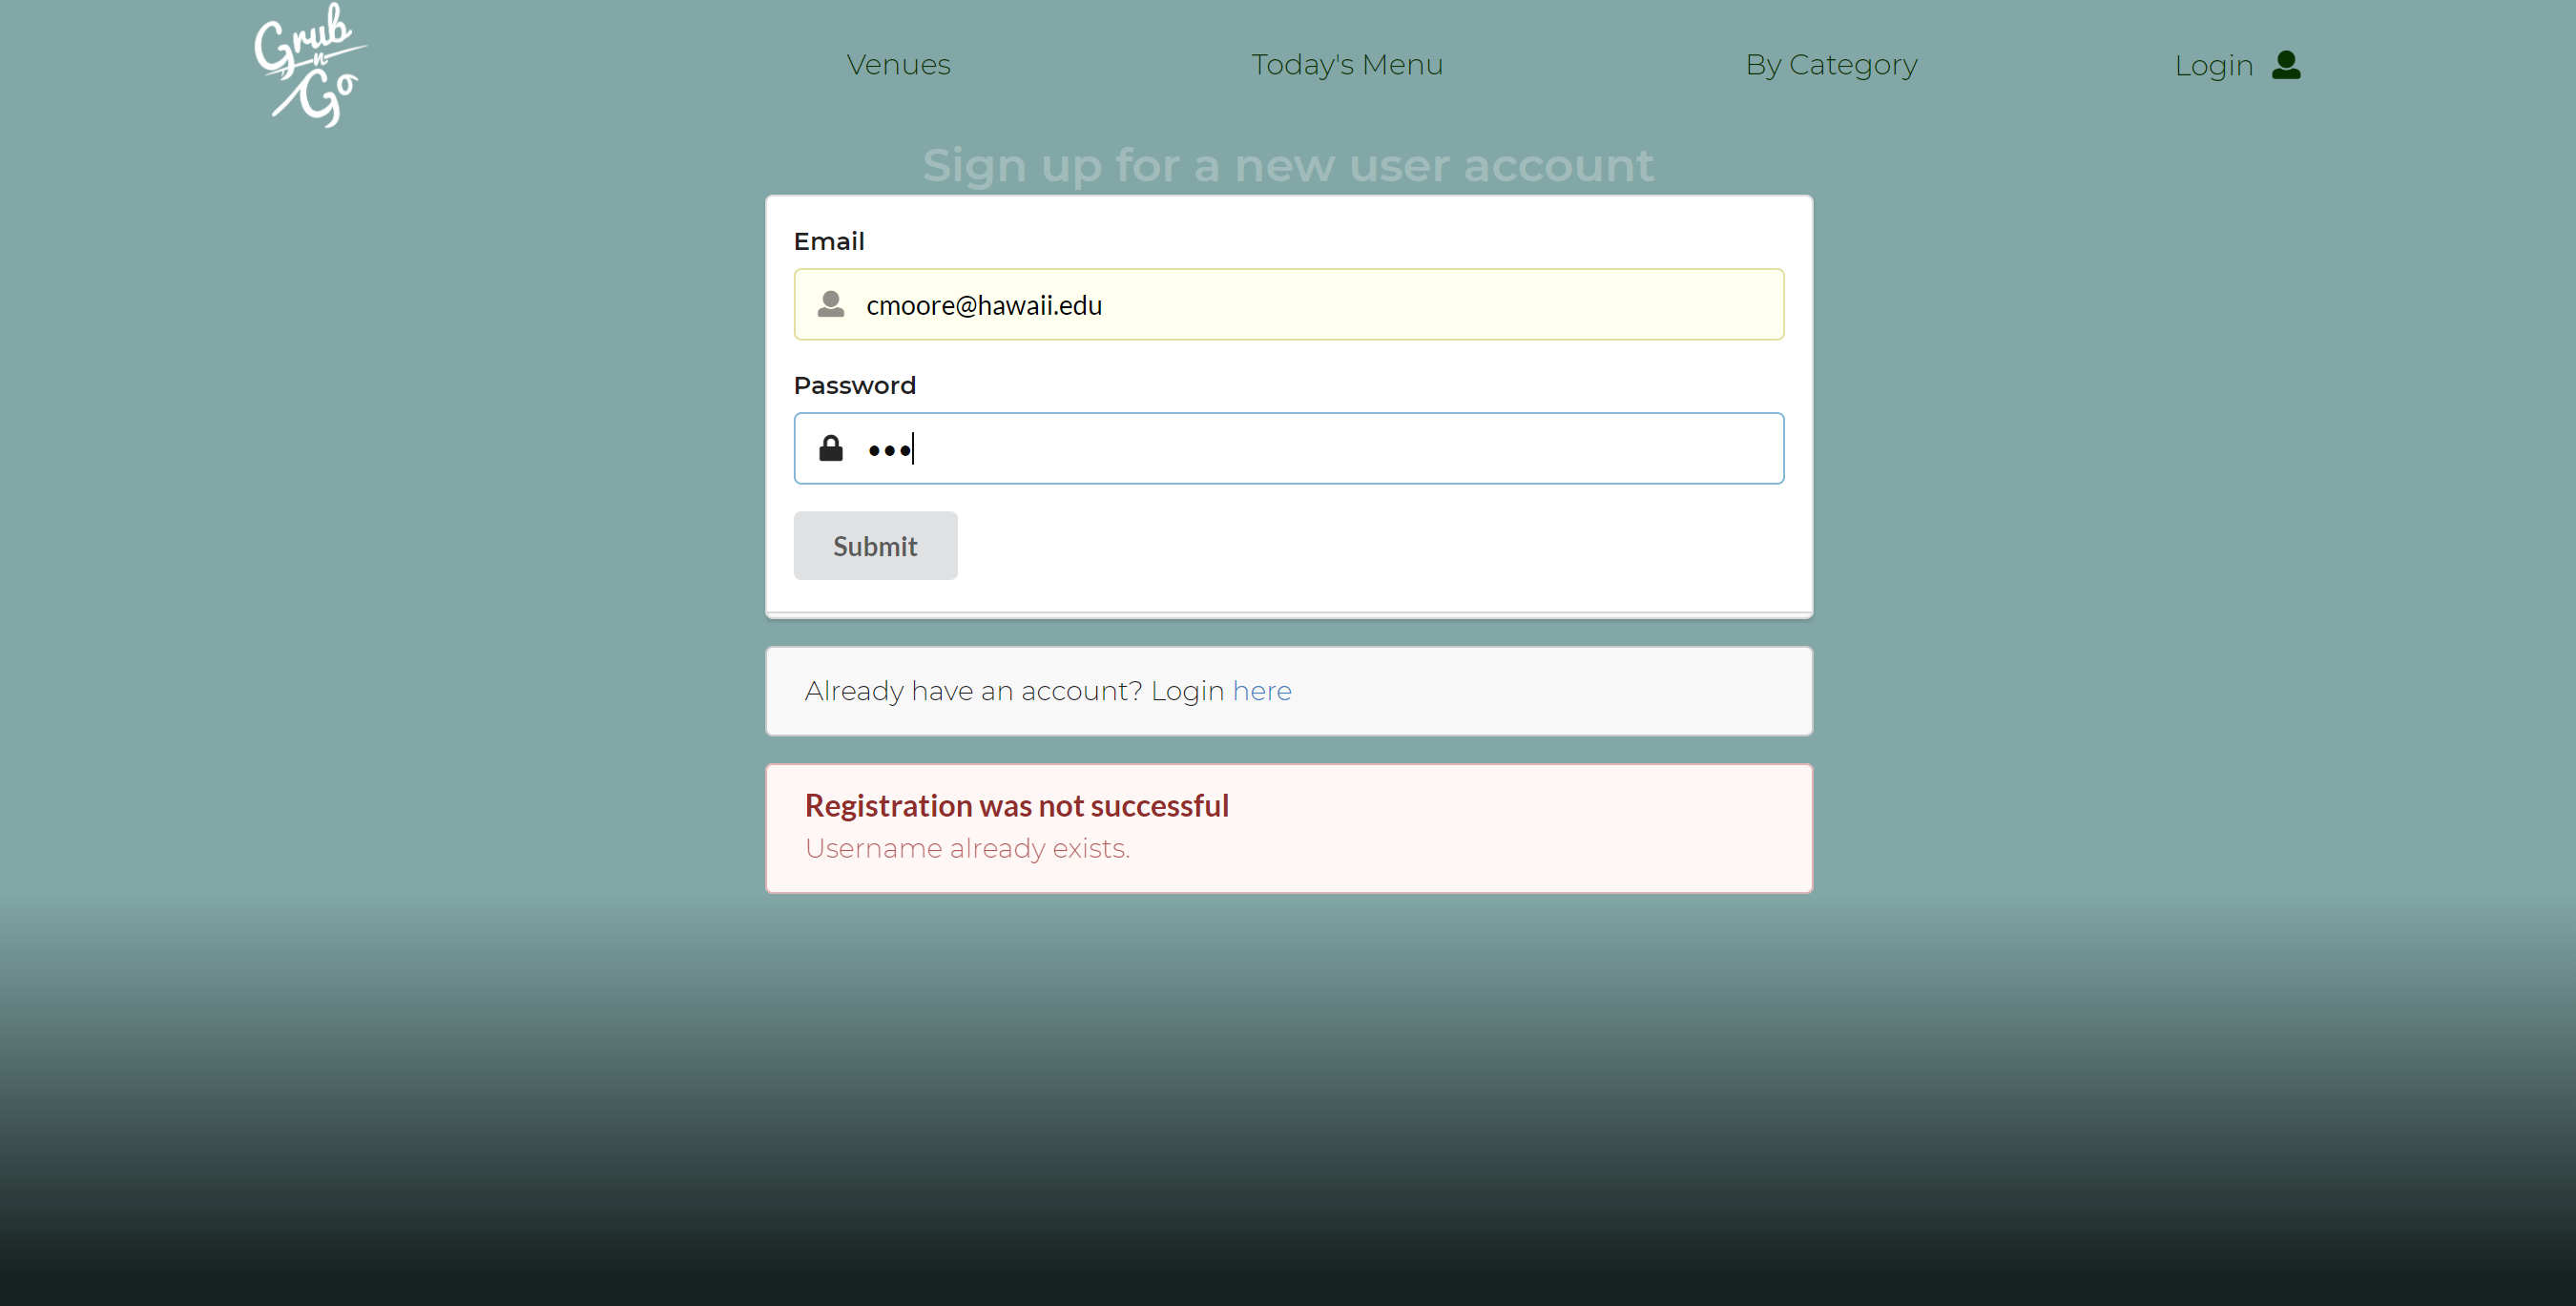 |
Vendor Sign-Up Error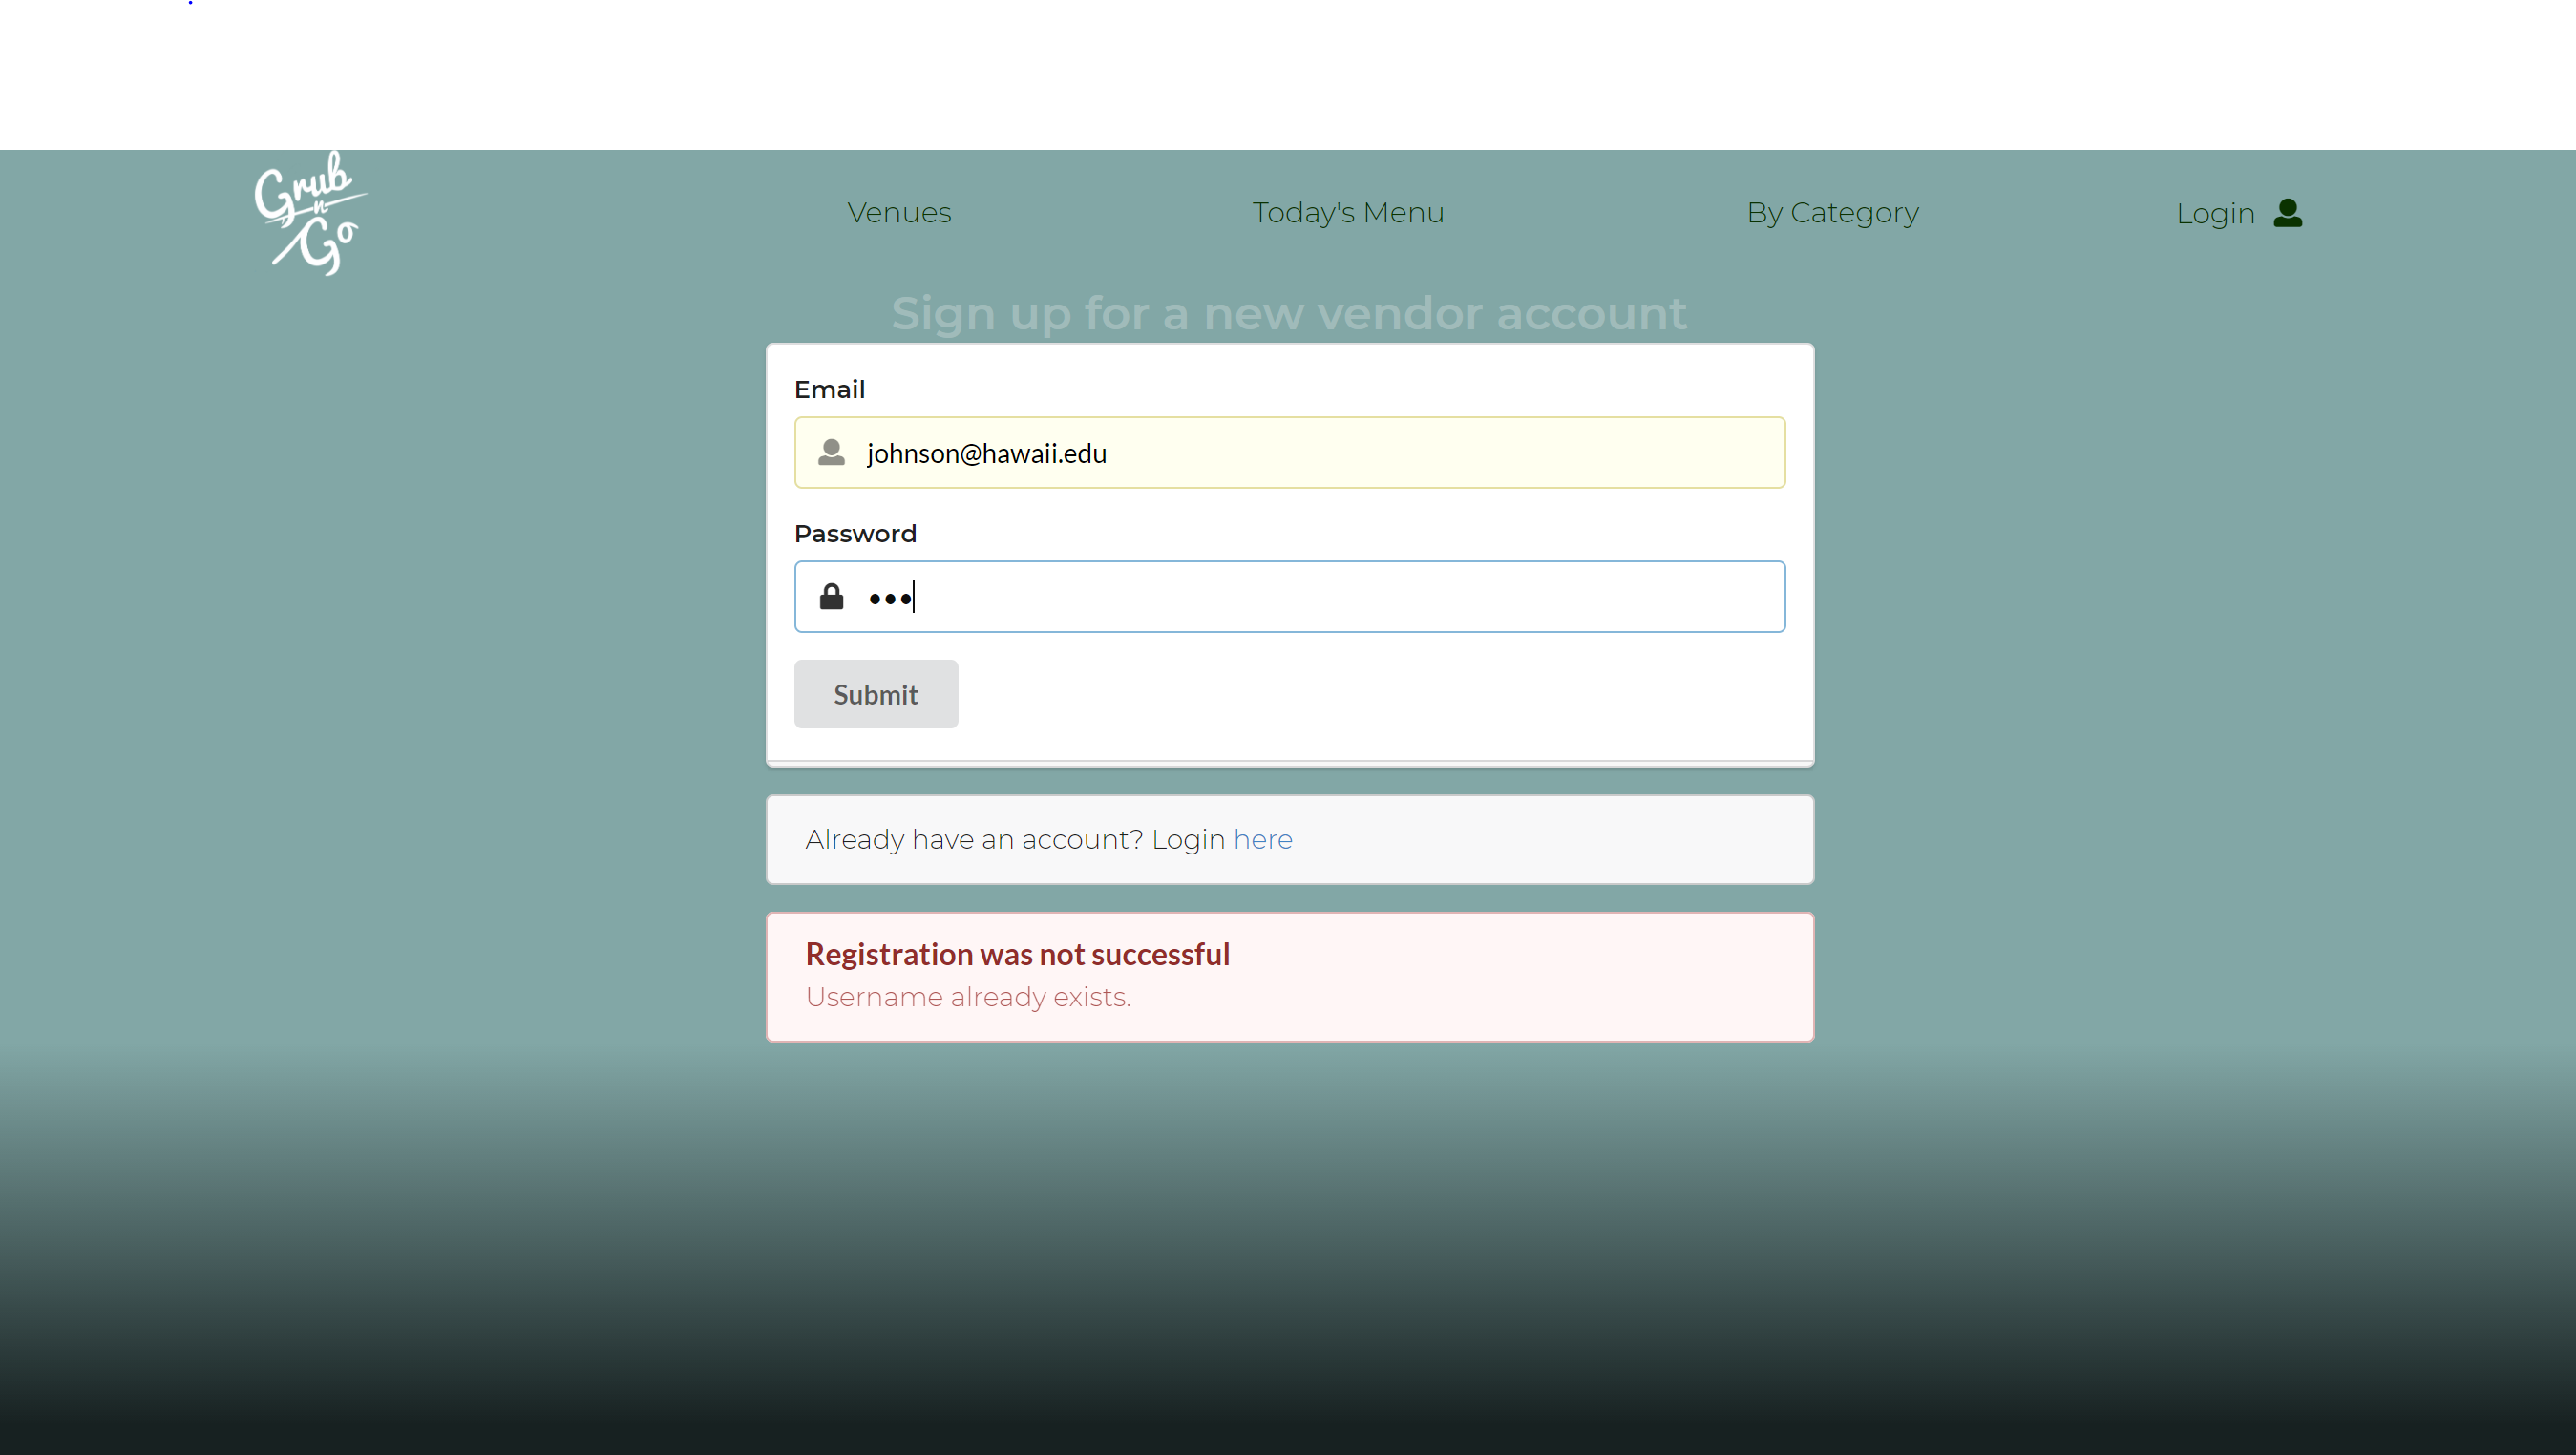 |
Login Drop-Down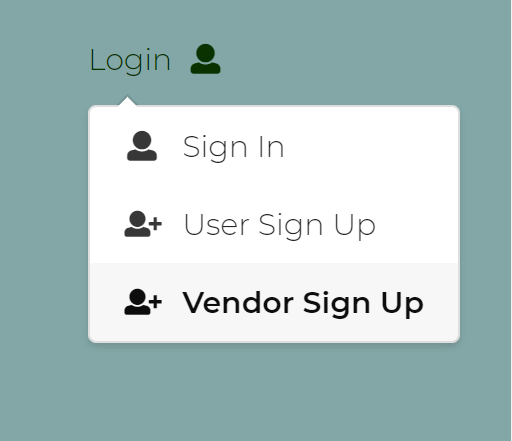 |
Adding A Profile Form
When creating a new profile and the users email has be checked against the database and no such email exists, the user will be redirected to a form for the user to fill out, which can be seen below. Once the form has been filled out a pop-up window will be displayed indicating that the profile has be successfully been created and added to the database.
Sign Up Form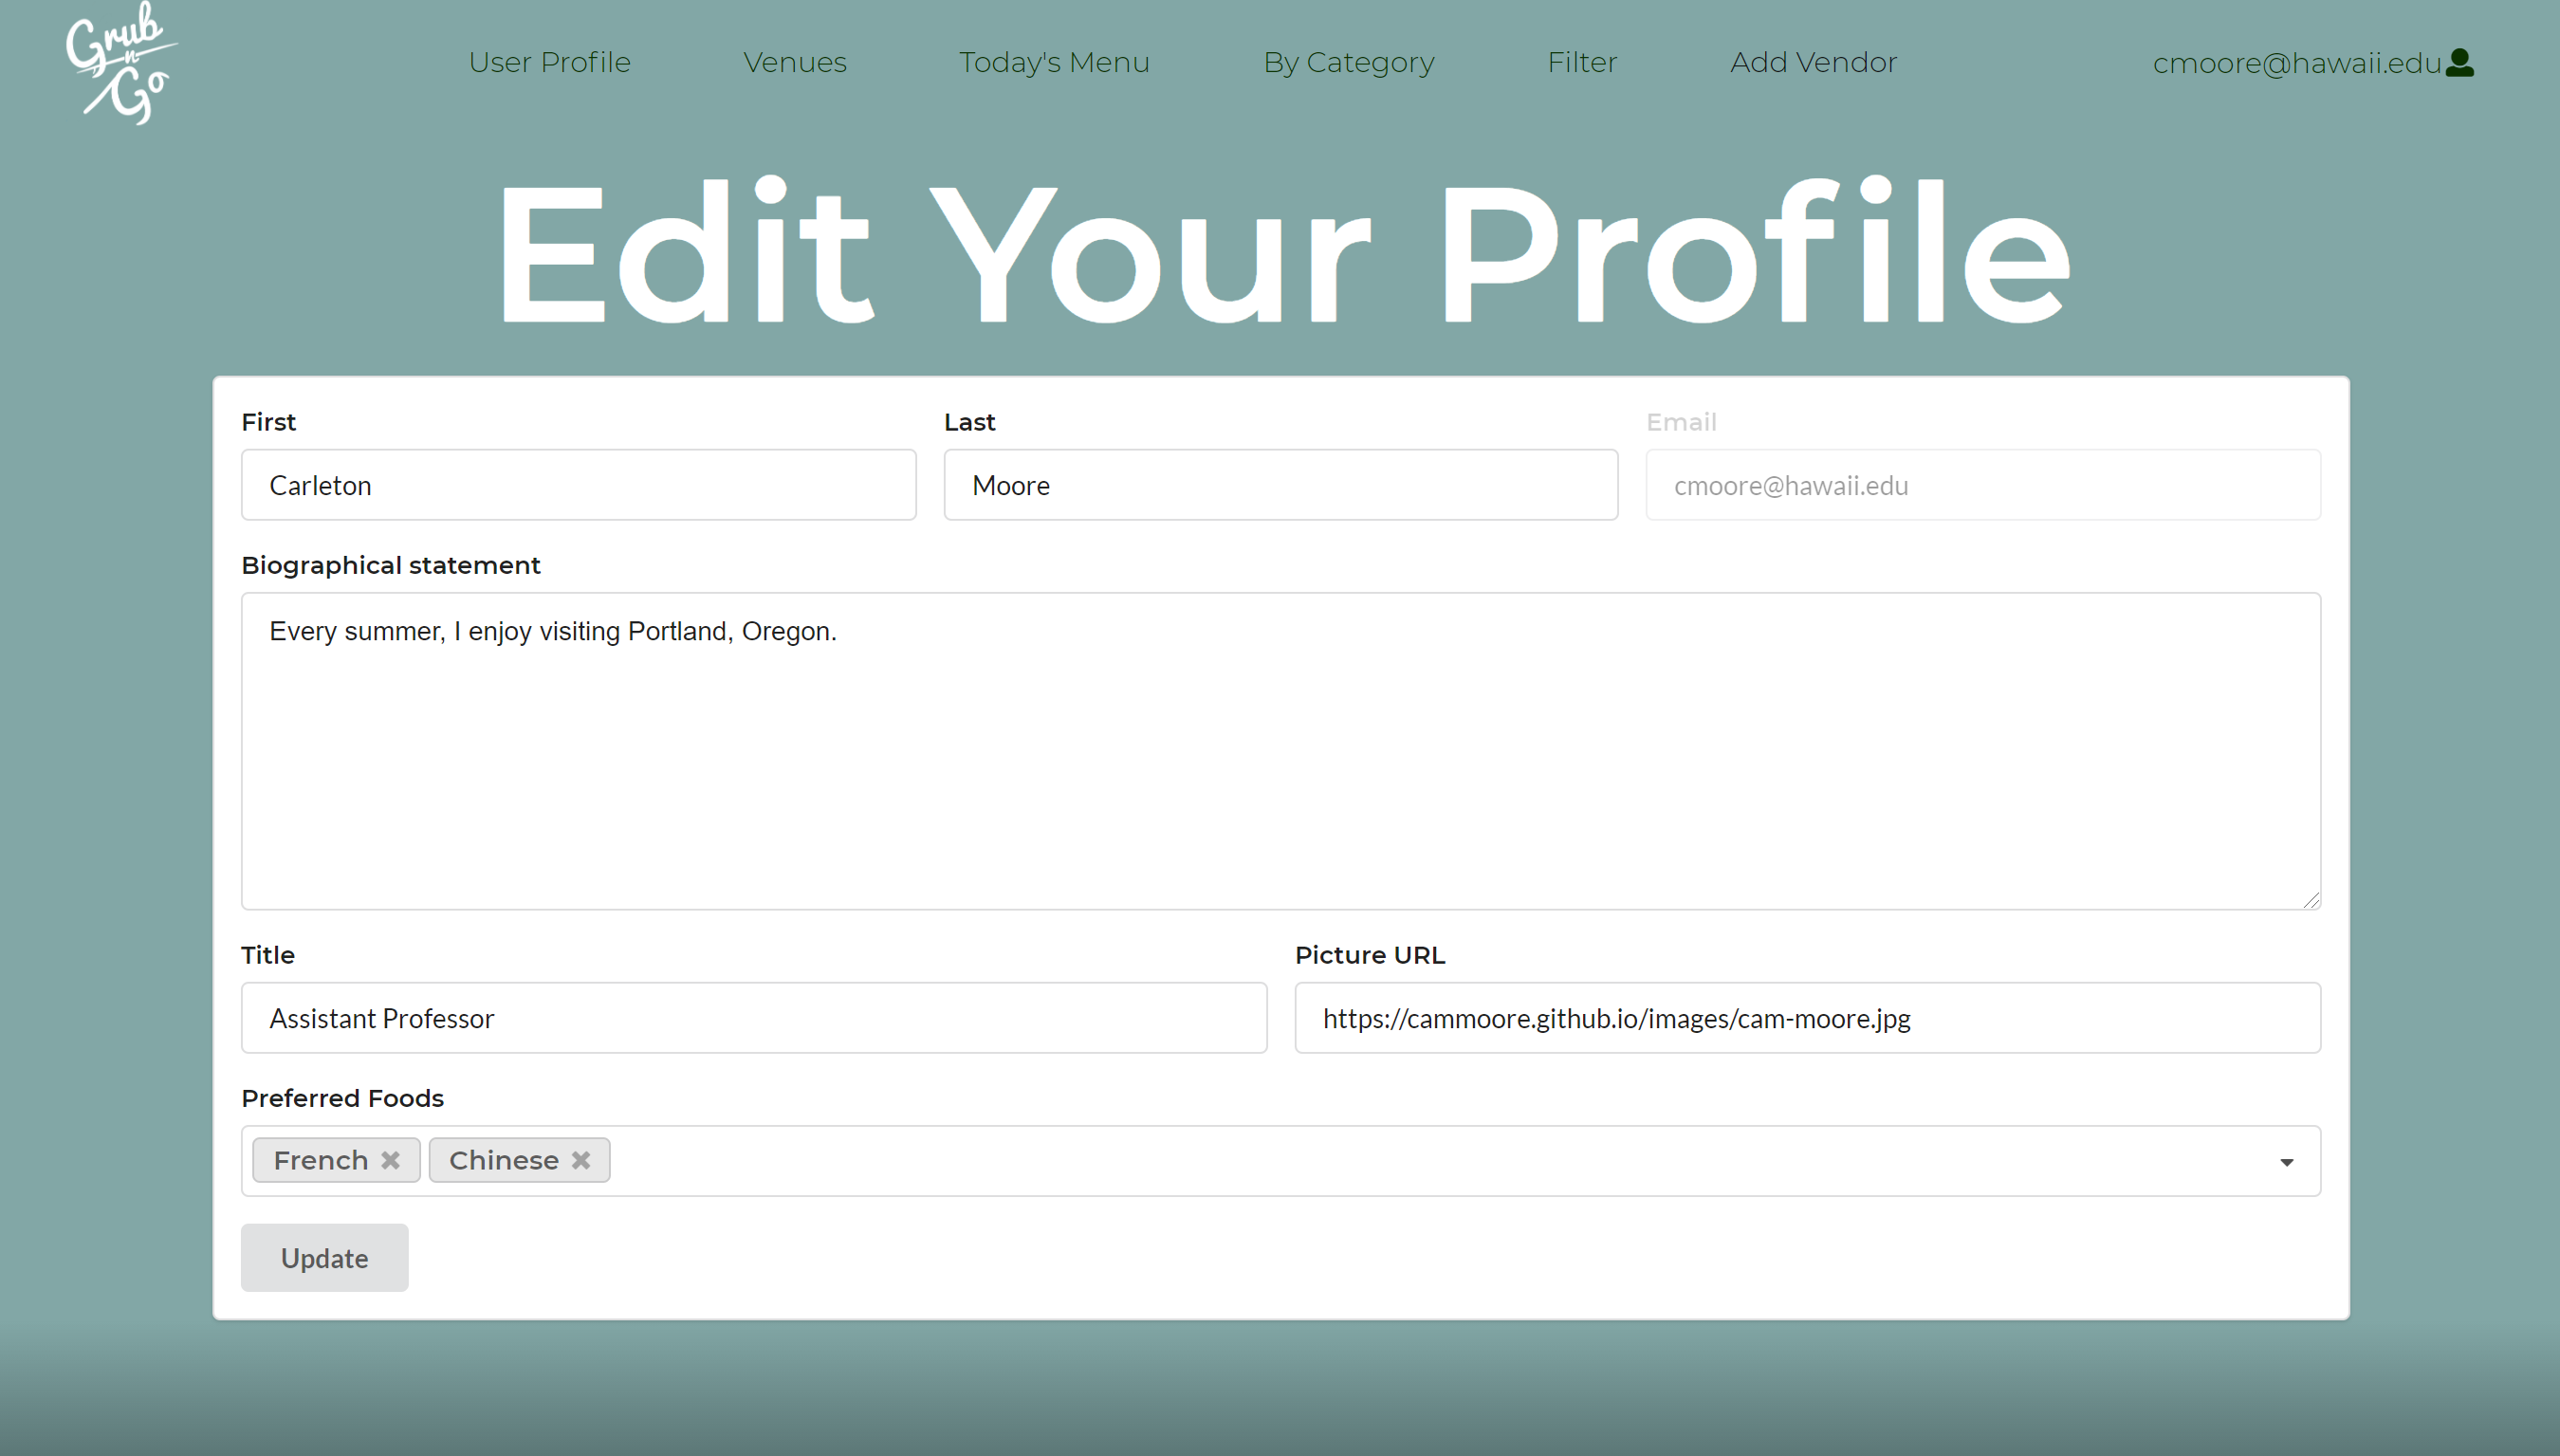 |
Sign-Up Success Page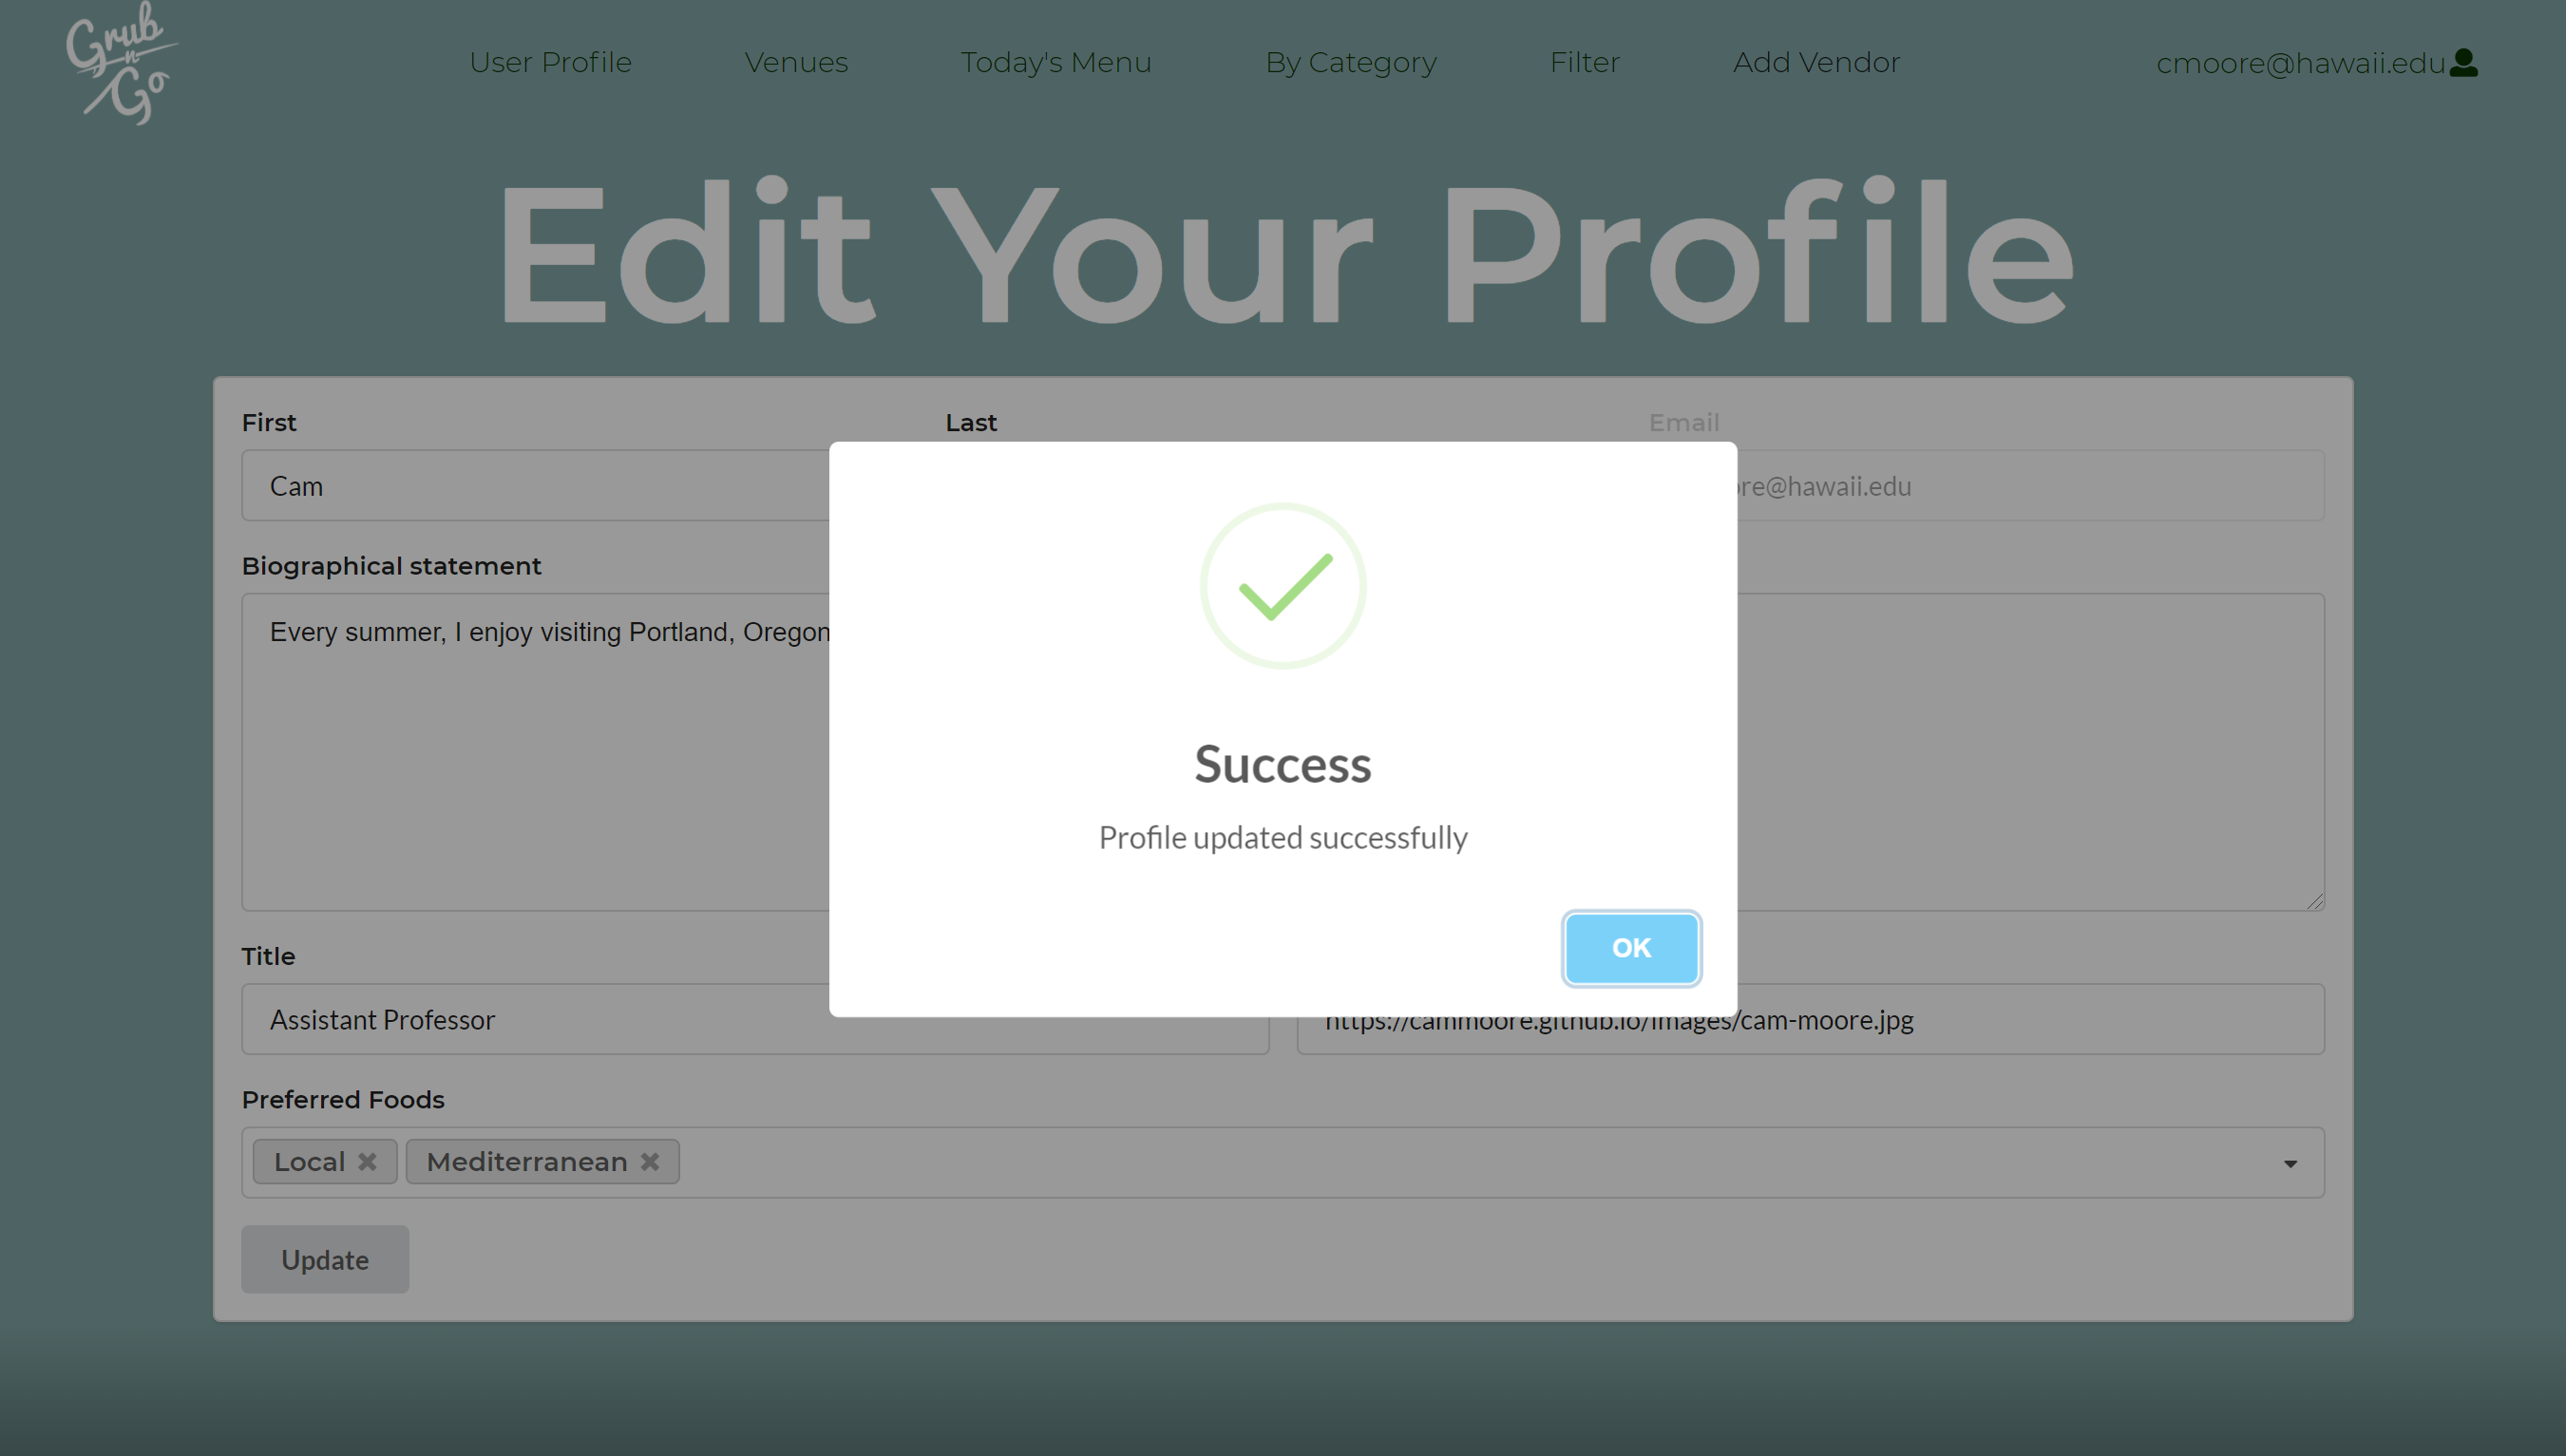 |
User Profile
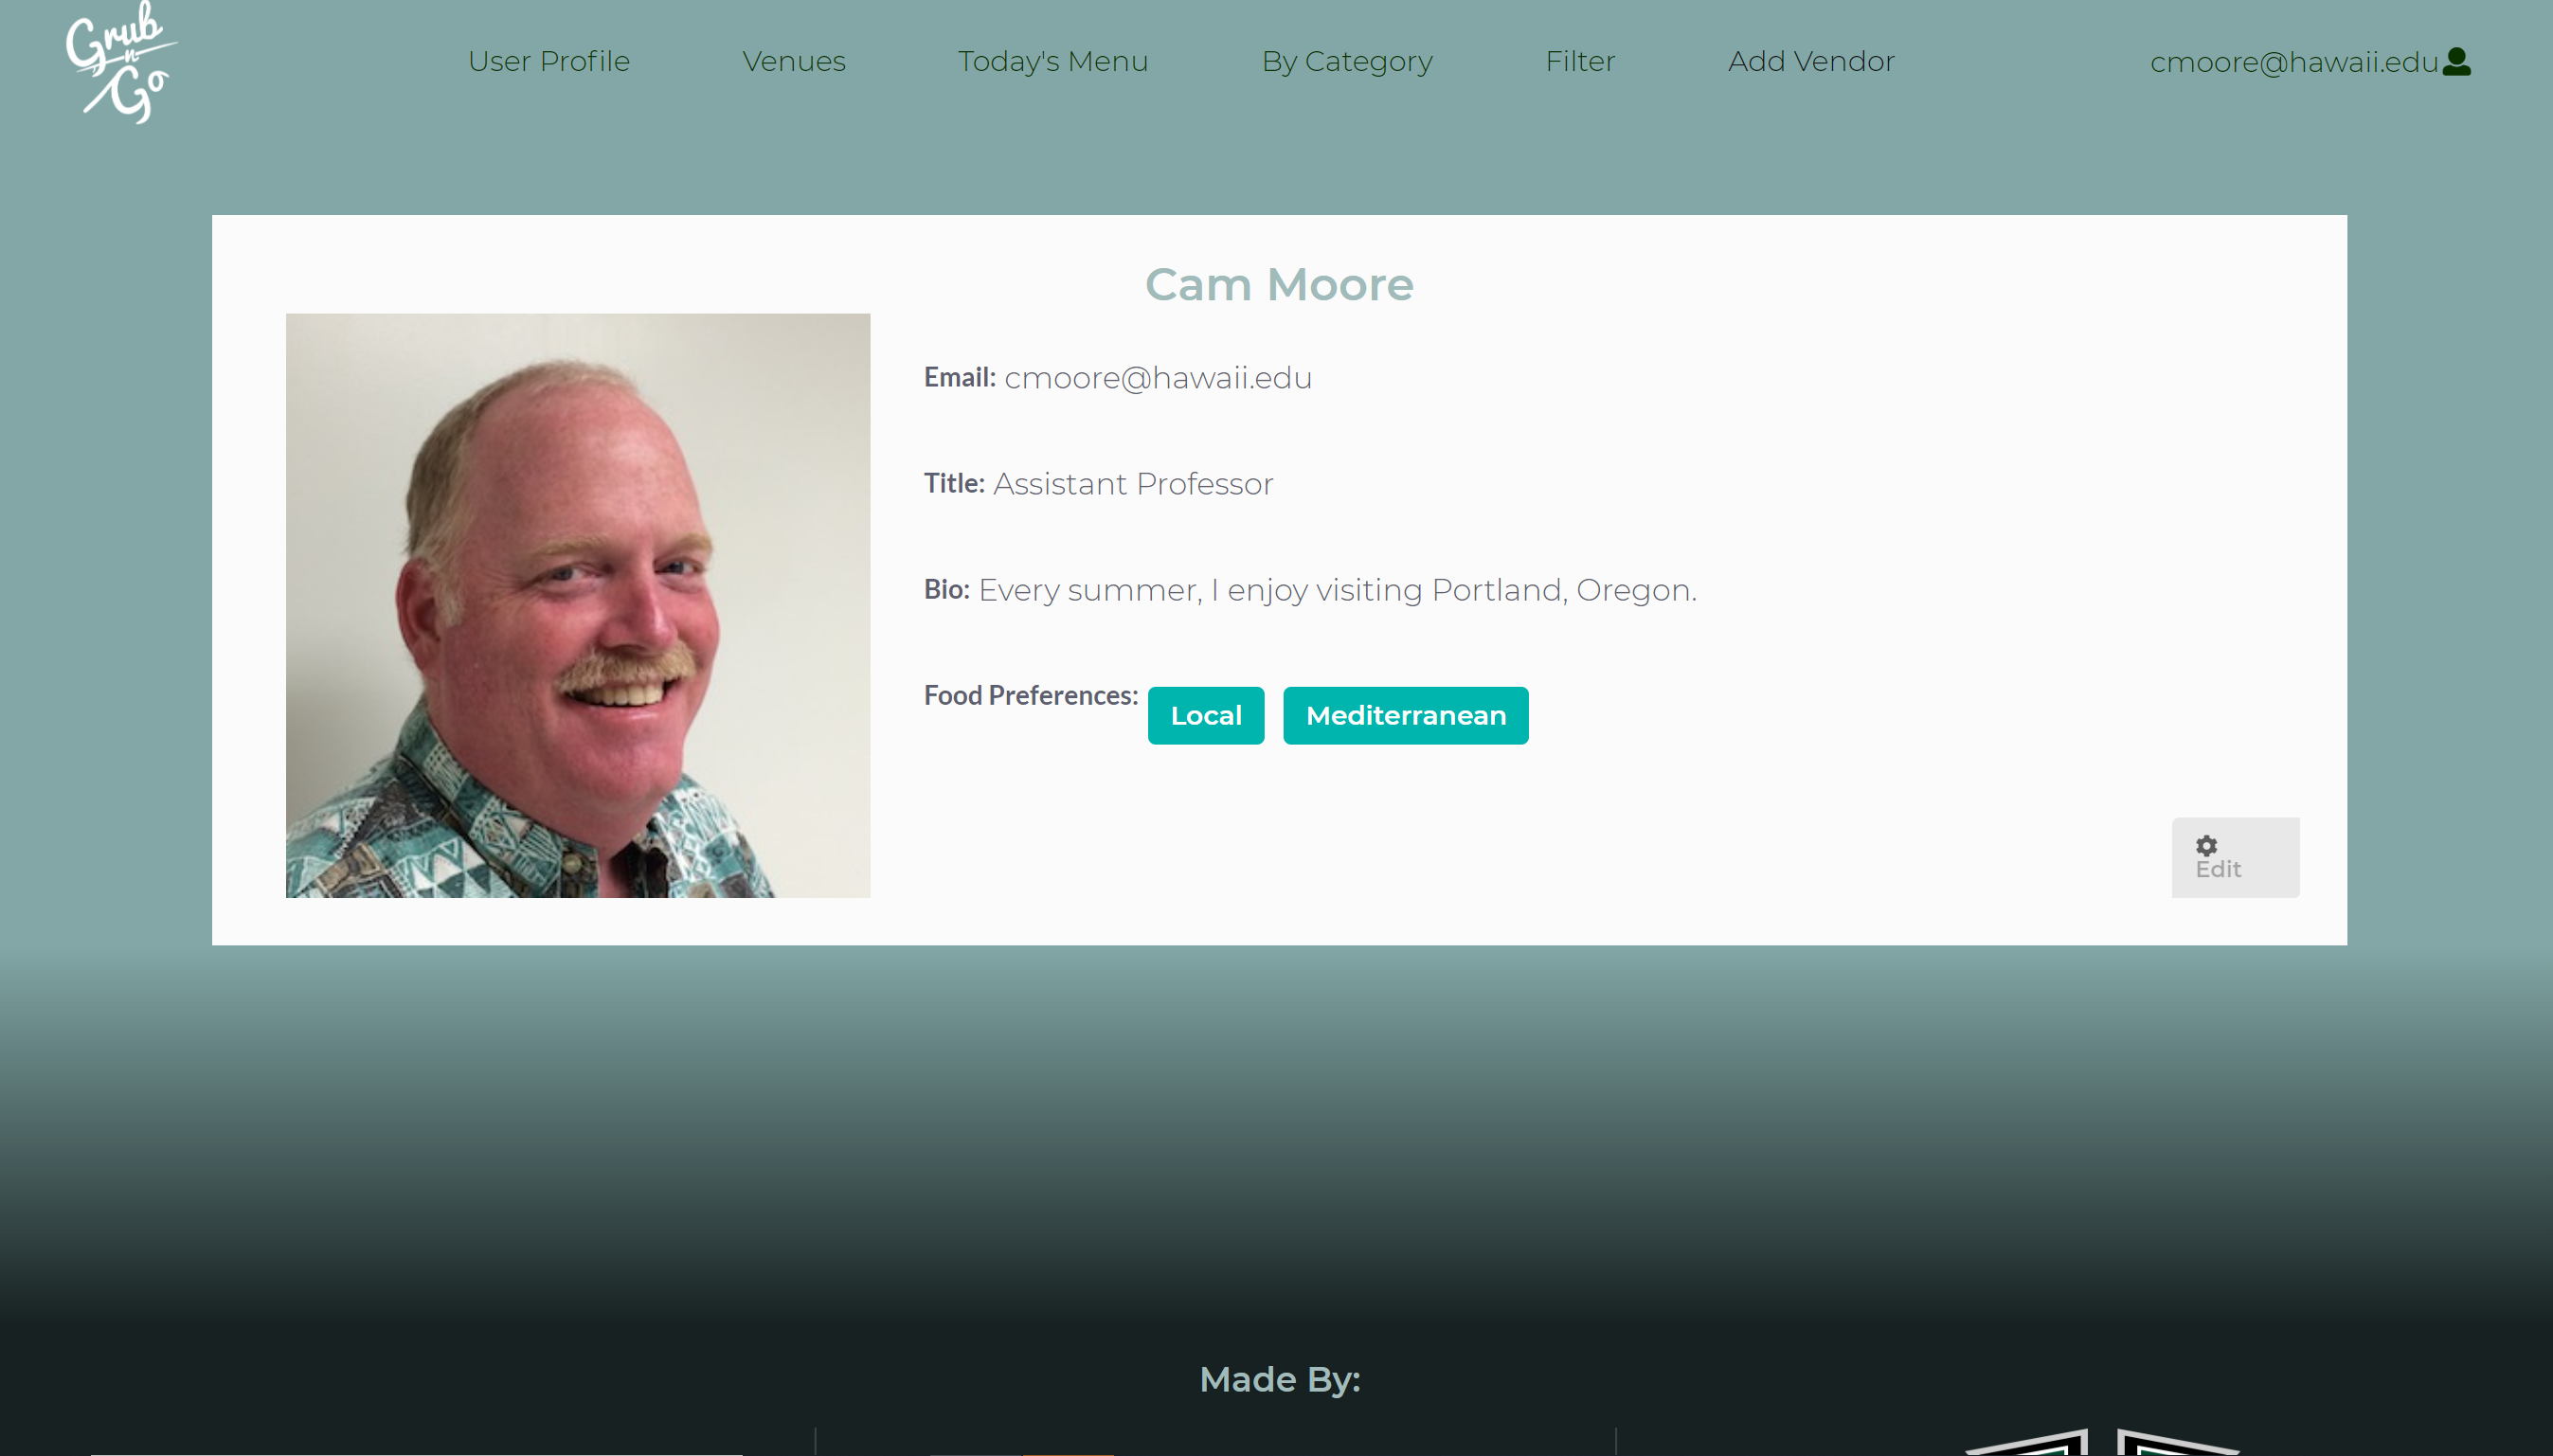
The User Profile displays the user information with their information, such as, their email, title, bio, and their preferences in food. The user will be able to edit their profile as they see fit with the edit button.
Vendor Form
Upon signing up if the user designated themselves as a vendor, the user would then have the option to add their vendor to the venues page. Clicking on Vendor will re-direct the user to the vendor form. The vendor would need to input their contact information, the name of their business their location on campus, hours of operation, a description of their establishment, a picture or logo, and they type of food they serve. After filling out the form and the vendor clicks on submit the venue would then be added to the venue page and a pop-up window will display indicating successfull addition of the venue.
Vendor Form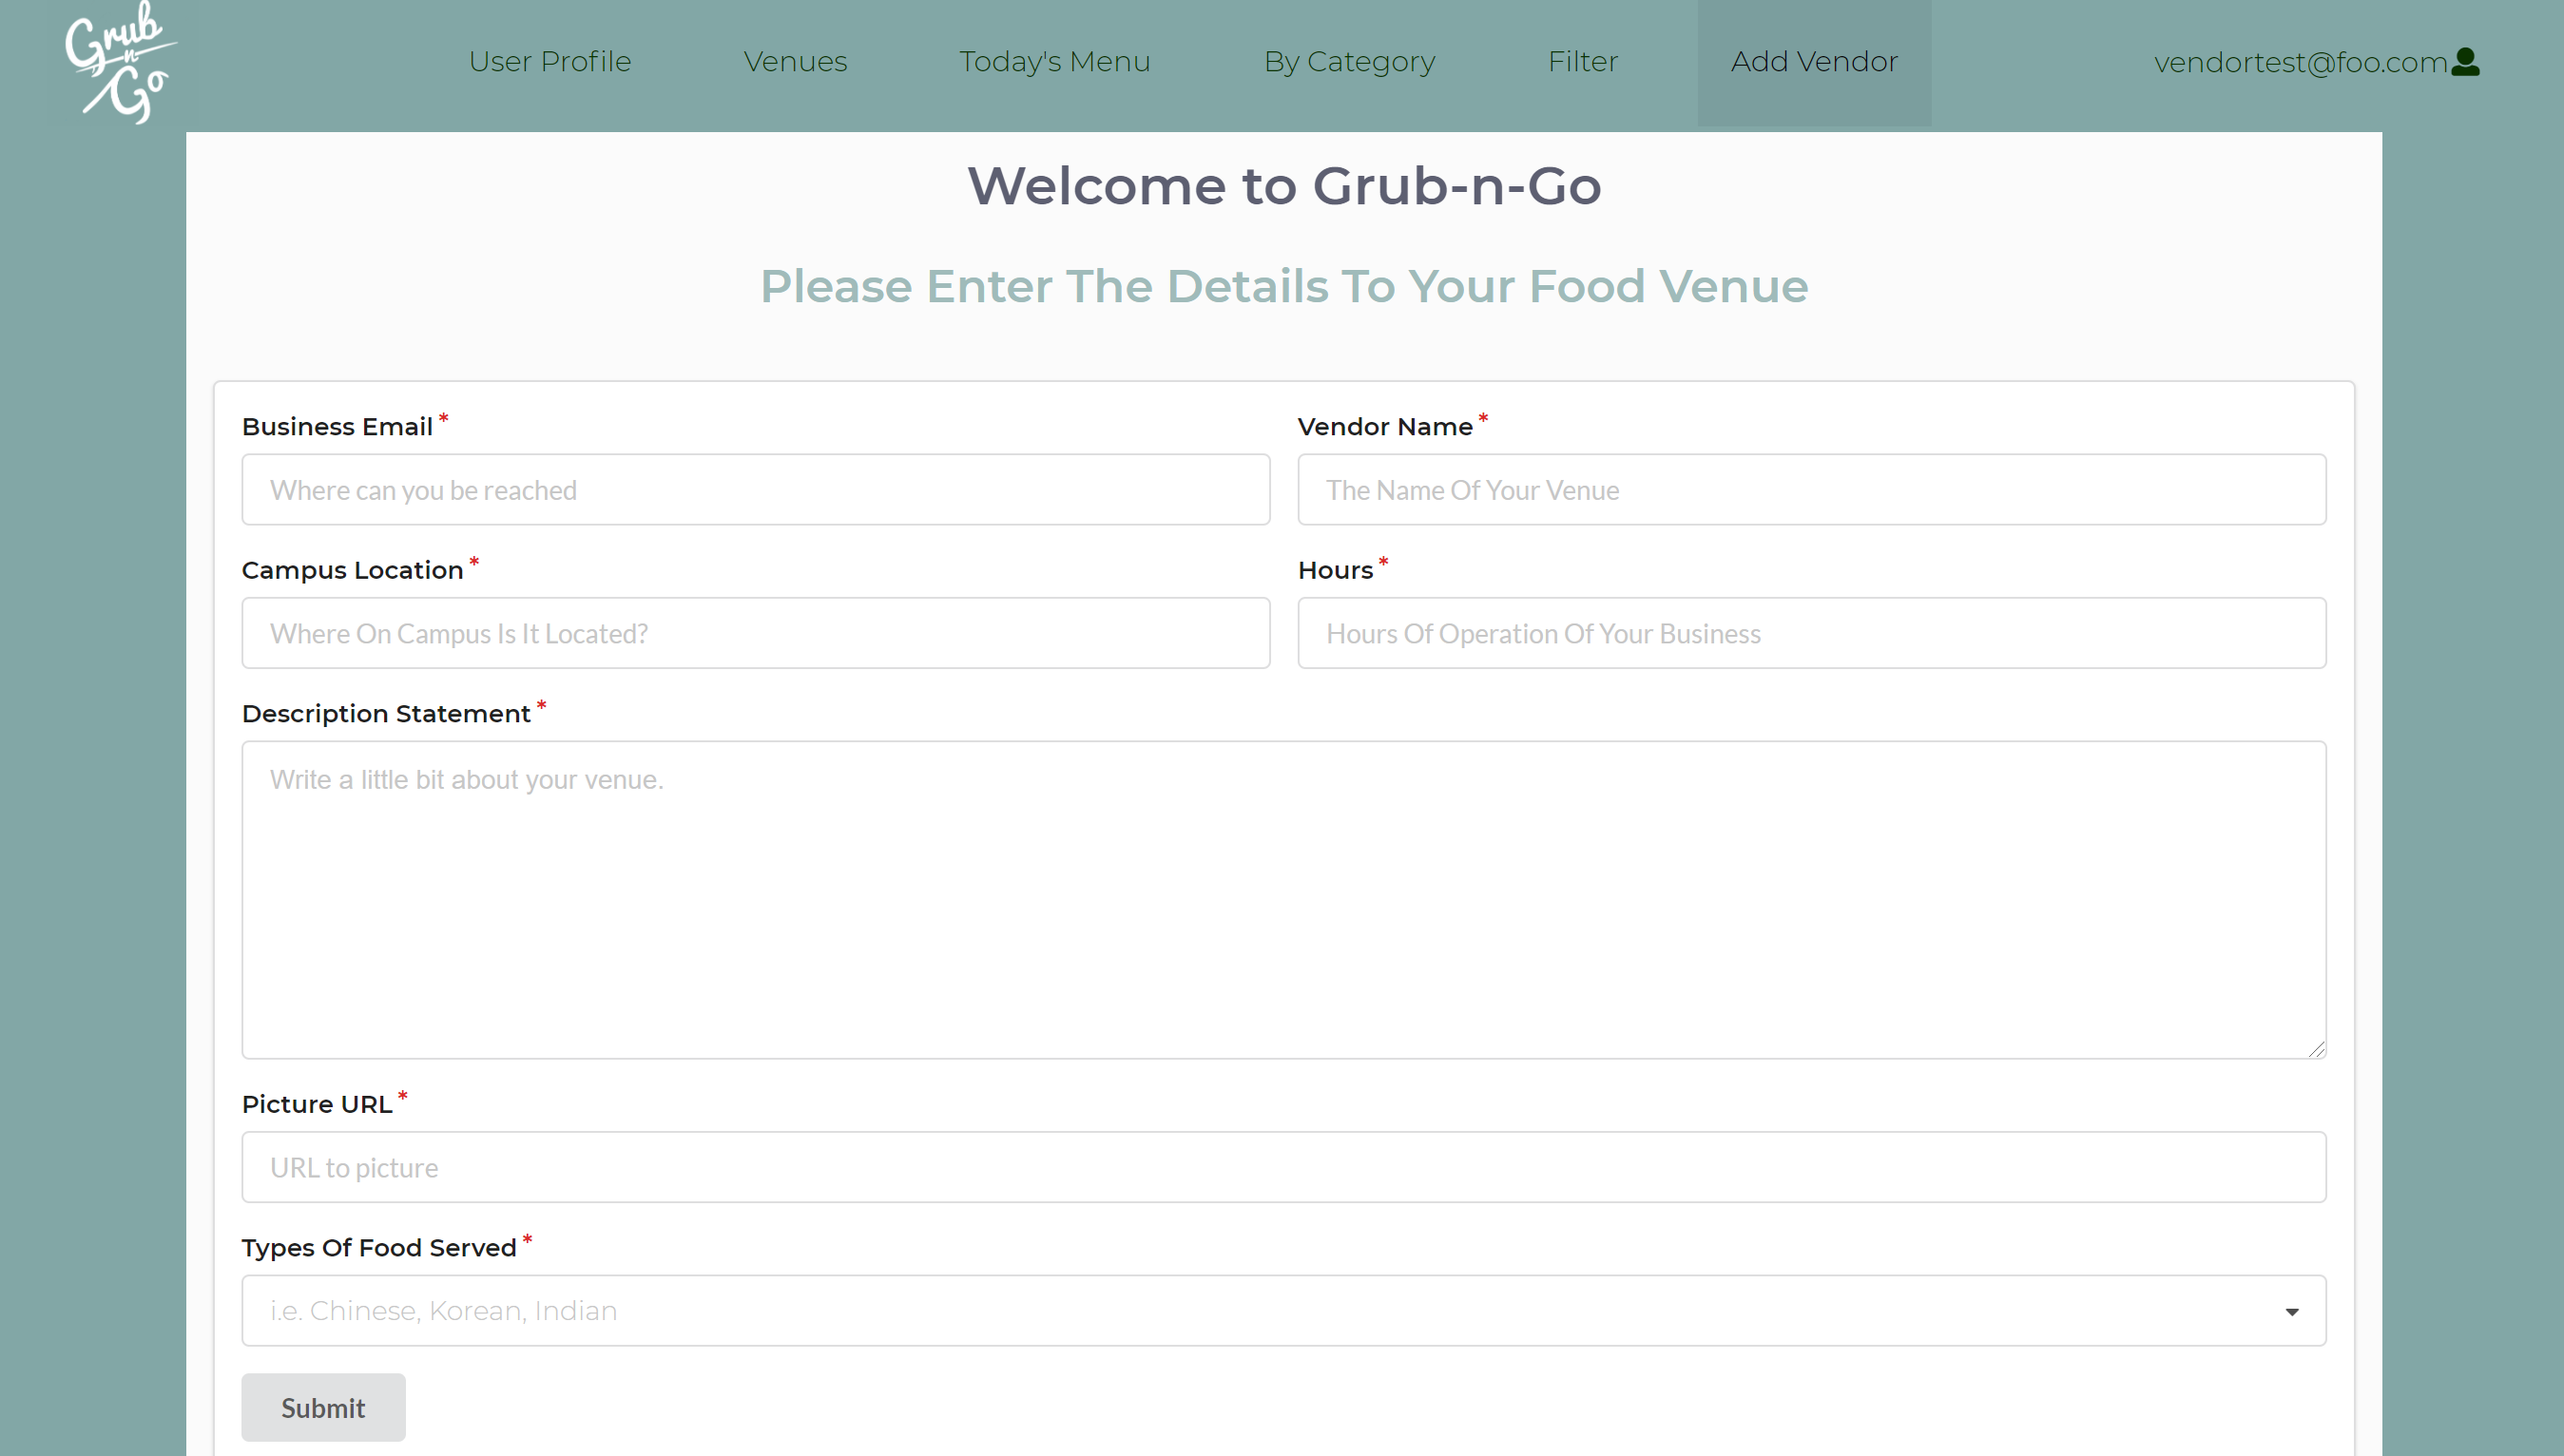 |
Vendor Success Page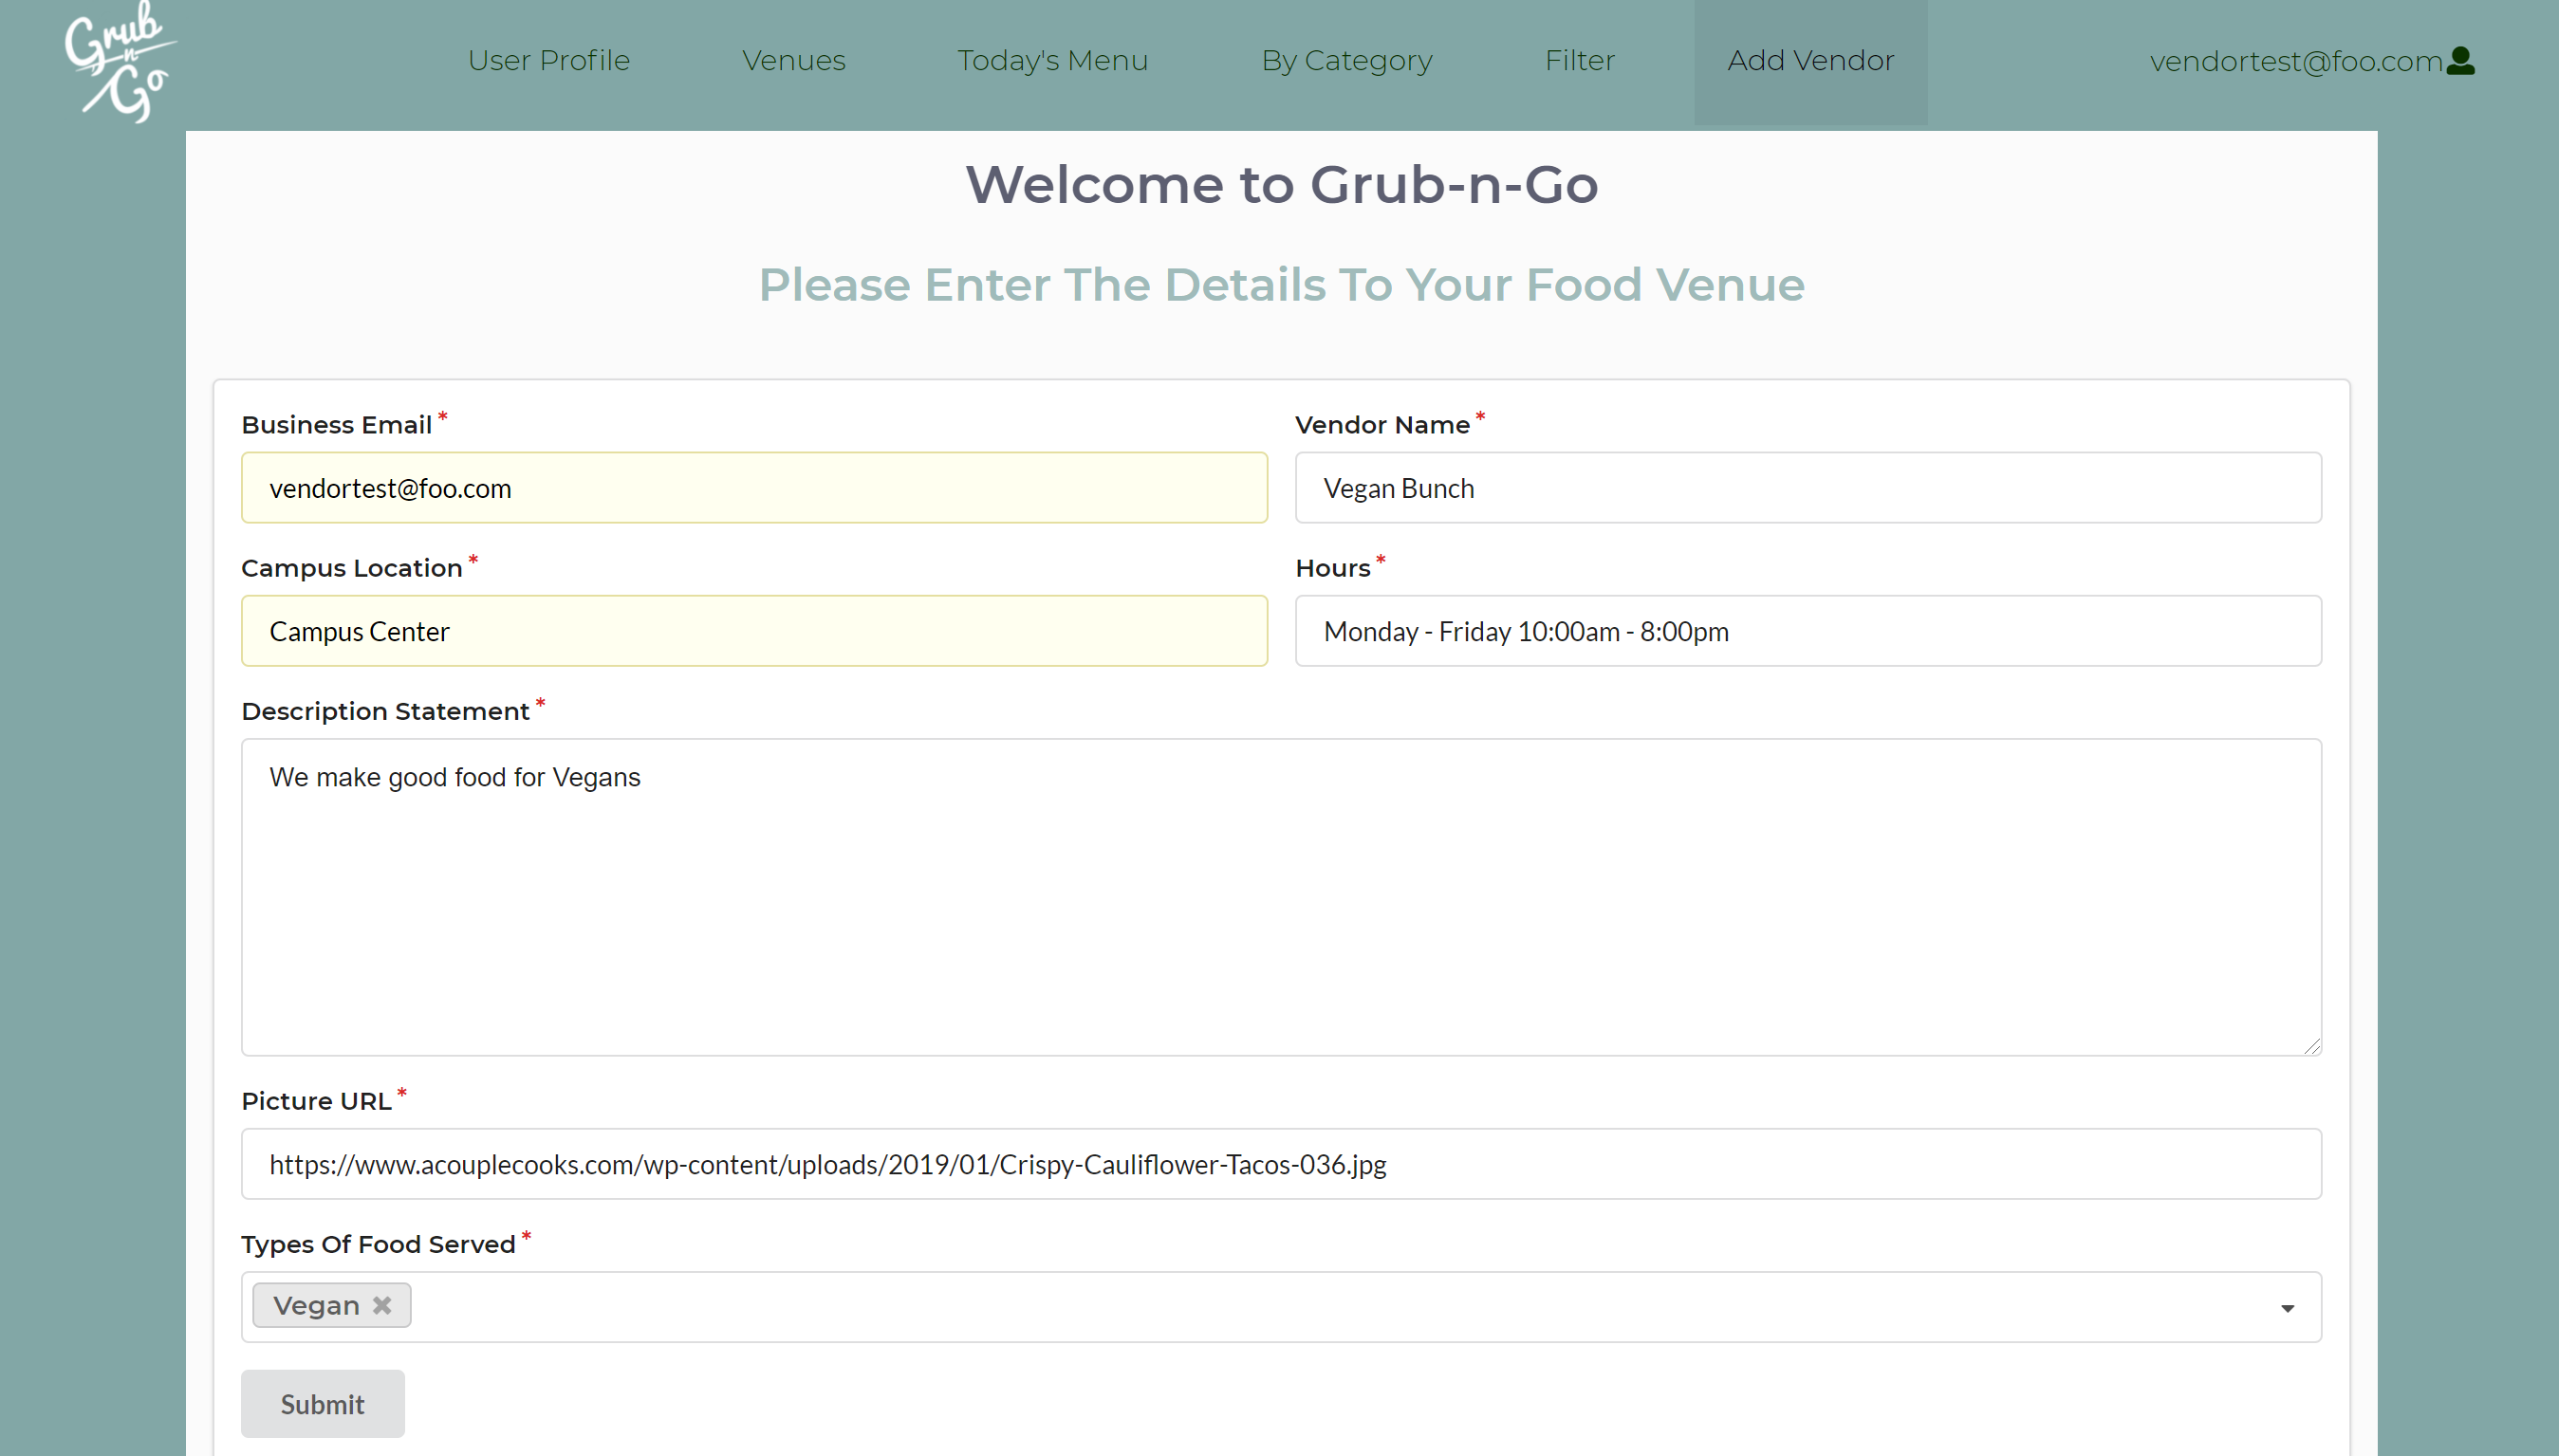 |
Venues Page Before Adding A Vendor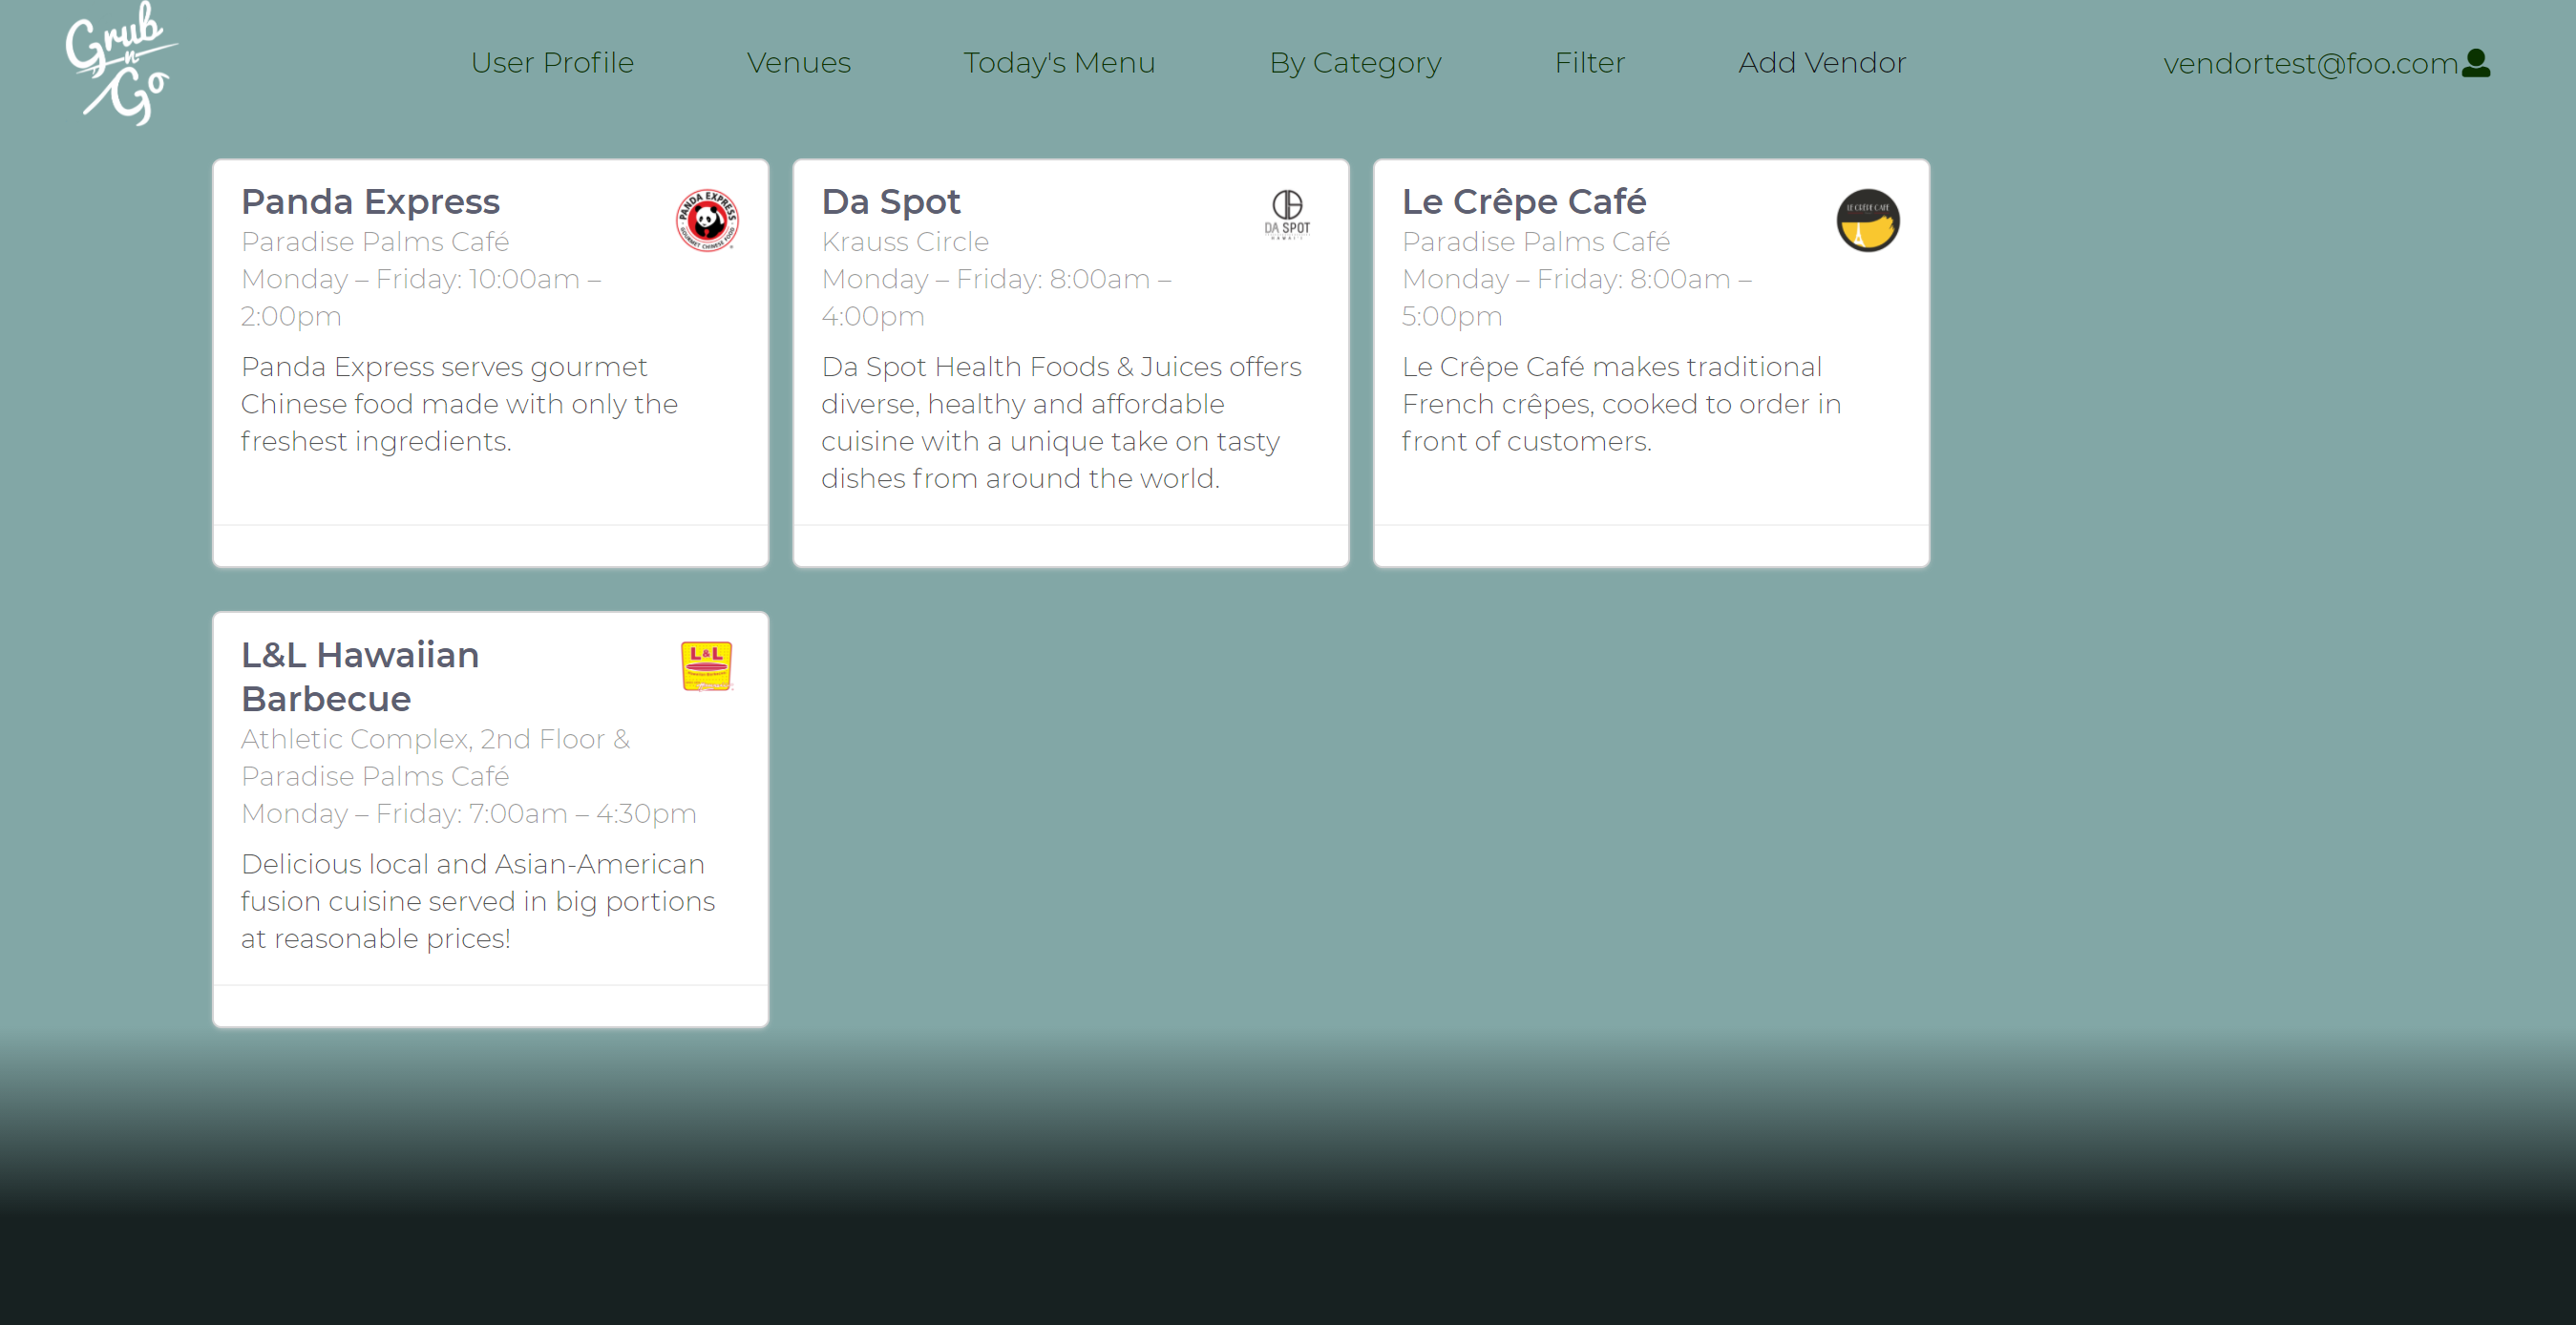 |
Venues Page After Adding A Vendor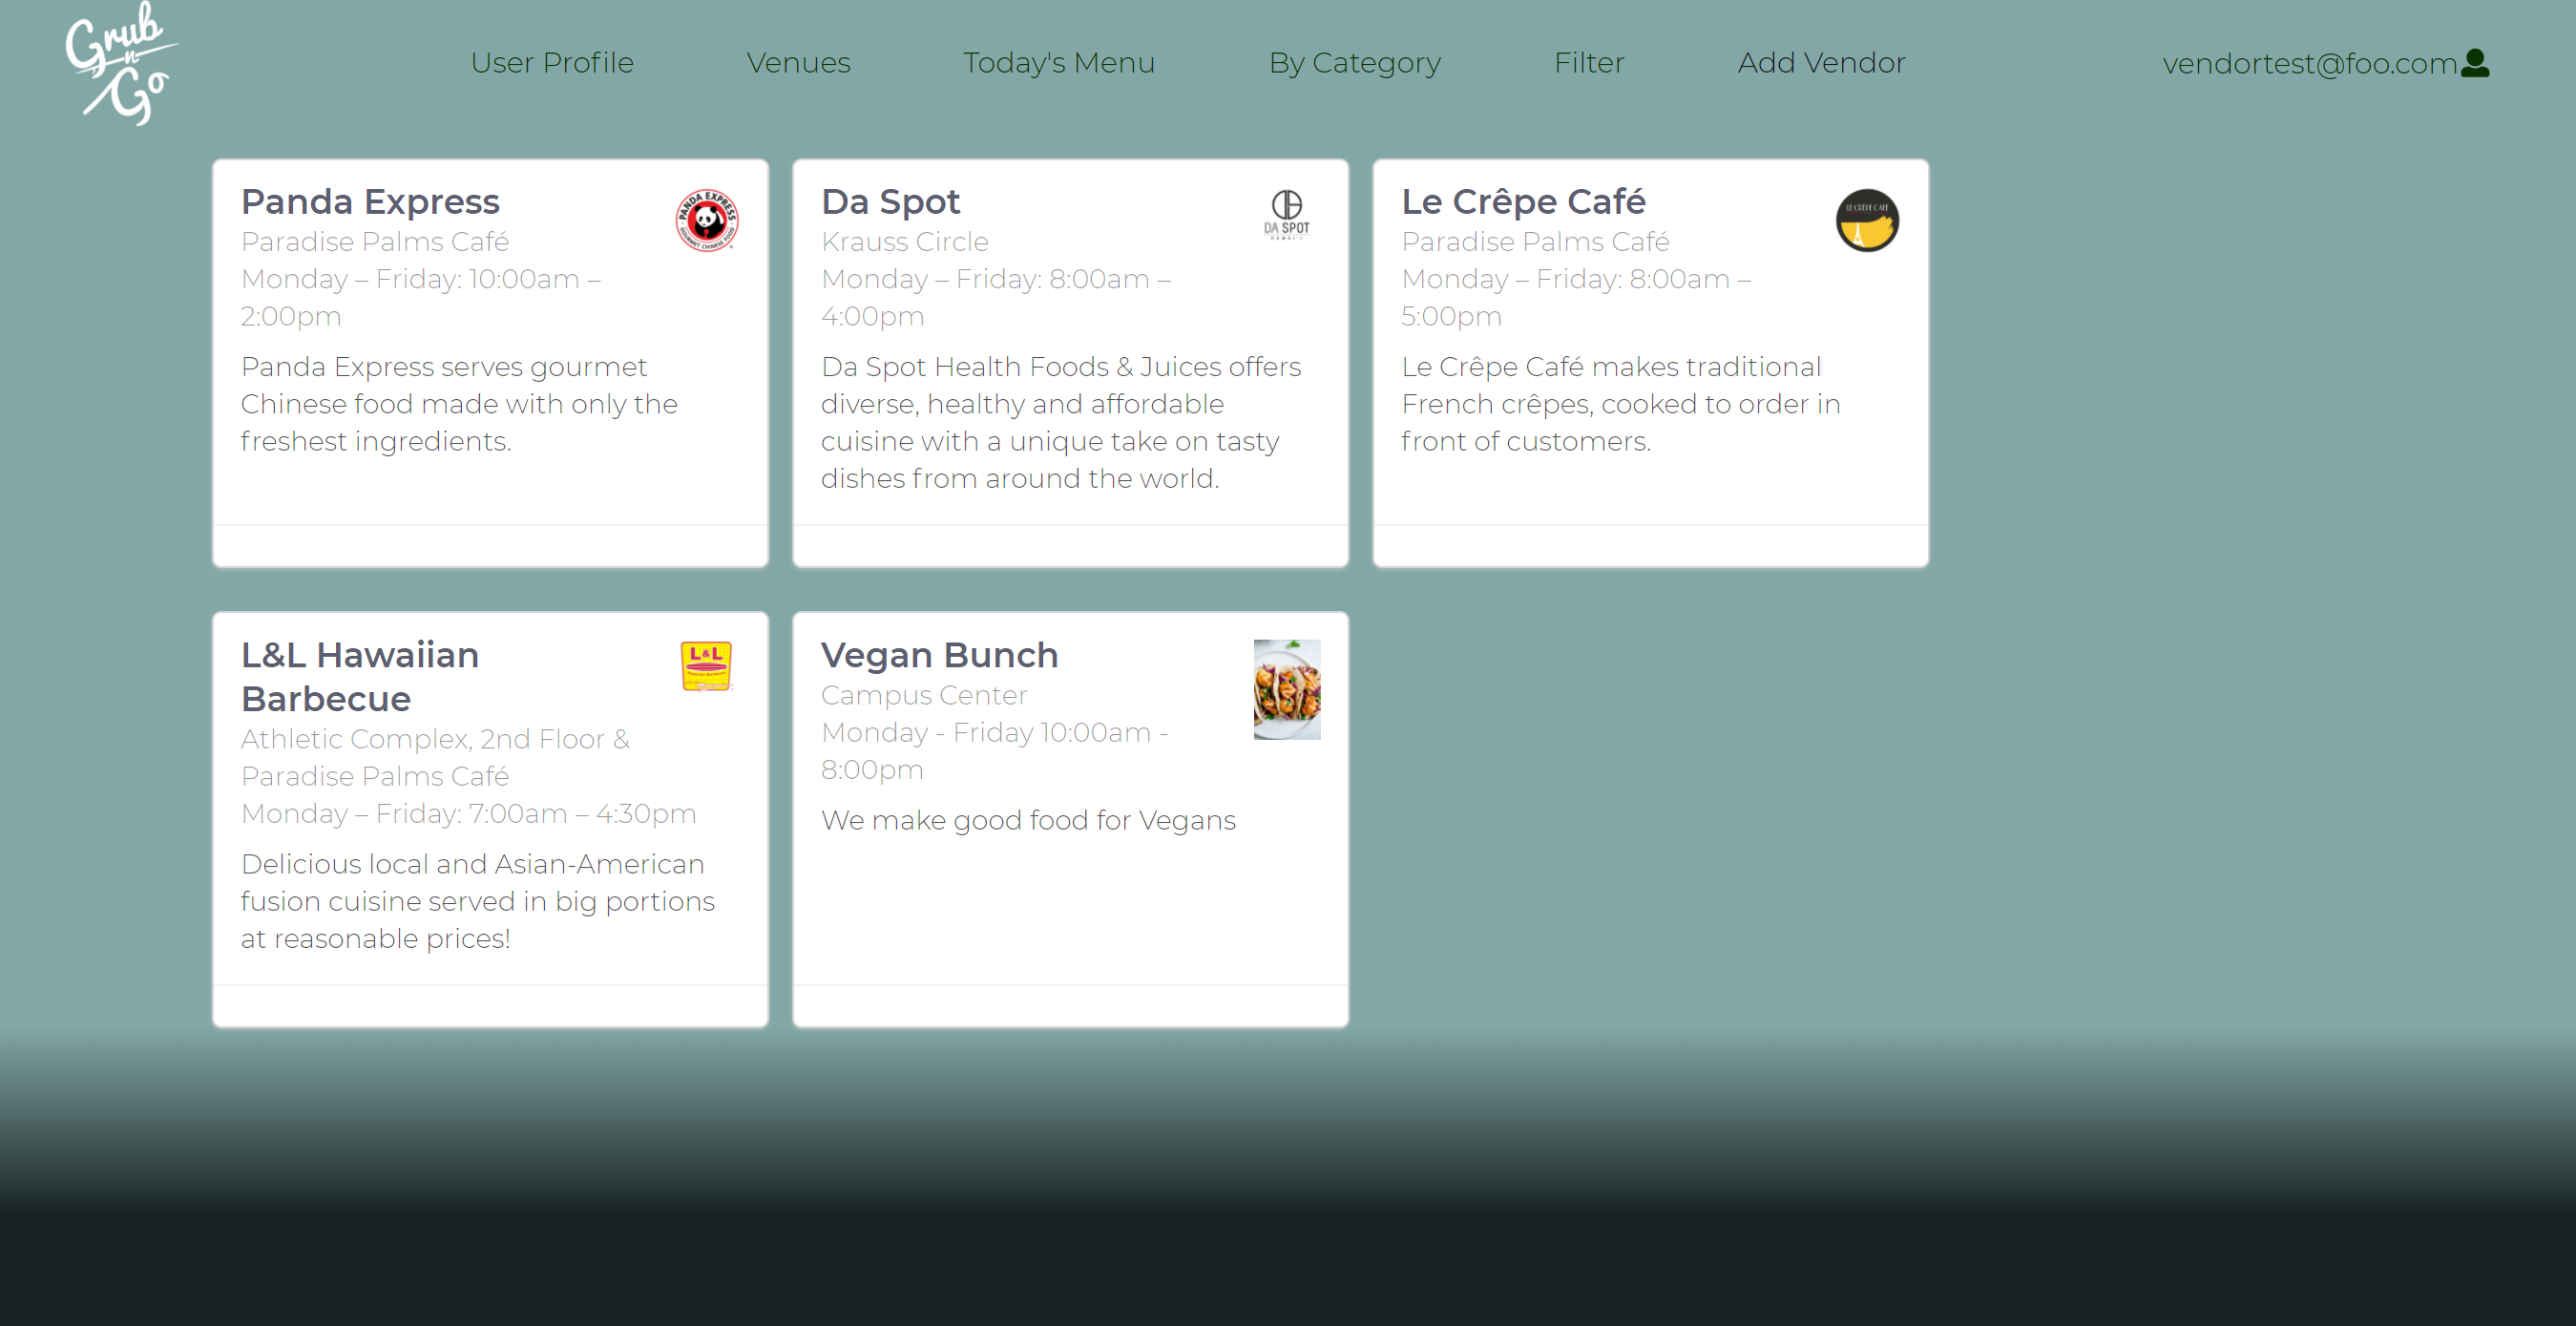 |
Admin
Admin would be displayed on the Navigation Bar if a user signs up or is registered as an admin. Within the admin page, the admin would be able to see a list of all the current users of the site and also all the available vendors/venues in the venues page in a card format.
List Of All Users Under Admin Login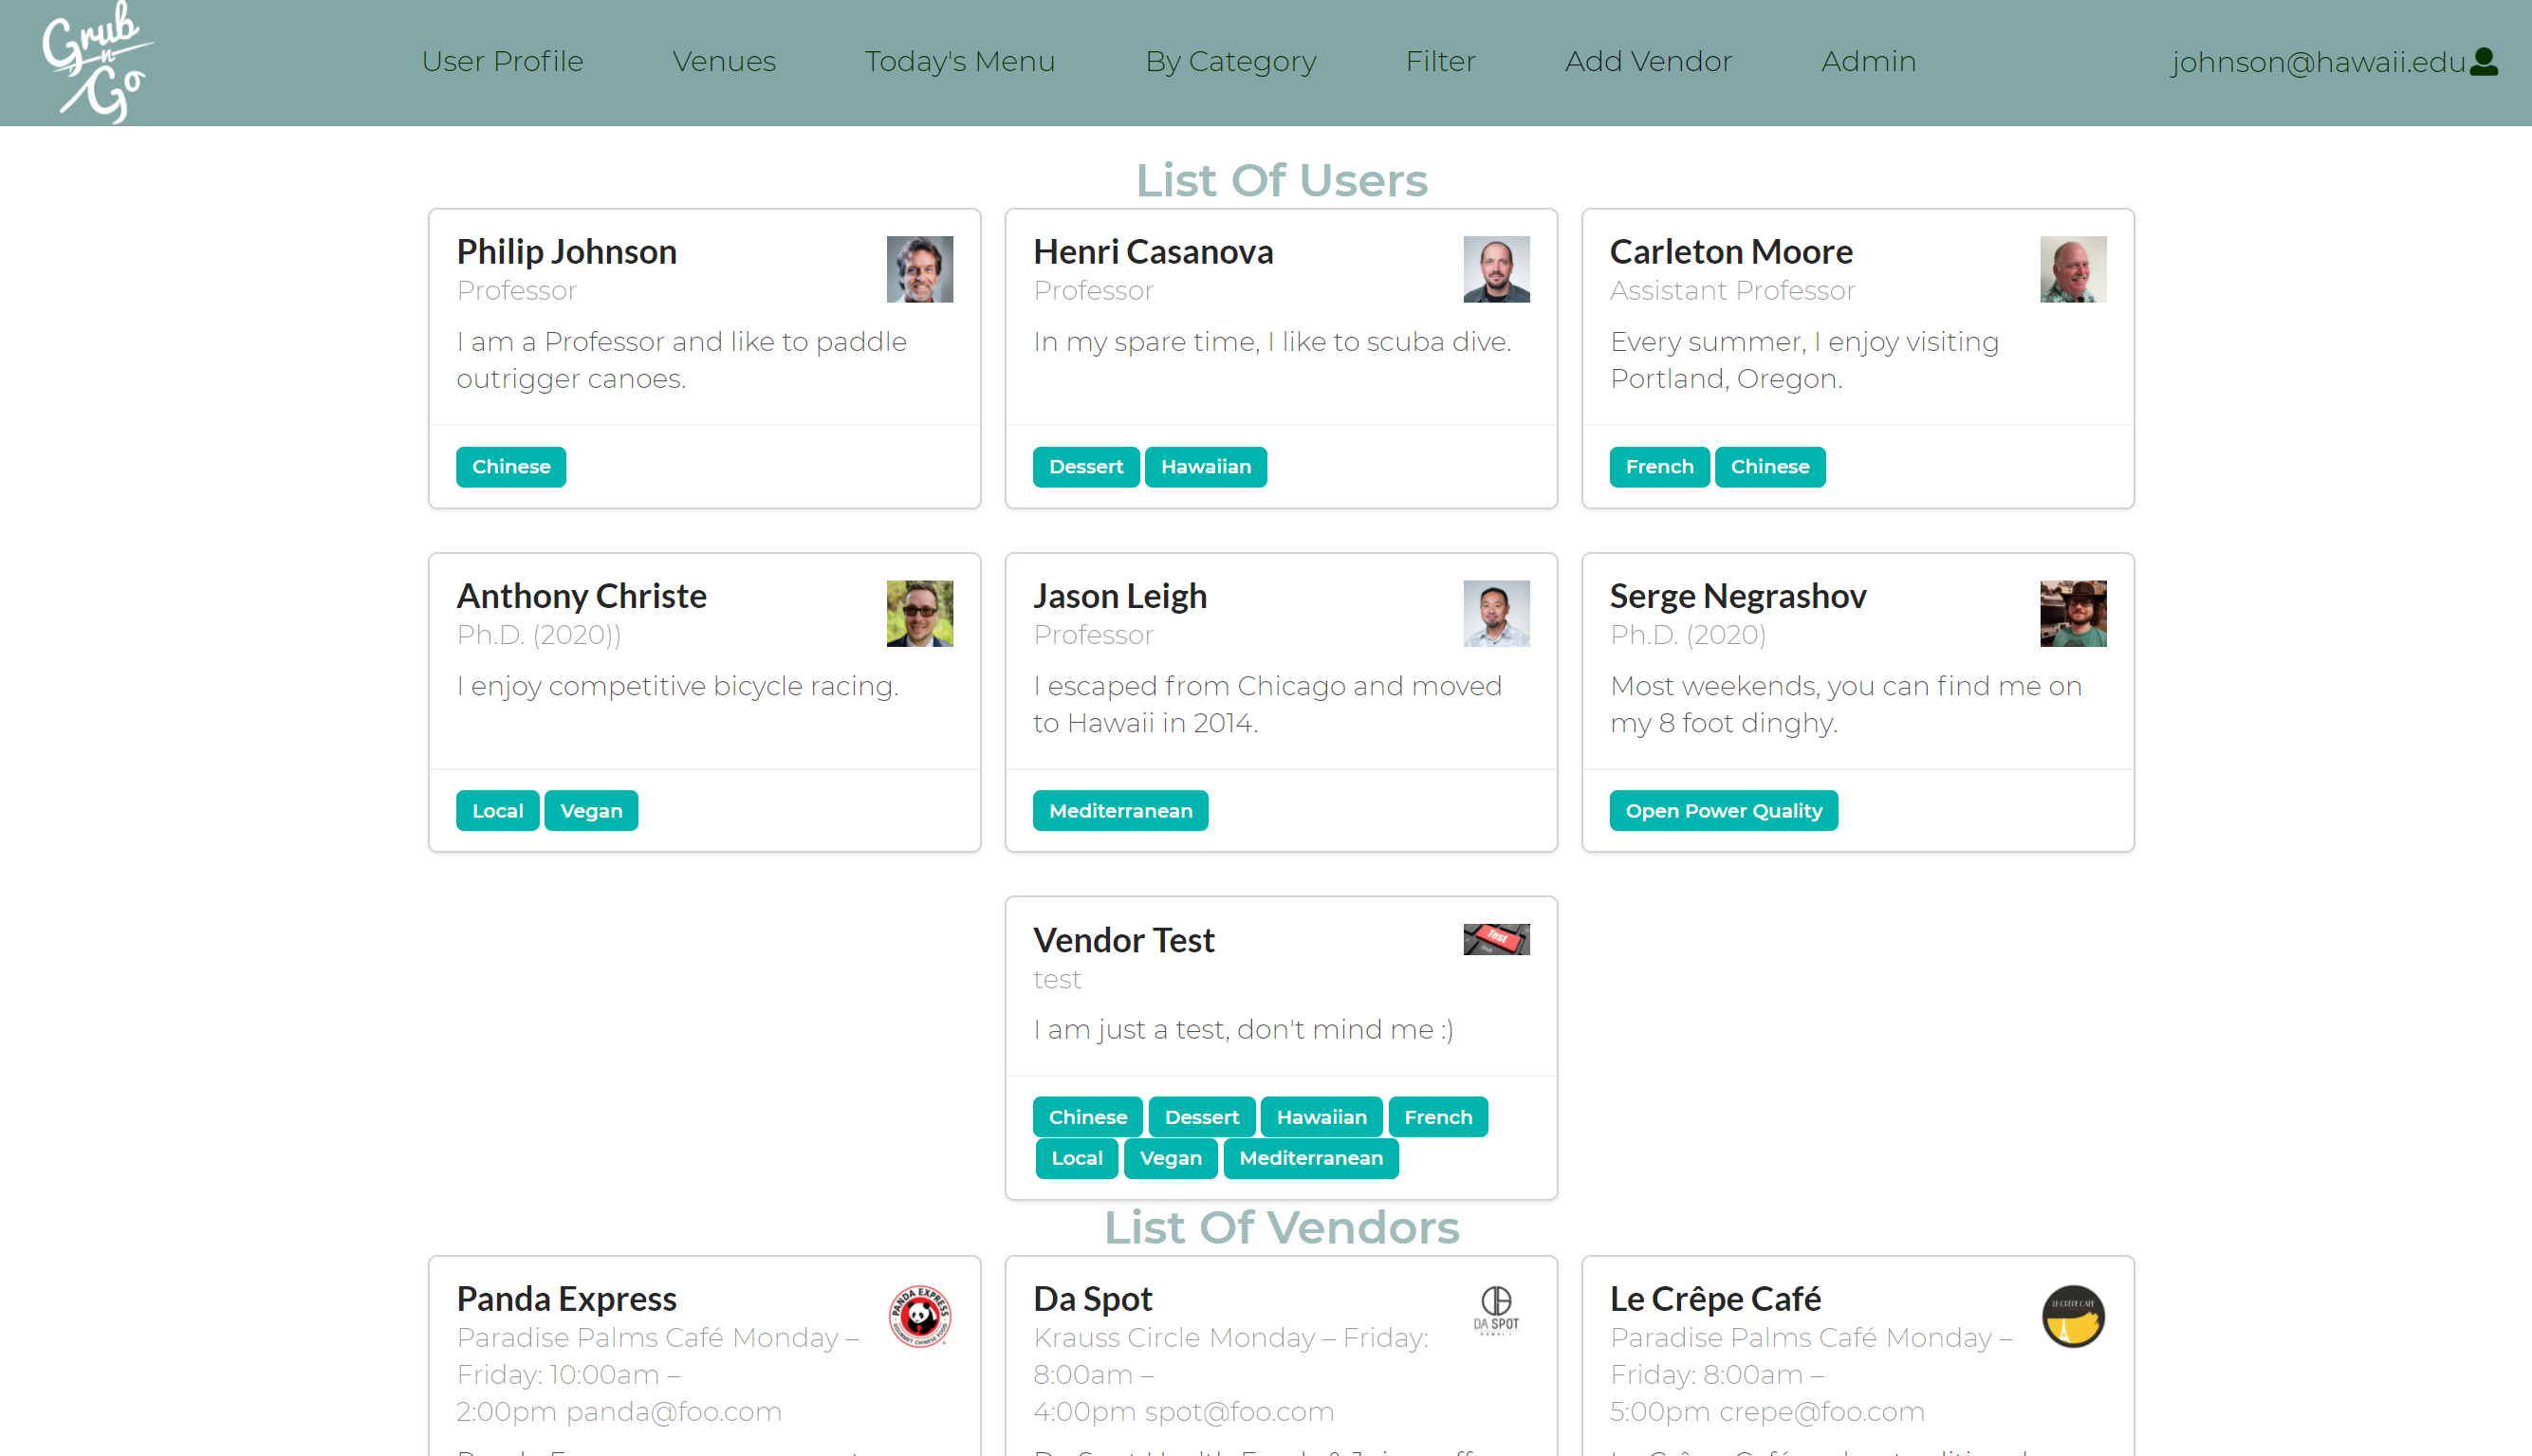 |
List Of All Vendors Under Admin Login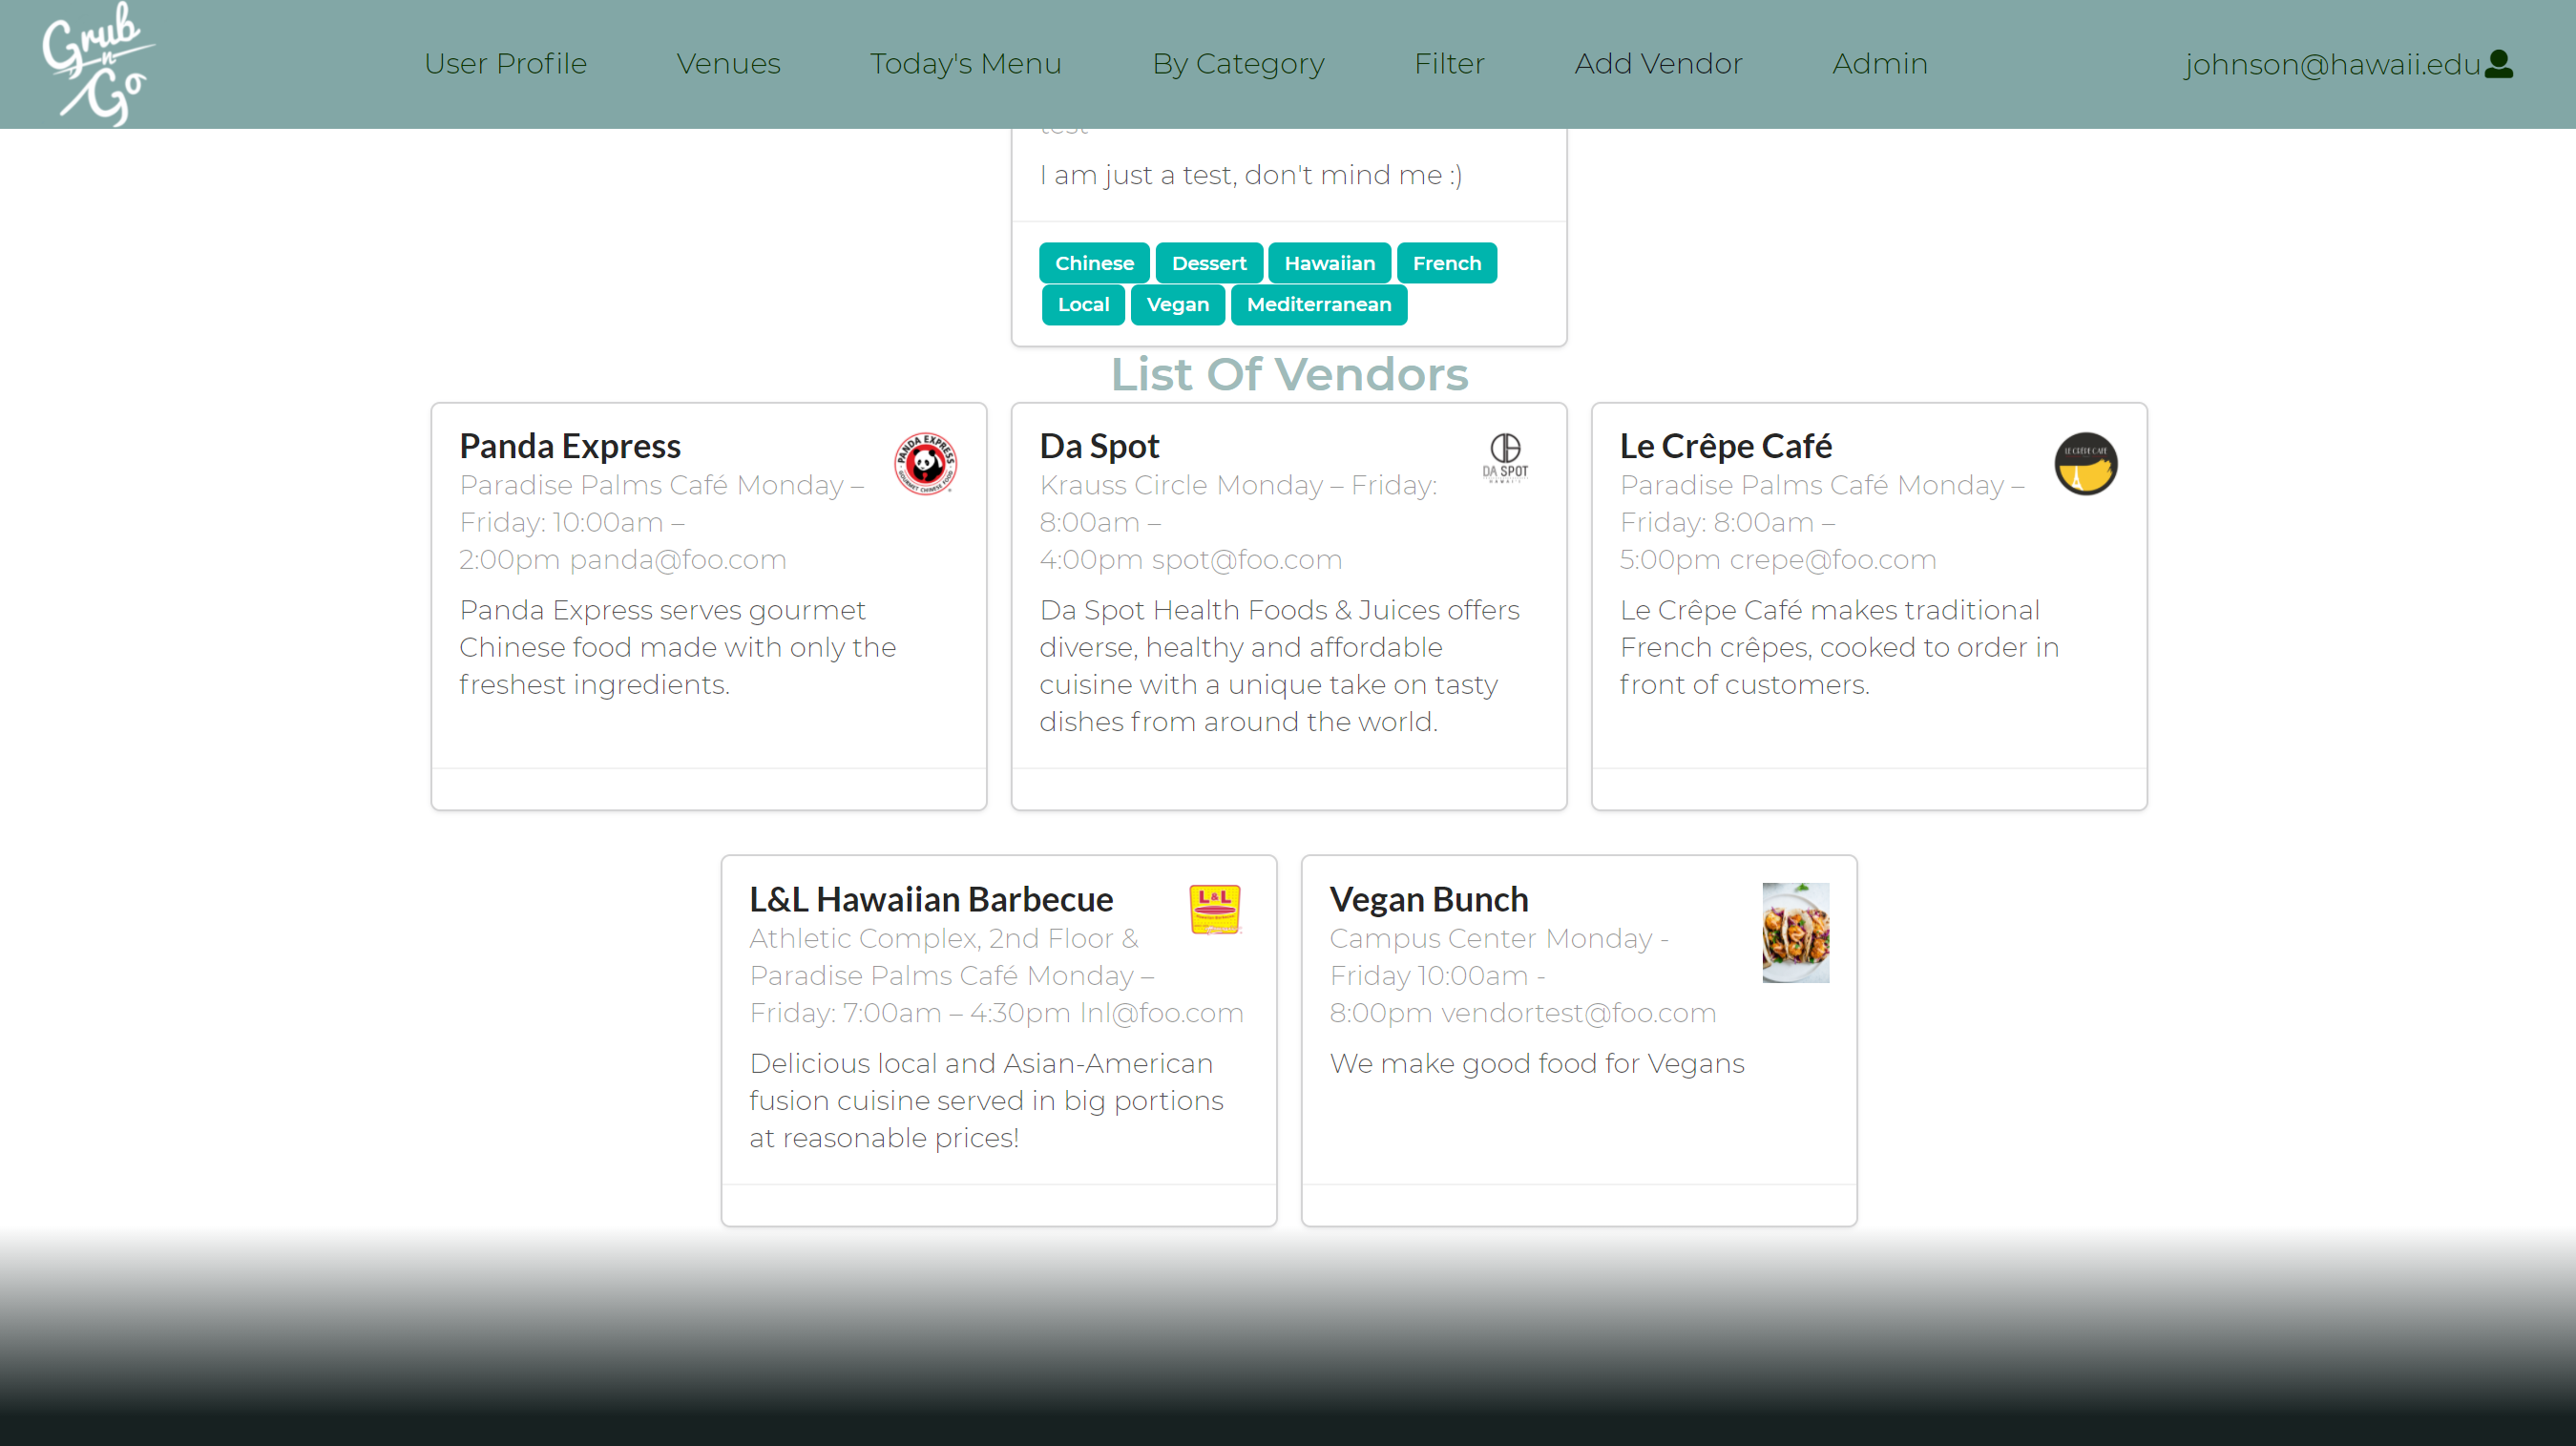 |
Developer Guide
Installation
First, install Meteor.
Second, download a copy of grub-n-go.
Third, cd into the app/ directory of your local copy of the repo, and install third party libraries with:
$ meteor npm install
Running the system
Once the libraries are installed, you can run the application by invoking:
$ meteor npm run start
The first time you run the app, it will create some default users and data. Here is the output:
meteor npm run start

> bowfolios@ start D:\github\michaelrpierce\grub-n-go\app
> meteor --no-release-check --exclude-archs web.browser.legacy,web.cordova --settings ../config/settings.development.json

[[[[[ ~\D\github\michaelrpierce\grub-n-go\app ]]]]]

=> Started proxy.
=> Started MongoDB.
W20210427-21:21:49.170(-10)? (STDERR) Note: you are using a pure-JavaScript implementation of bcrypt.
W20210427-21:21:49.845(-10)? (STDERR) While this implementation will work correctly, it is known to be
W20210427-21:21:49.847(-10)? (STDERR) approximately three times slower than the native implementation.
W20210427-21:21:49.848(-10)? (STDERR) In order to use the native implementation instead, run
W20210427-21:21:49.848(-10)? (STDERR)
W20210427-21:21:49.849(-10)? (STDERR)   meteor npm install --save bcrypt
W20210427-21:21:49.850(-10)? (STDERR)
W20210427-21:21:49.851(-10)? (STDERR) in the root directory of your application.
I20210427-21:21:57.018(-10)? Creating default Profiles.
I20210427-21:21:57.019(-10)? Defining profile johnson@hawaii.edu
I20210427-21:21:57.957(-10)? Defining profile henric@hawaii.edu
I20210427-21:21:58.287(-10)? Defining profile cmoore@hawaii.edu
I20210427-21:21:58.612(-10)? Defining profile achriste@hawaii.edu
I20210427-21:21:58.941(-10)? Defining profile leighj@hawaii.edu
I20210427-21:21:59.264(-10)? Defining profile sin8@hawaii.edu
I20210427-21:21:59.609(-10)? Creating default Vendors.
I20210427-21:21:59.610(-10)? Defining profile panda@foo.com
I20210427-21:22:00.401(-10)? Defining profile spot@foo.com
I20210427-21:22:00.810(-10)? Defining profile crepe@foo.com
I20210427-21:22:01.134(-10)? Defining profile lnl@foo.com
I20210427-21:22:01.463(-10)? Creating default Projects.
I20210427-21:22:01.464(-10)? Defining project Open Power Quality
I20210427-21:22:01.763(-10)? Defining project RadGrad
I20210427-21:22:01.768(-10)? Defining project WRENCH
I20210427-21:22:01.777(-10)? Defining project Cyber Canoe
I20210427-21:22:02.423(-10)? Monti APM: completed instrumenting the app
=> Started your app.

=> App running at: http://localhost:3000/
Note regarding “bcrypt warning”:
You will also get the following message when you run this application:
Note: you are using a pure-JavaScript implementation of bcrypt.
While this implementation will work correctly, it is known to be
approximately three times slower than the native implementation.
In order to use the native implementation instead, run

  meteor npm install --save bcrypt

in the root directory of your application.
On some operating systems (particularly Windows), installing bcrypt is much more difficult than implied by the above message. Bcrypt is only used in Meteor for password checking, so the performance implications are negligible until your site has very high traffic. You can safely ignore this warning without any problems during initial stages of development.
Viewing the running app
If all goes well, the template application will appear at http://localhost:3000. You can login using the credentials in settings.development.json, or else register a new account.
ESLint
You can verify that the code obeys our coding standards by running ESLint over the code in the imports/ directory with:
meteor npm run lint
Resetting the Database
You can clear the system data to re-intialize default datas using:
meteor reset
Database Collection
Profiles Collection Database
Before User Is Added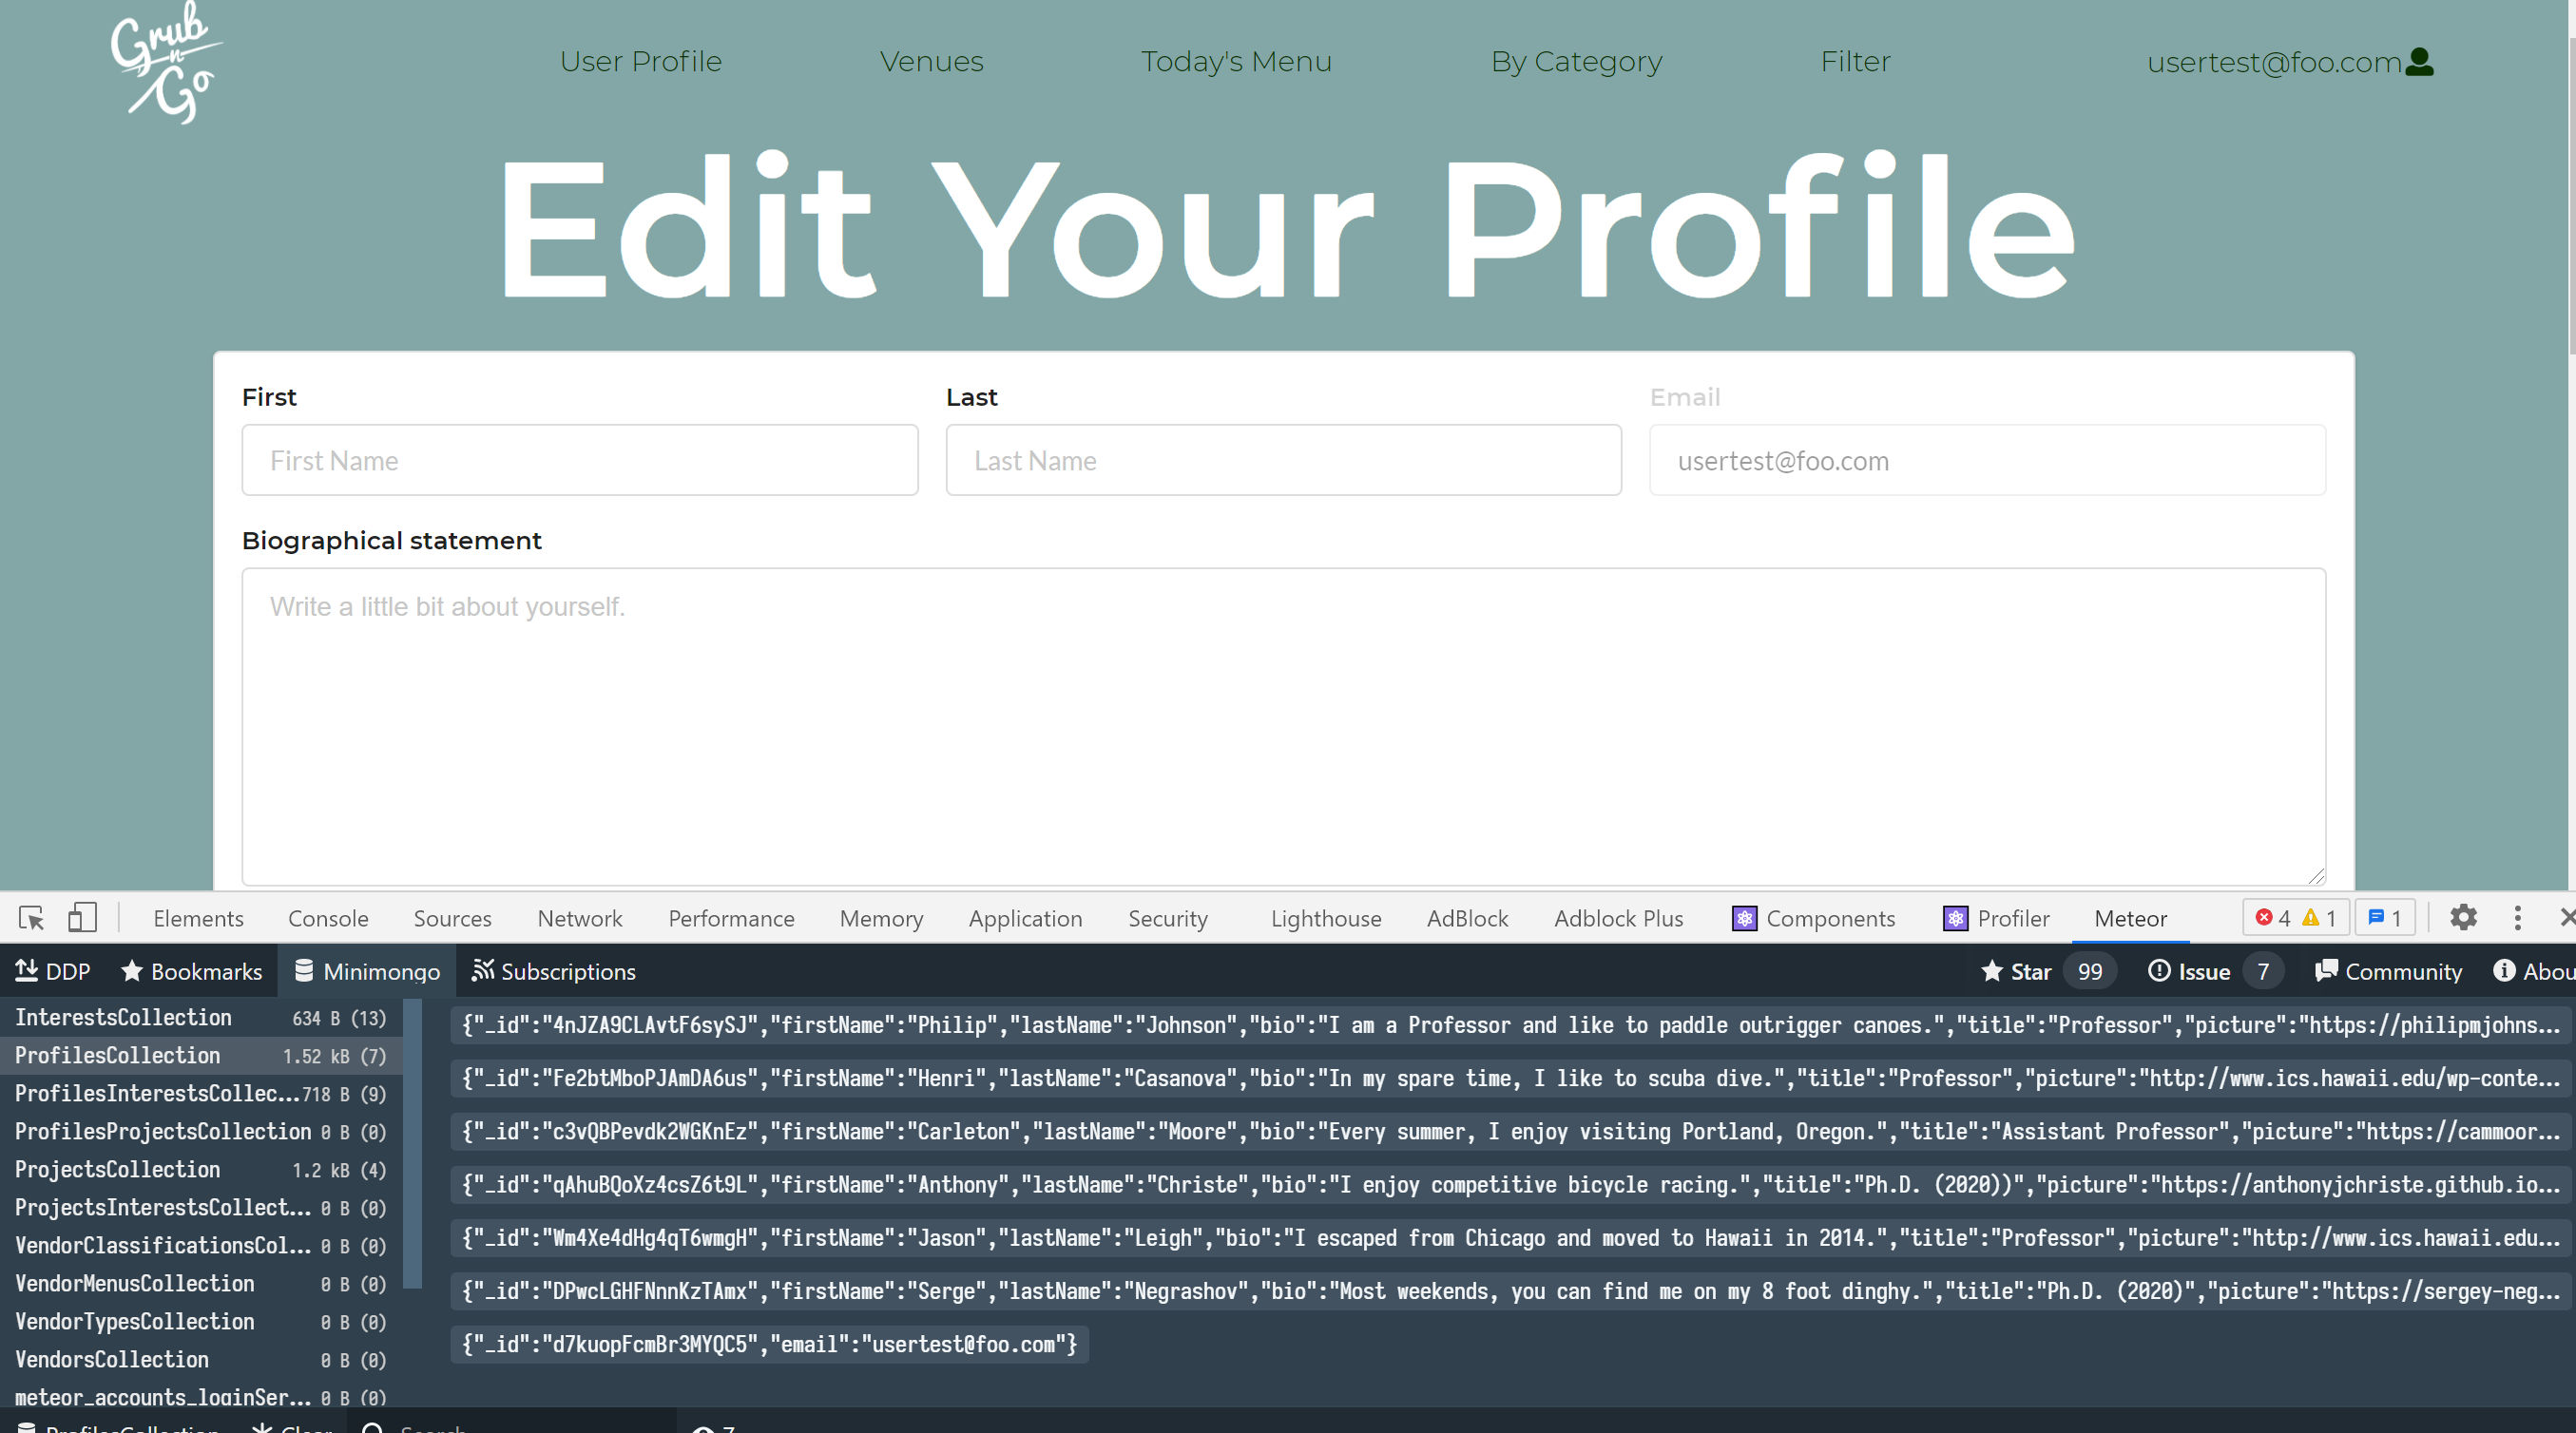 |
After User Is Added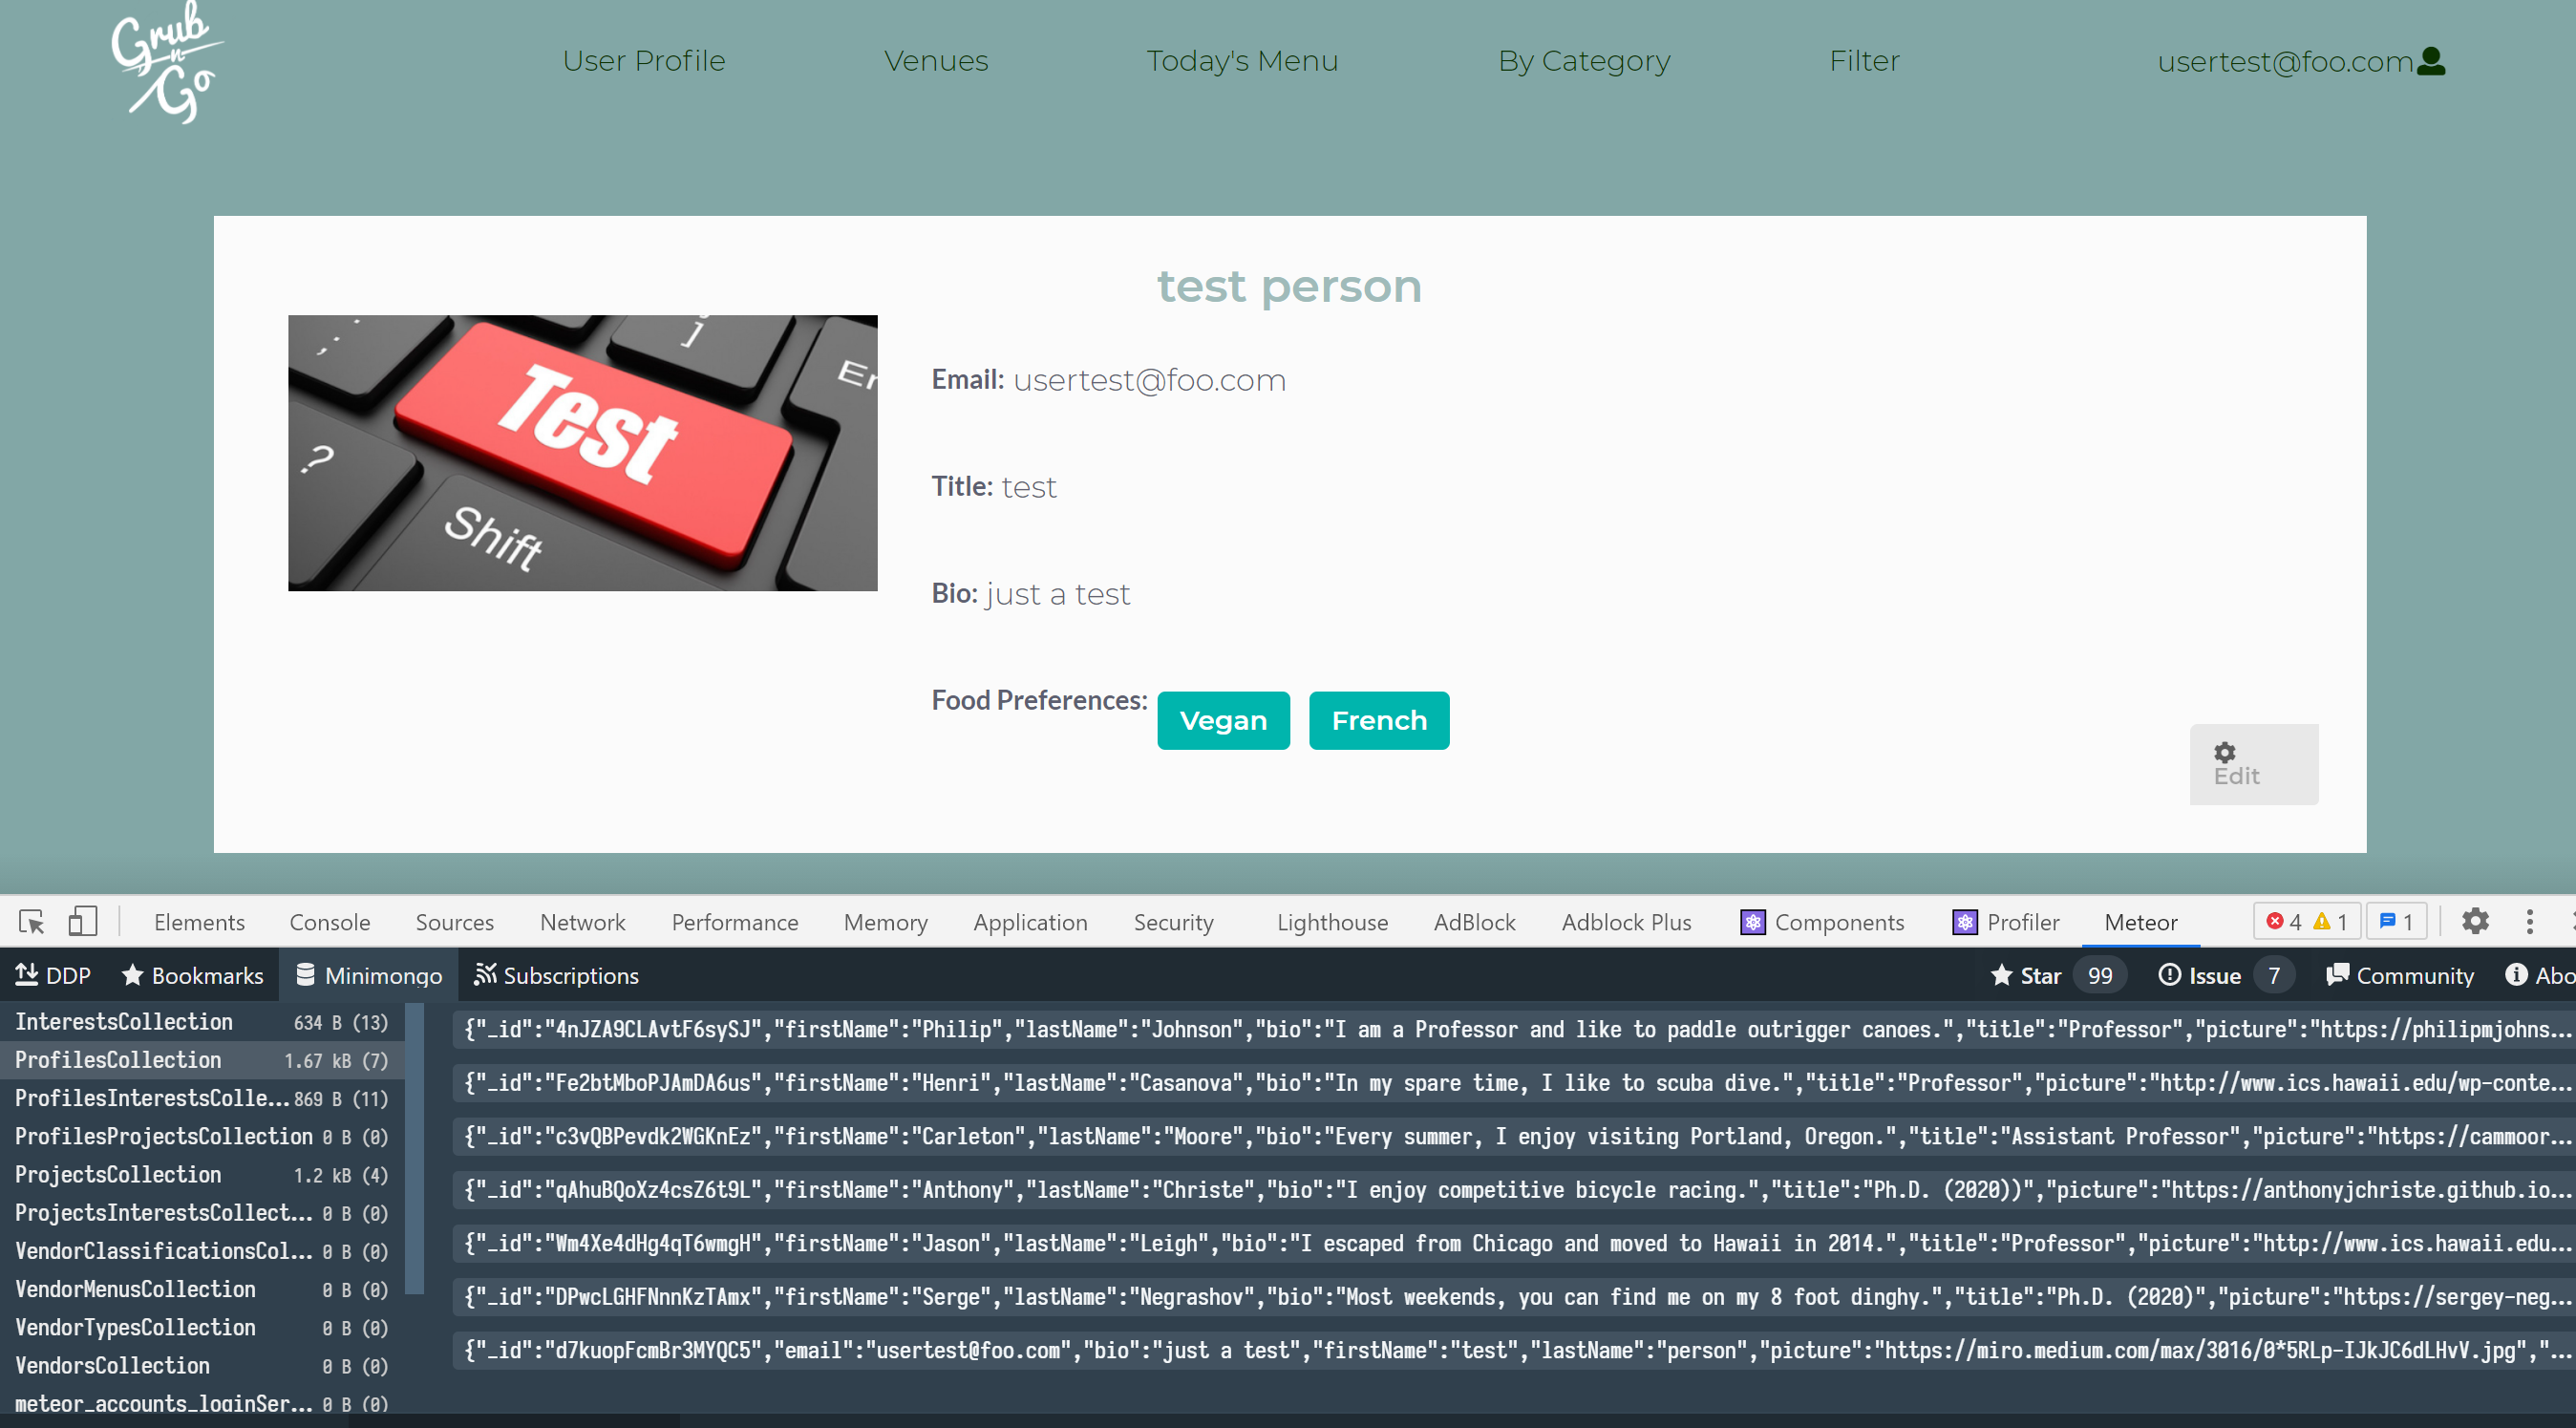 |
Vendors Collection Database
Before Vendor Is Added |
After Vendor Is Added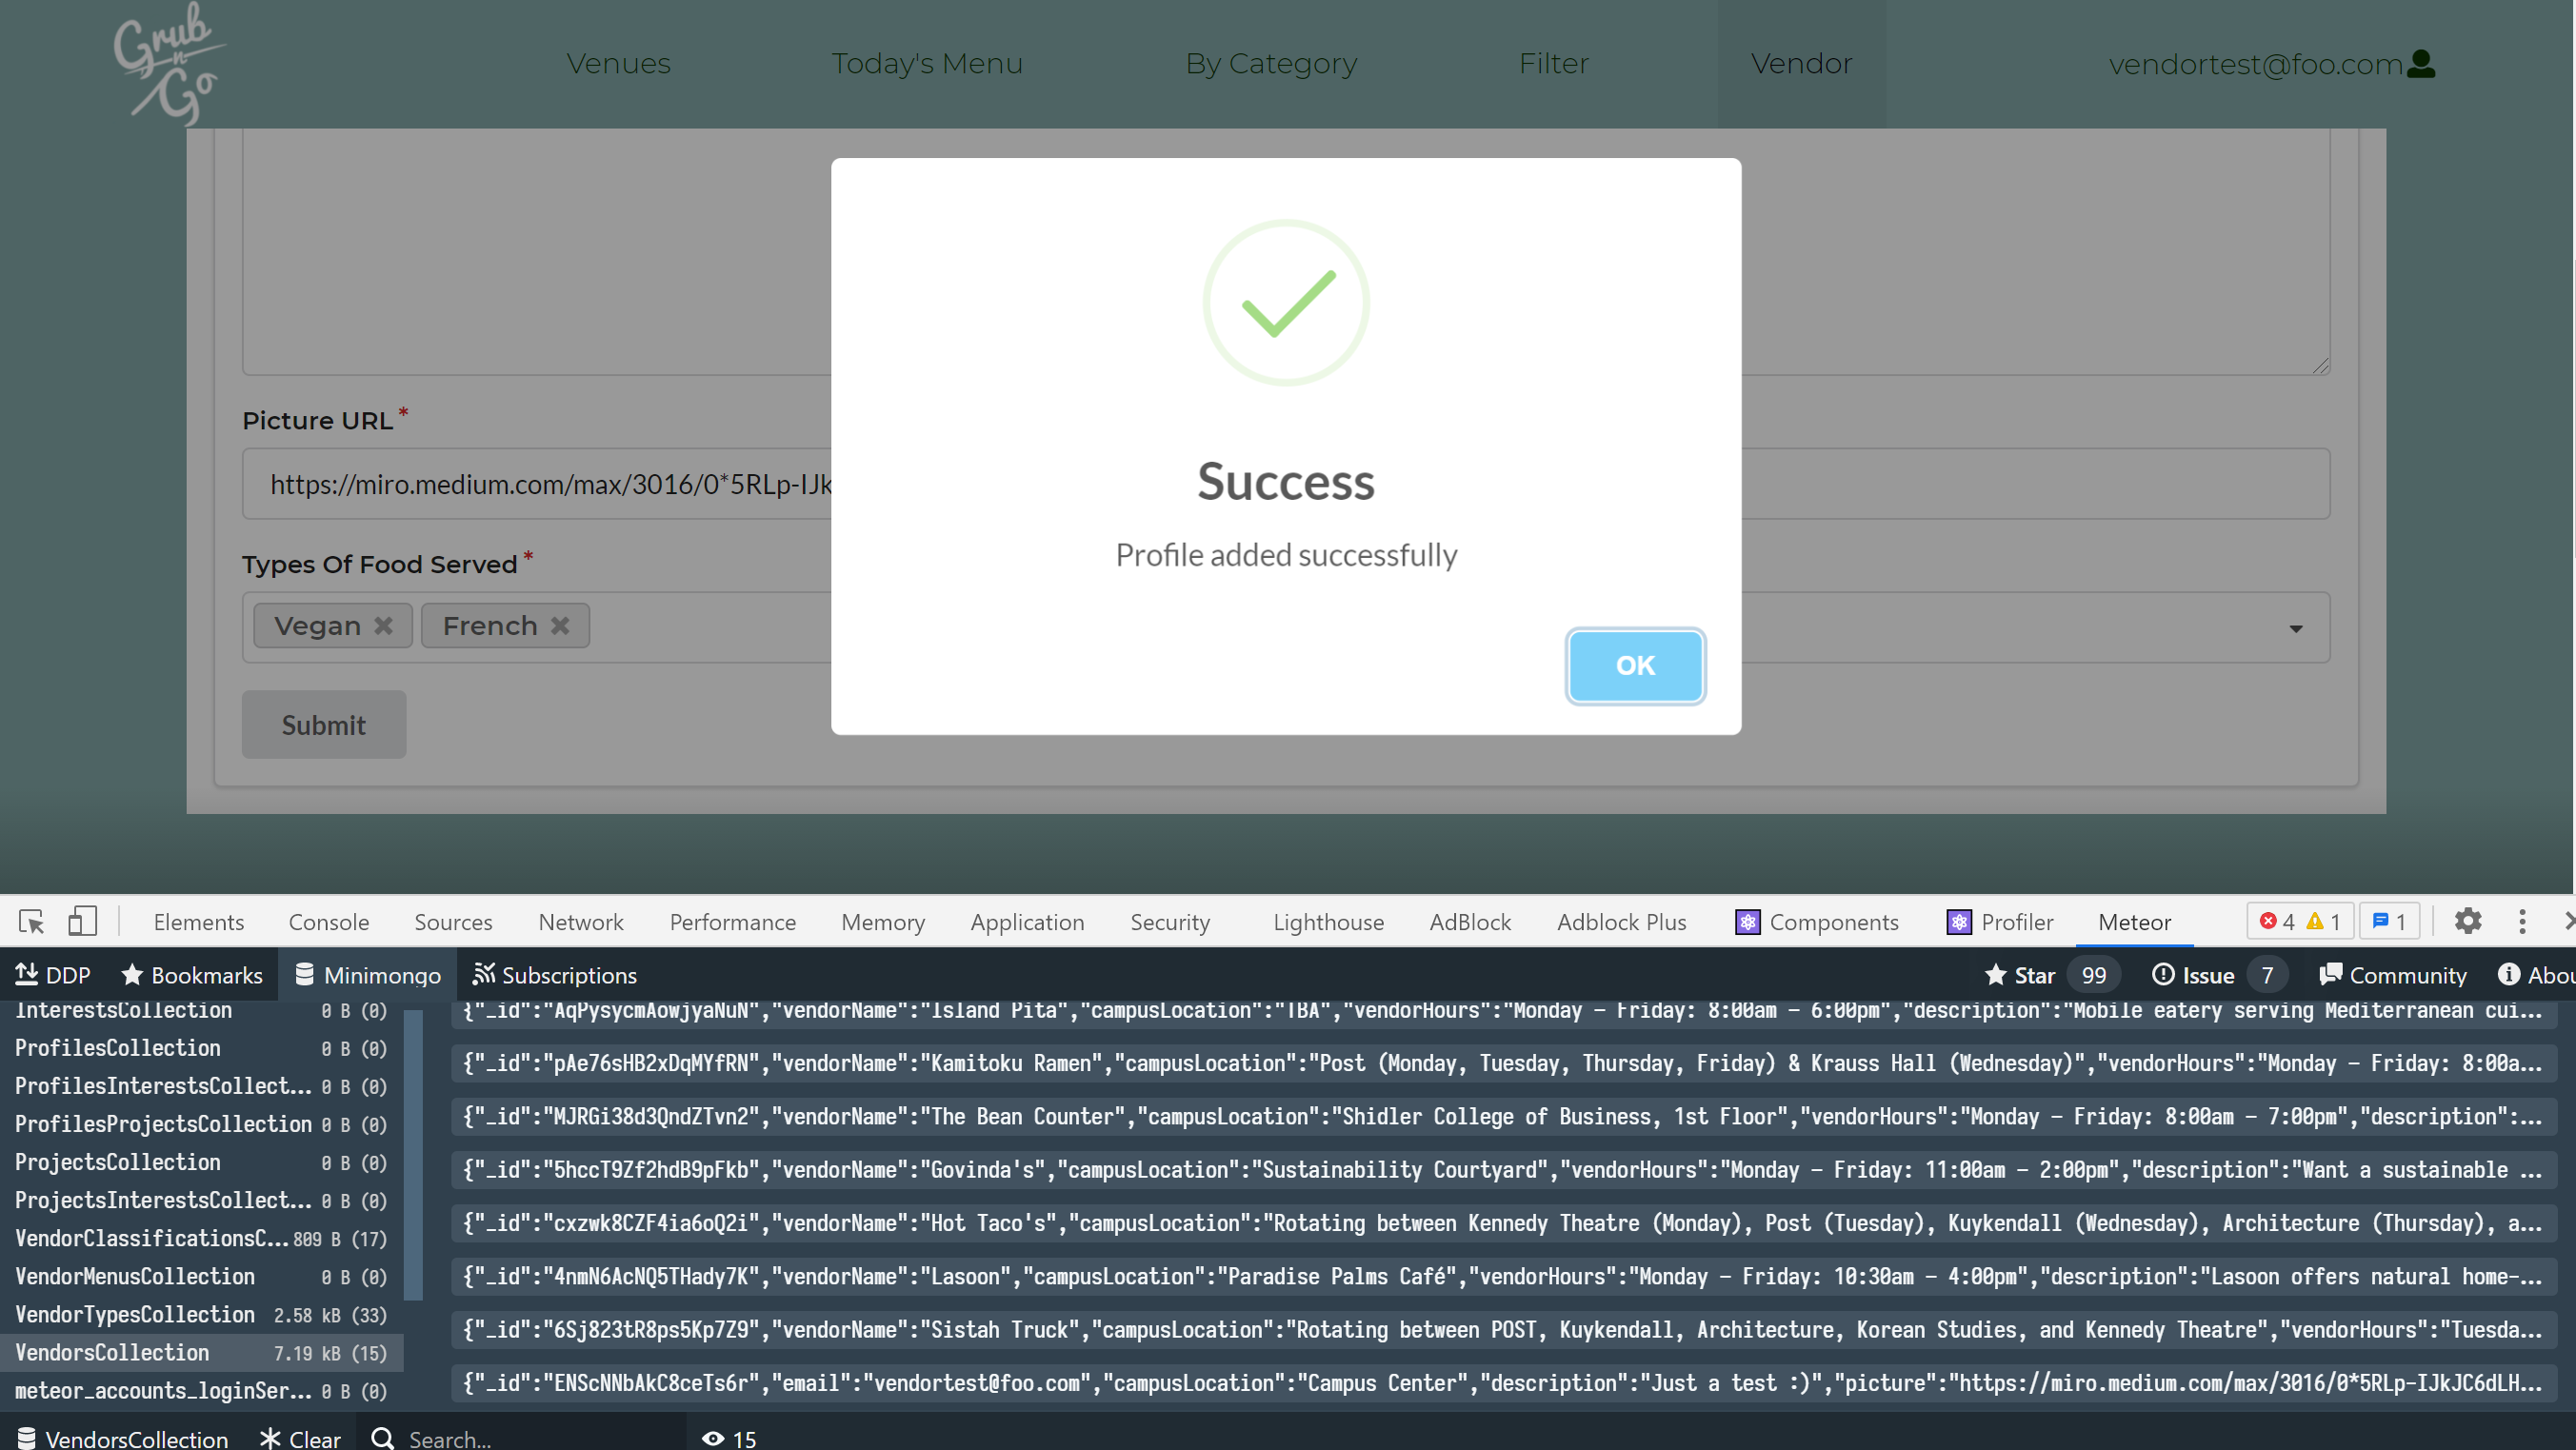 |
GitHub Organization
Deployment
Acceptance Testing
Community Feedback
- “Overall the design was neat and made it easy to navigate through the site. I made my own account and saw the vendor tab, not sure what it was for, but I would definitely use this to look for places to eat around campus” - Jay Ramos, Information & Computer Sciences
- “I like the concept and design, I would probably use it if I were still a student at UH Law because the distance to between the Law School and campus center is so great. But I need to know who to contact to use the service, so even, if it isn’t a functioning number and email, you should include one.” - Jesse Sliwa, Law School Alumni
- “My first impression is the website is very vibrant and inviting, its clear from the title that its about food and where you can get it at the manoa campus in terms of criticisms, just on the front page I think you should include what the item is for the specials and where a student can go to get it doesn’t even have to be a link” - Kyle Neubauer, EE senior
- “Grub n Go website is not only very esthetically eye pleasing but simple and intuitive to navigate through. As a student with having everything virtual, having this would be useful to know what are all my options all in one reliable website. Also its great because I get to also stay up to date if any new spots are open and their hours between or after classes. I thought it was also genius to have “Today’s Menu” or “Top Picks” as an option for adventurous eaters or someone who wants to try something new without wasting time. Very Organized and thoughtful for the users experience. I love also how they still incorporate UH so I know its local and I’m on the right website as a student.” - Blossom Ramones, Fashion Design
- “Visually pleasing and helpful. It would really come in handy in figuring out what food is available within the UH campus. The over saturation of food vendors in other food service sites provides too many choices, which makes it hard to make make quick decisions. This site cuts down all the vendors outside the UH campus so that I don’t have to waste time and gas to find food and it’s close enough so that I can study while I eat if I want to.” - Harvey Salcedo, Culinary of Arts
Project Board
Team
Grub-n-Go is designed, implemented, and maintained by Ryan Vizcarra, Kristine Rivera, Karl Penuliar & Michael Pierce
